This post contains affiliate links; it is not sponsored. This is a repost from the archives–but I continue to use this exact organization system today!
Throughout the years, I’ve used many different systems to organize my jewelry. A jewelry box. A series of hooks on the wall, a felt-lined drawer. I wasn’t sure how I was going to organize my collection of jewelry when I moved after I got married, so I just packed everything up in quart-sized bags, put them in a box, and moved. I figured I’d unpack and organize them once I got settled. Well, here we are, six months later. I’m completely settled into our home, and yet, here’s what my jewelry looked like until this weekend:
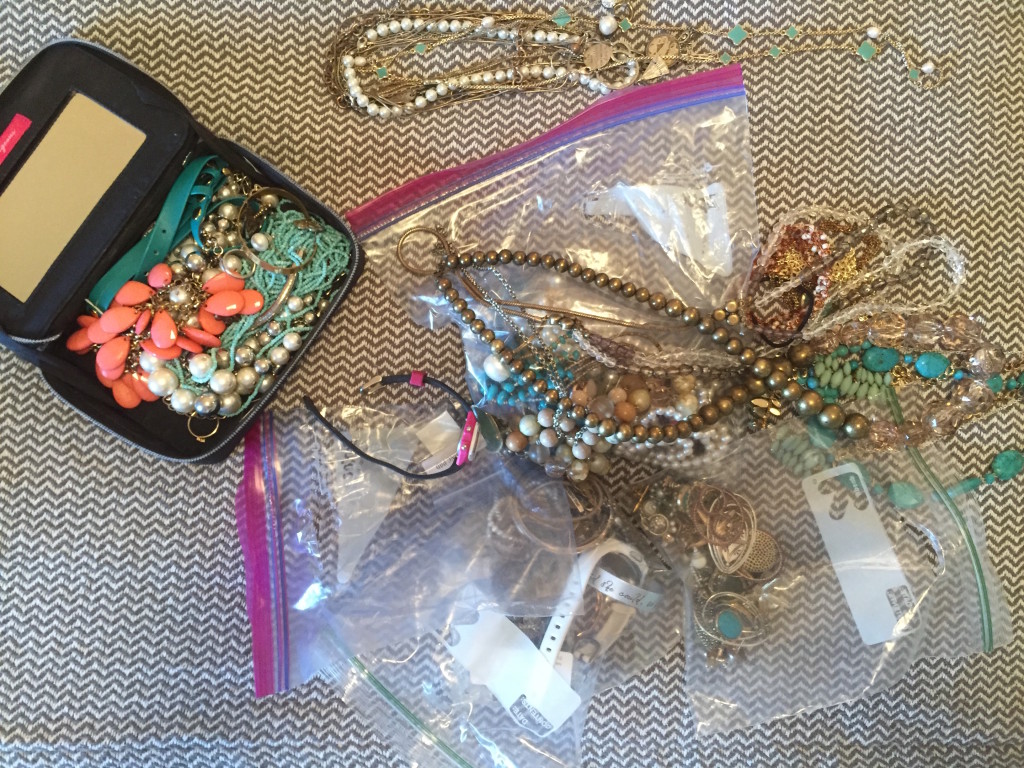
Yep. STILL IN THE QUART-SIZED BAGS. A true hot mess–in fact my jewelry was the only thing I didn’t address when I cleaned out and organized our closet. Finally, about a week ago, I decided it was time to get it together. First, I identified what I needed in a jewelry organization system. Here were my must-haves:
- It must not take up a lot of space (our home is tiny)
- All pieces should be visible at all times (to avoid the “out of sight, out of mind” problem)
- My earrings must be grouped together somehow (I hate trying to find pairs/hunting for backings)
- The system must translate well into packing for travel (I wear the same necklace and earrings almost every day and really only wear other jewelry on special occasions or trips)
- My jewelry must be protected (I decided that I want to be someone who takes care of her jewelry!)
All that in mind, I began to look online. There were, of course, a multitude of options. Some made sense but were too large, others were too complicated, others didn’t allow me to see each item. There were a few options that were tempting, but they would’ve made packing jewelry for travel difficult. Then, I happened upon the Umbra Little Black Dress Hanging Jewelry Organizer.
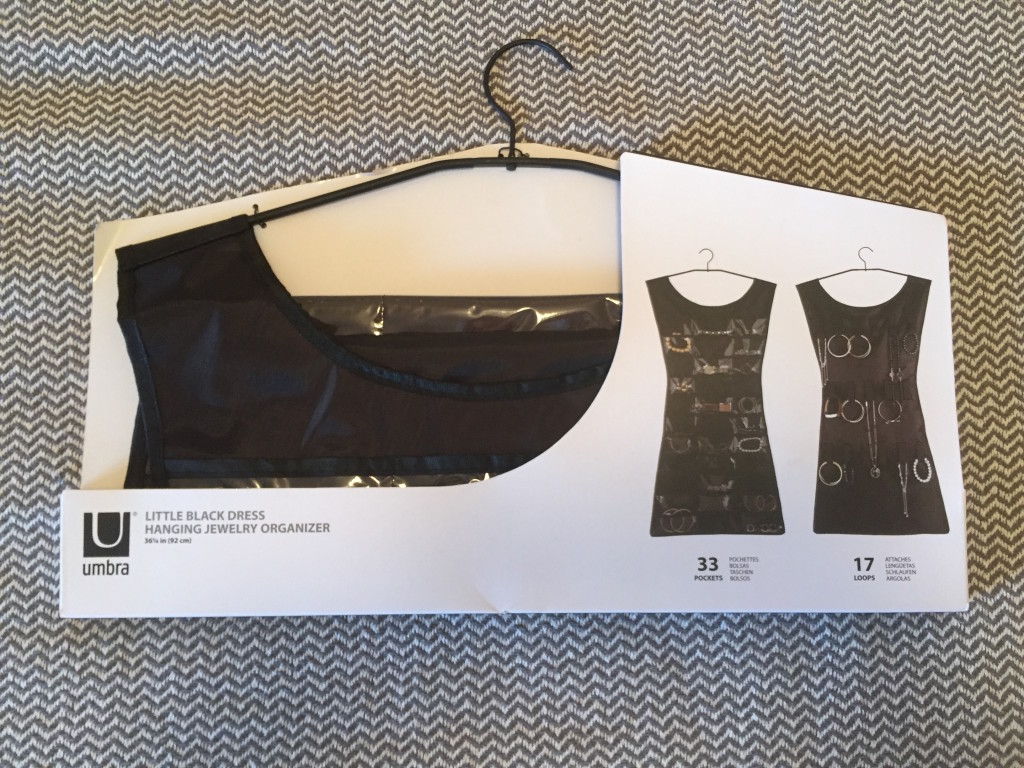
Immediately, I thought this could be a solution. I ran it through my must-have checklist: it doesn’t take up a lot of space, I could see all of my jewelry at the same time, my earrings would be grouped together…but it didn’t translate well for travel and only kind-of protected my jewelry. Lightbulb! I could put each piece (or pair of earrings) into a small plastic jewelry bag and then put that into the organizer. That way, I could just pull out the bags I wanted to travel with and put them in a larger bag, which would make the system ideal for travel–and each piece would be super protected.
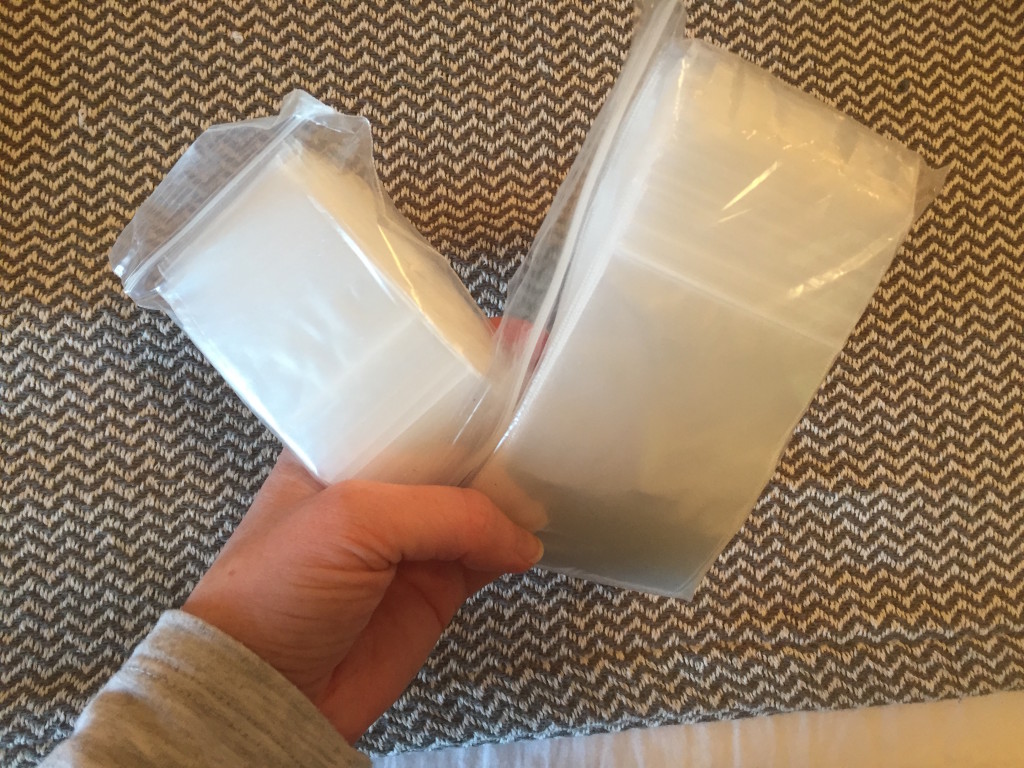
I hunted down these larger 3×4 inch bags and these smaller 2×2 inch bags, ordered them along with the Umbra organizer, and anxiously waited for them to arrive! At just about $20, I was hopeful that this jewelry storage system may actually work for me. (I almost ordered a second Umbra organizer but decided to wait and see if I’d need it…I’m glad I didn’t! Everything fit nicely!)
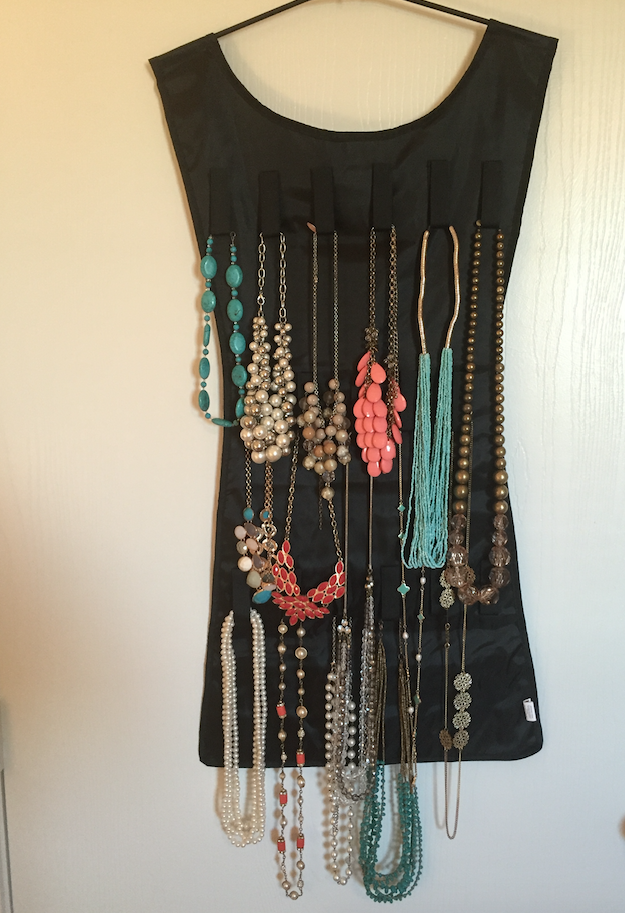
Once I received the organizer, I hung it on the back of my closet door and dumped all of the jewelry out on my bed. The back of the organizer has 17 black velcro tabs to hang necklaces or bracelets on and the front has 33 pockets to put jewelry in. Both sides are pictured below!
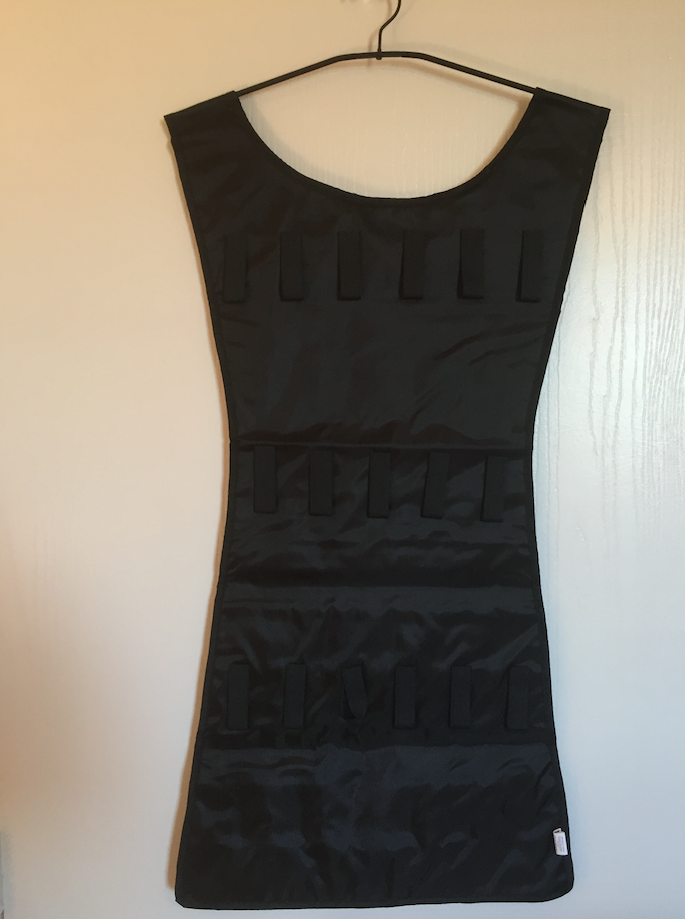
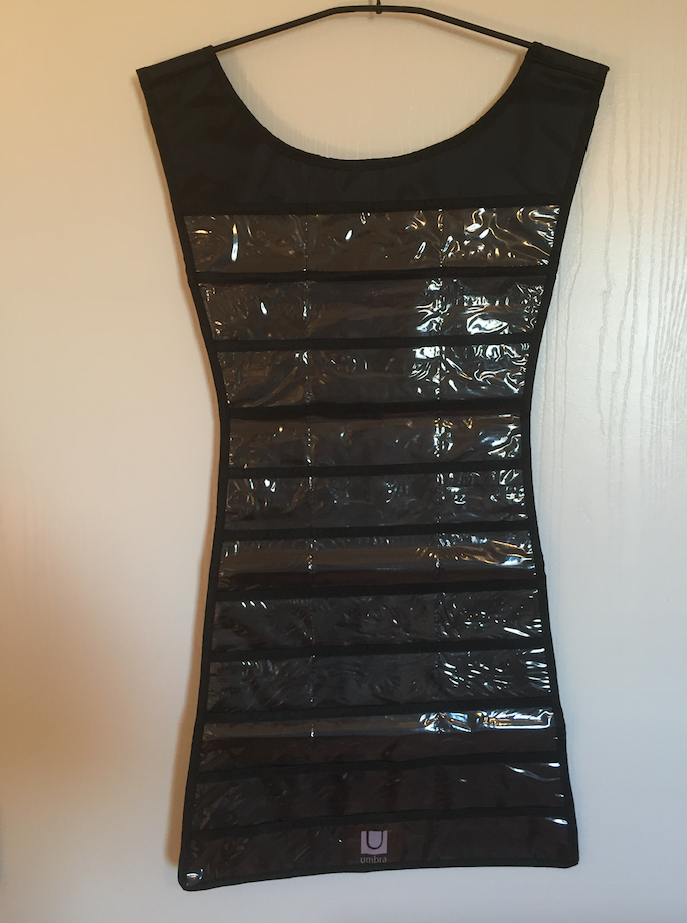
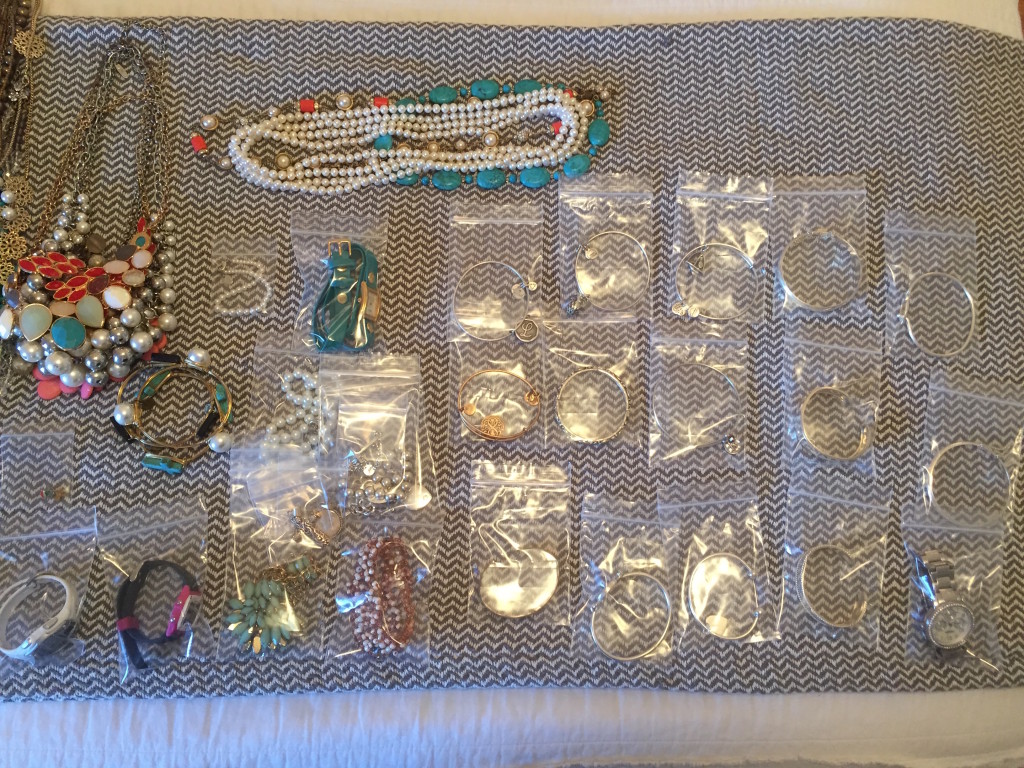
Next, I went through my jewelry and bagged up everything except for my chunky necklaces and chunky bracelets. All of my other earrings, rings, bracelets, watches, pins, and thin necklaces went into plastic bags. While I was sorting, I pulled out any silver pieces that were tarnished and cleaned them with this silver cleaner that I’d ordered. Some pieces looked terrible after sitting out in random locations for the past six months–but post-bath, they were gorgeous and shiny again!
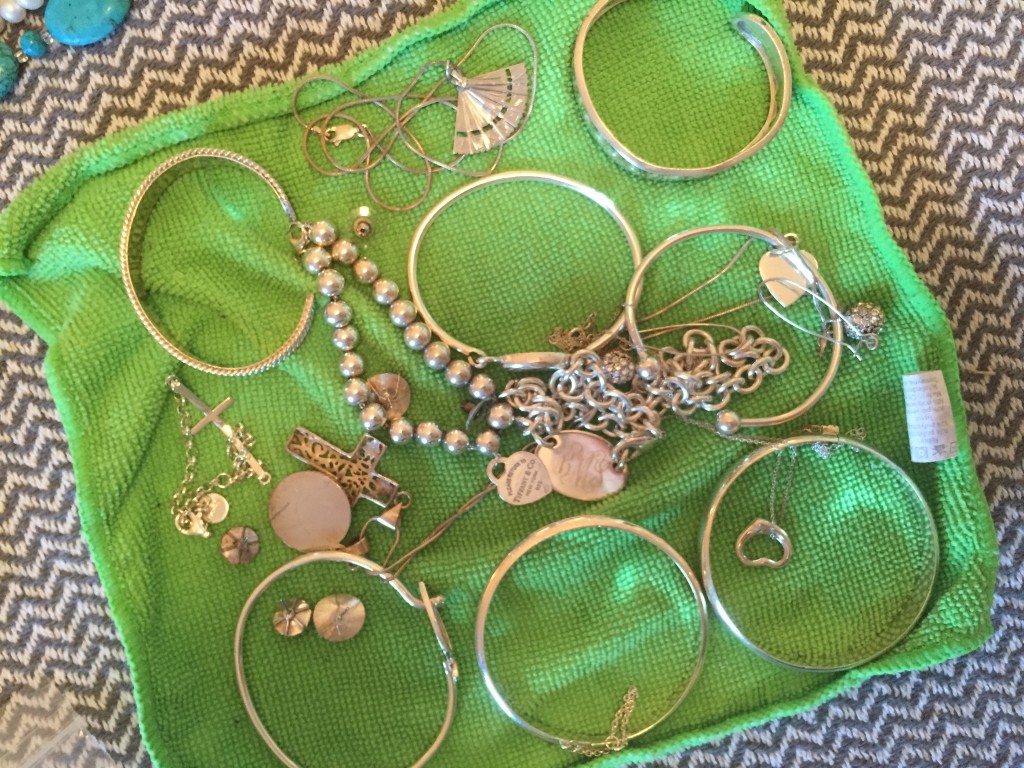
Here is a photo of half of my jewelry, sorted and bagged…
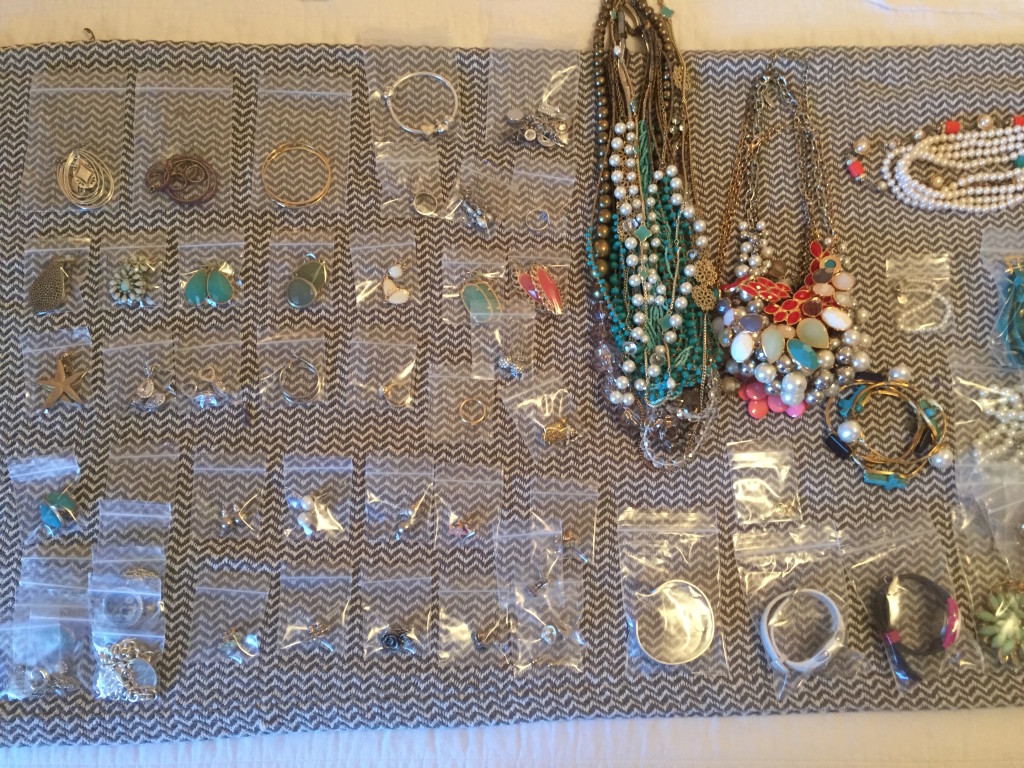
…and here (below) is the other half of it!
I started with the back of the organizer. I loaded it up with all of my long or chunky jewelry and was surprised at how well everything fit!
Then, I moved on to the front. I ended up being able to fit two bags per pocket. I put stud earrings at the top, then dangly earrings, then rings, then thin necklaces, then bracelets, then watches and finally, a few necklaces that I wear infrequently.
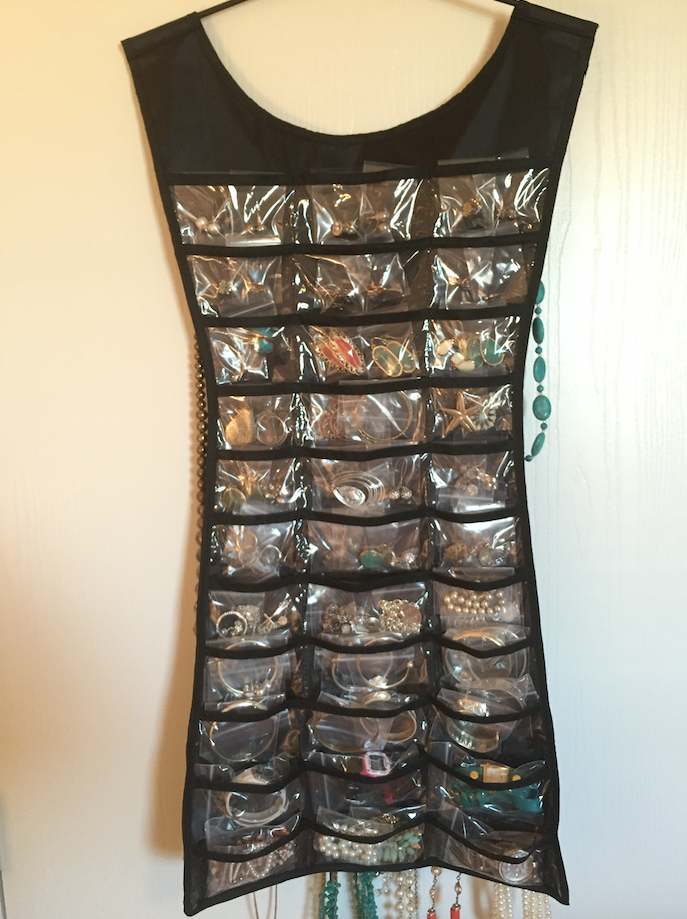
See how nicely two bags per pouch fit? (I’m sorry for the glare! With this much plastic, I’m not sure how to avoid it!)
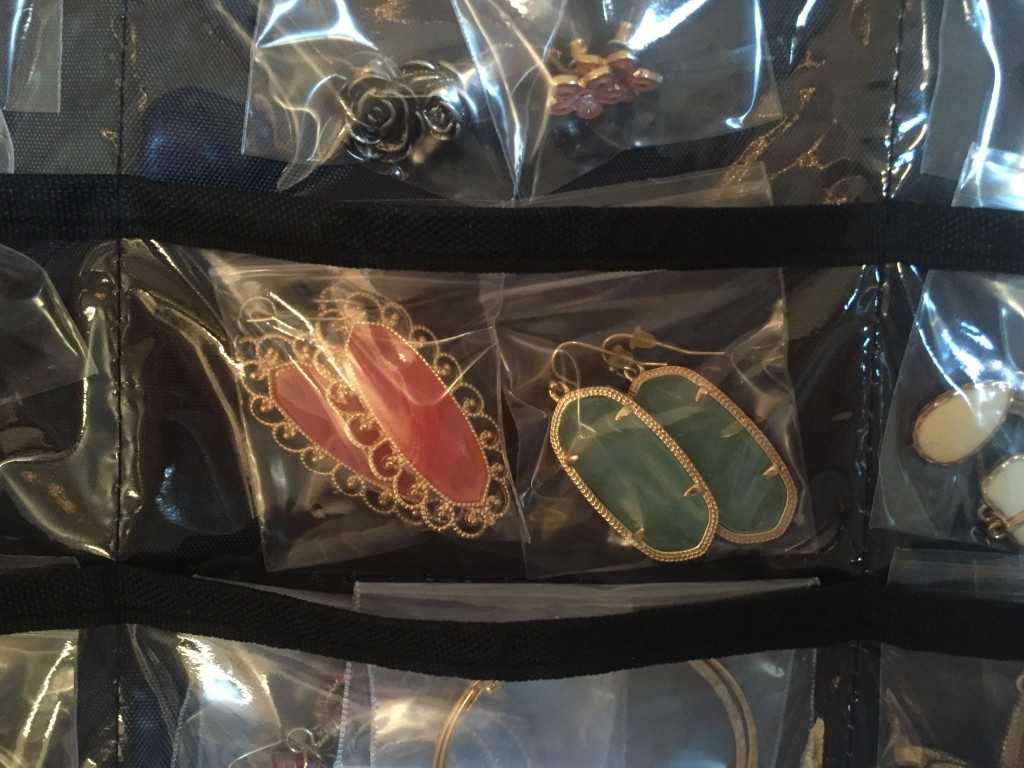
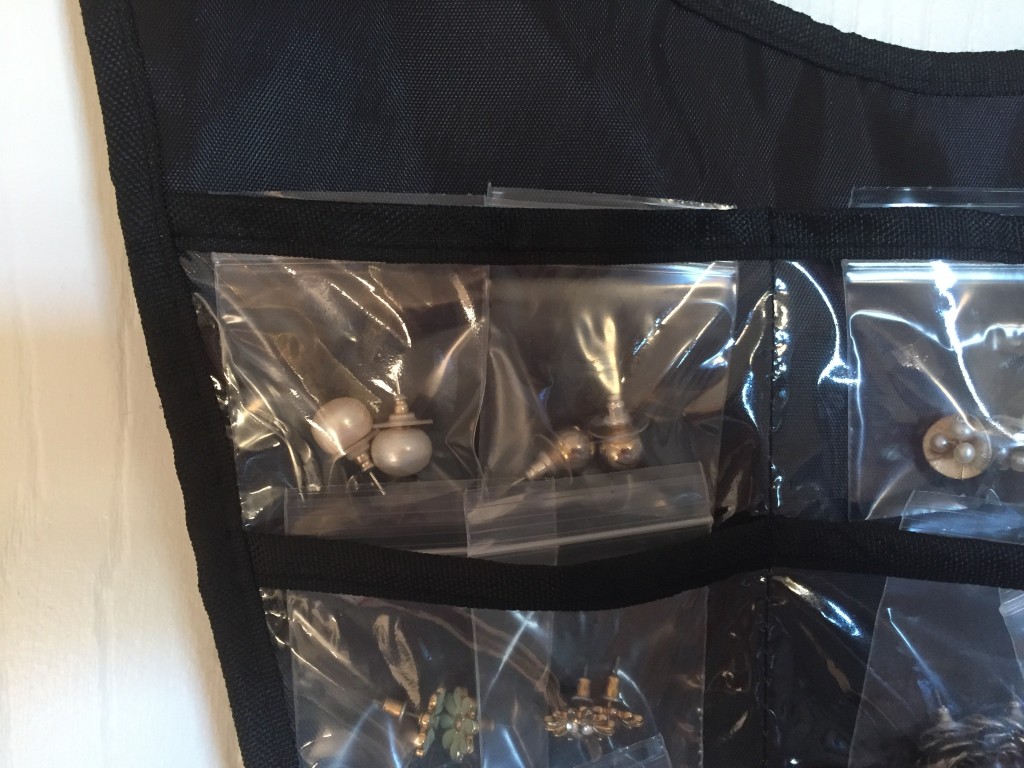
The organizer would definitely look prettier if the items were loose in the pouches instead of inside of the plastic bags, but the bags make much more sense for me. This way, my earrings are always paired together, and pulling out jewelry for trips will be a breeze. (I plan on selecting the jewelry I want and packing the little bags in a larger hardcover case like the black one pictured on the left in the first photo in this post. Plus, everything is protected and will hopefully tarnish less.)
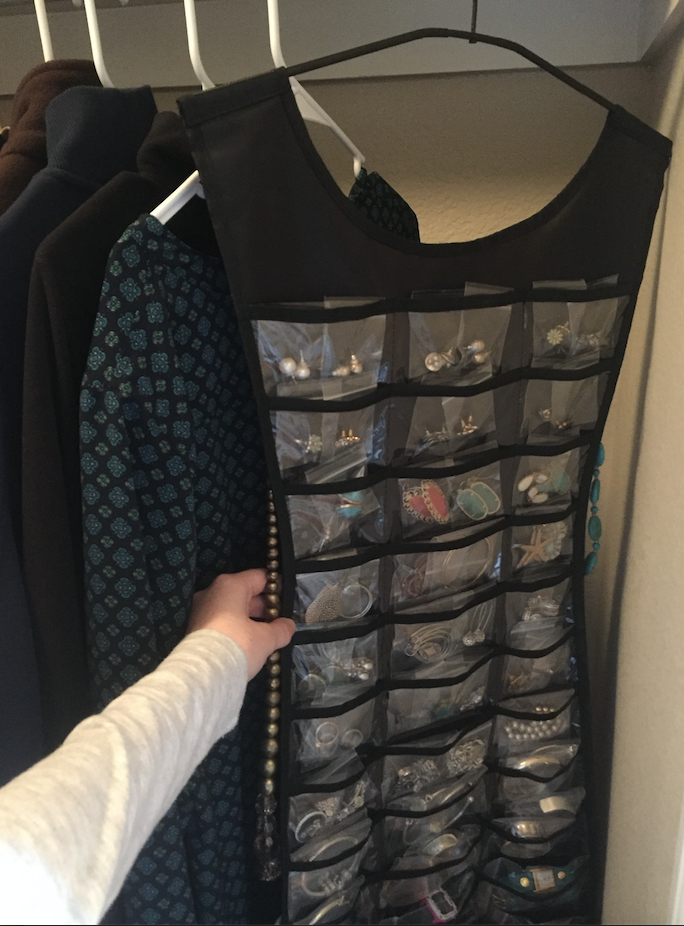
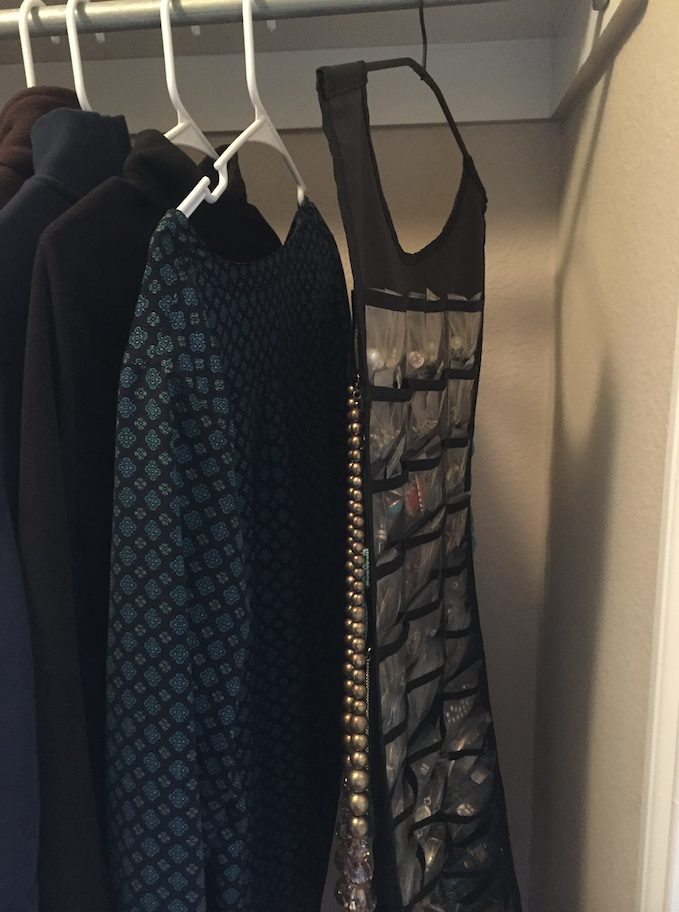
I love, love, love this jewelry organizer! It makes complete sense for me. If you mix up your jewelry a lot and wear it often, it would likely make more sense for you to put your jewelry directly into the organizer for easier access (and maybe keep some little bags on hand for pieces you don’t wear often or for packing/traveling). I bought everything for this project on Amazon here: the Umbra Little Black Dress Jewelry Organizer, the large plastic bags, the small plastic bags, and the silver cleaner.
// How do you organize your jewelry? What matters to you when you’re creating a jewelry organizing system?
Thank you for reading! You can find me online on Facebook, Instagram, Pinterest, Twitter, and YouTube. If you’d like to be alerted whenever I publish a new post, you can follow me on Bloglovin’ or subscribe via email. Take a look at my Etsy shop where I sell tees, totes, sweatshirts, and pillow covers! Are you a blogger too? Check out my Blogger Mentorship Program.
use the image below for Pinterest
I think the best organizing systems are the ones that make sense for you! What’s the point if you can’t keep up with it?! I used one of these organizers for a long time, but now that I only wear a handful of pieces I don’t use it anymore. Anything is an improvement from a ziplock, haha!