
This is a repost from the archives; it was originally published in August of 2015. This post contains affiliate links.
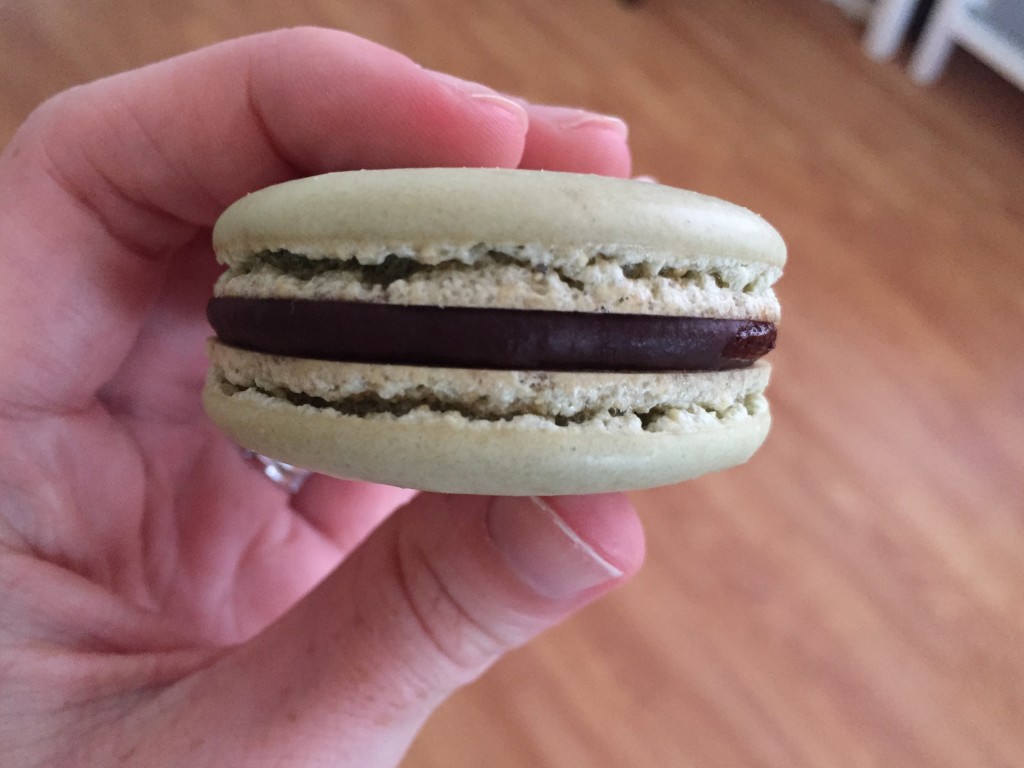
French macarons (not macaroons, which are coconut cluster cookies) are notorious for being finicky and very difficult to make. I’ve made two batches in the past two days, and I can attest to the fact that they are indeed finicky and challenging. The ingredients have to be just so and correct timing is imperative for the perfect cookie!
Let’s start with what you’ll need. (Recipe adapted from HowToCookThat.)
Ingredients
- 4 large room temperature eggs (whites only)
- 1/3 C plus 1 tsp caster sugar (you can use regular sugar if you can’t find caster sugar)
- 1 1/2 C plus 4 tsp confectioner’s sugar
- 1 C plus 3 tsp almond meal
- tiny pinch of salt
- parchment paper (not wax paper) or a Silpat mat
- 2 pastry bags or Zip-Locs with corners snipped
- gel food coloring (optional)
You’ll also need something to fill the cookies, like jam, buttercream, or chocolate ganache. I used chocolate ganache this time, here are the ingredients for that:
- 4oz chocolate bar, chopped (I used dark bittersweet, so I also added about 2 tbsp honey)
- 2 tbsp cream
And now, how to make them.
Recipe
Step 1| Preheat oven to 300 degrees and measure all ingredients into various bowls. (Timing is so important with macarons that you must have everything ready up front.)
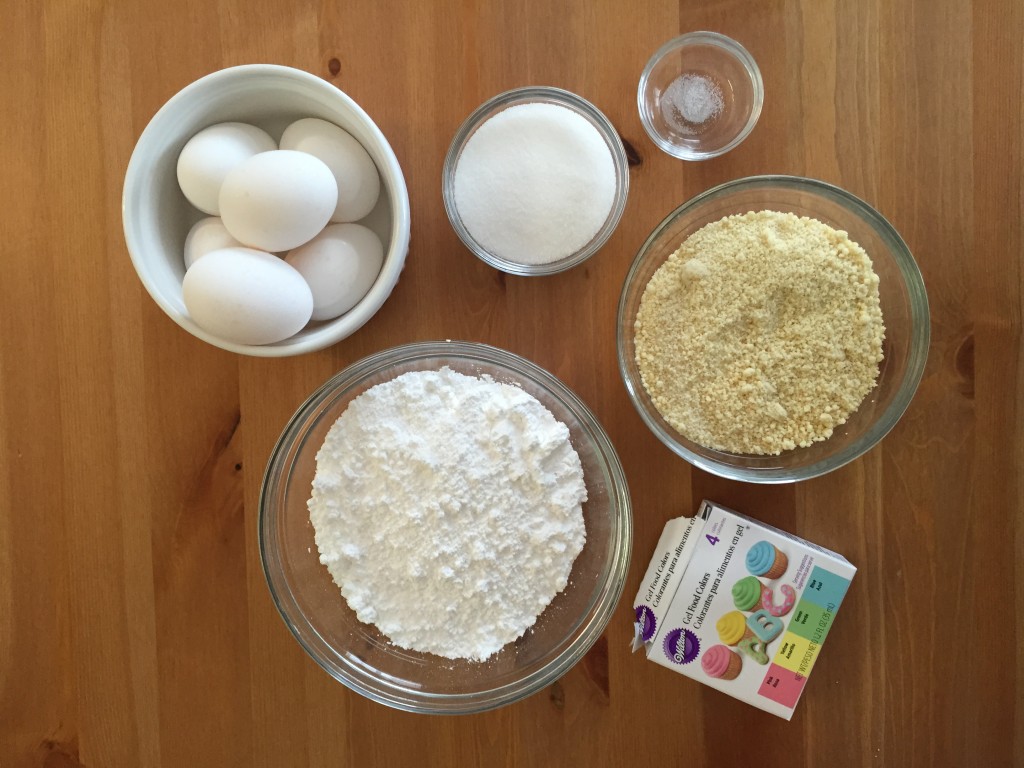
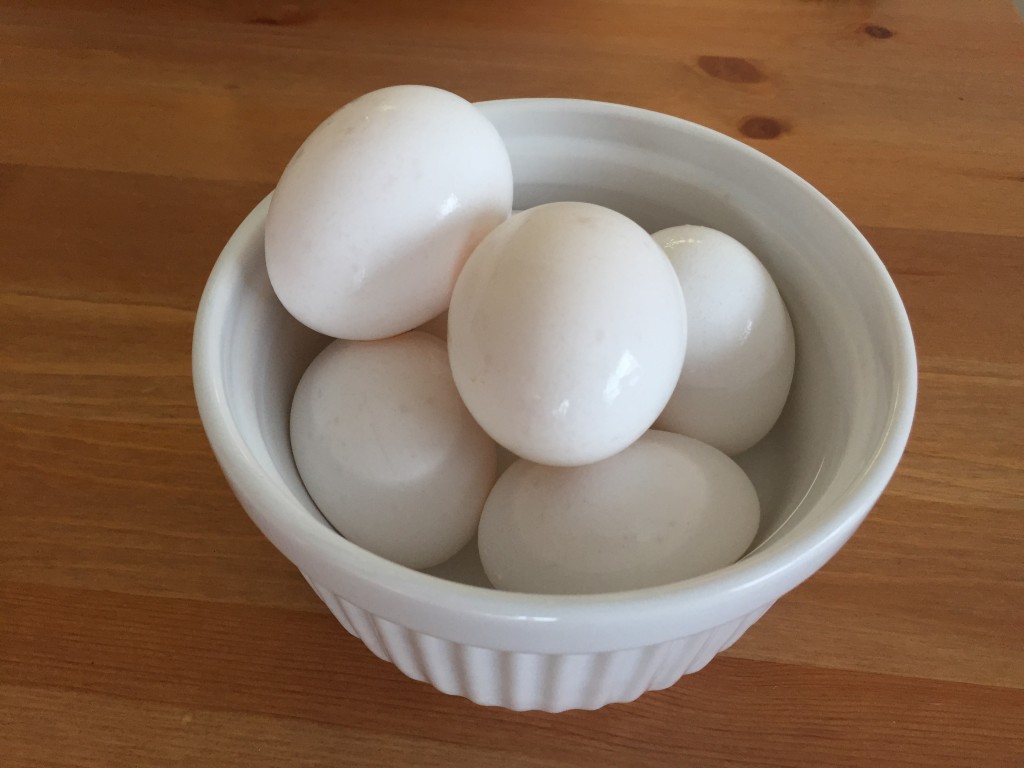
Your eggs need to be room temperature. Plan on taking them out of the refrigerator the night before you’ll need them. If you forget to do this, take them out at least a couple of hours before you bake and put them in a bowl of warm water to bring them to room temperature. That’s what I did (pictured below). Also, you only need four eggs, not six as I have pictured, oops!
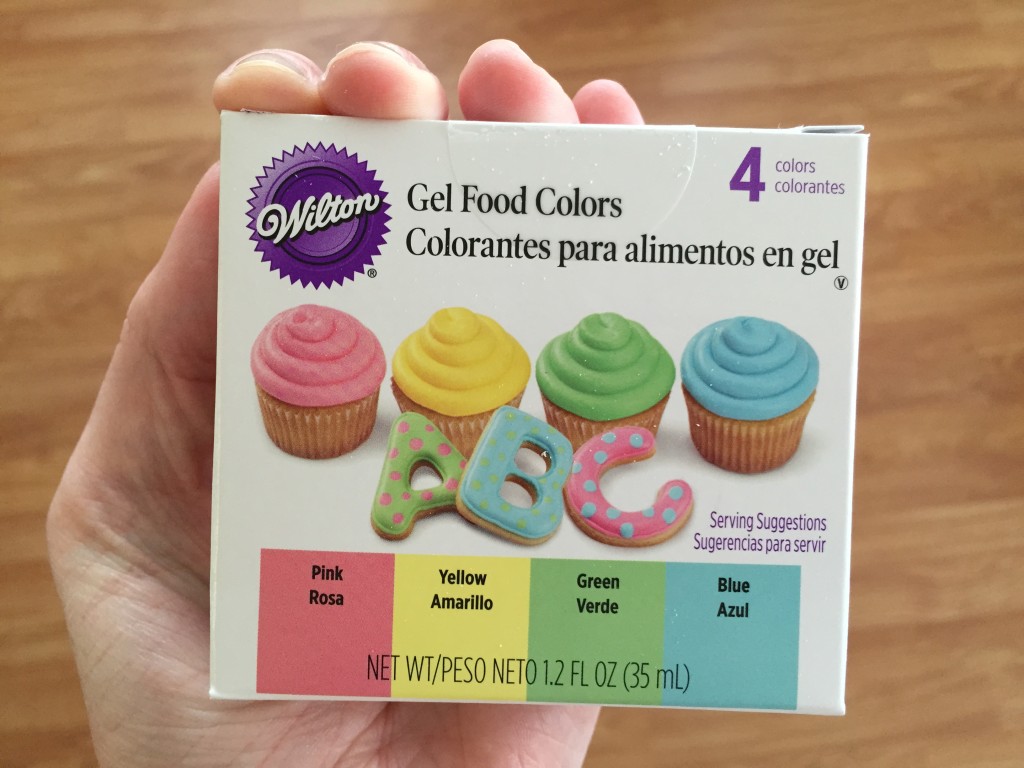
The beauty of macarons is in both their form and color…the higher quality the food coloring, the more beautiful they’ll be. This time, I just picked up some cheap food coloring from the grocery store (pictured below), so they turned out a mossy green when they were mean to be light blue. If you want really pretty macarons, buy professional quality food coloring, like this. (I’m buying the Deep Pink, Mint Green, and Sky Blue!) I will say that cheap red or pink food coloring works well because the macarons will turn out light pink!
Step 2 | Sift together the confectioner’s sugar and almond meal. (This is my least favorite step!) It will take a while because almond meal is just ground almonds…which are chunky! Start by sifting the confectioner’s sugar into the bowl, then sift the almond meal on top. Then, mix the two together. (If your mixture still seems chunky, sift it again. It’s imperative that you have a very fine mixture.)
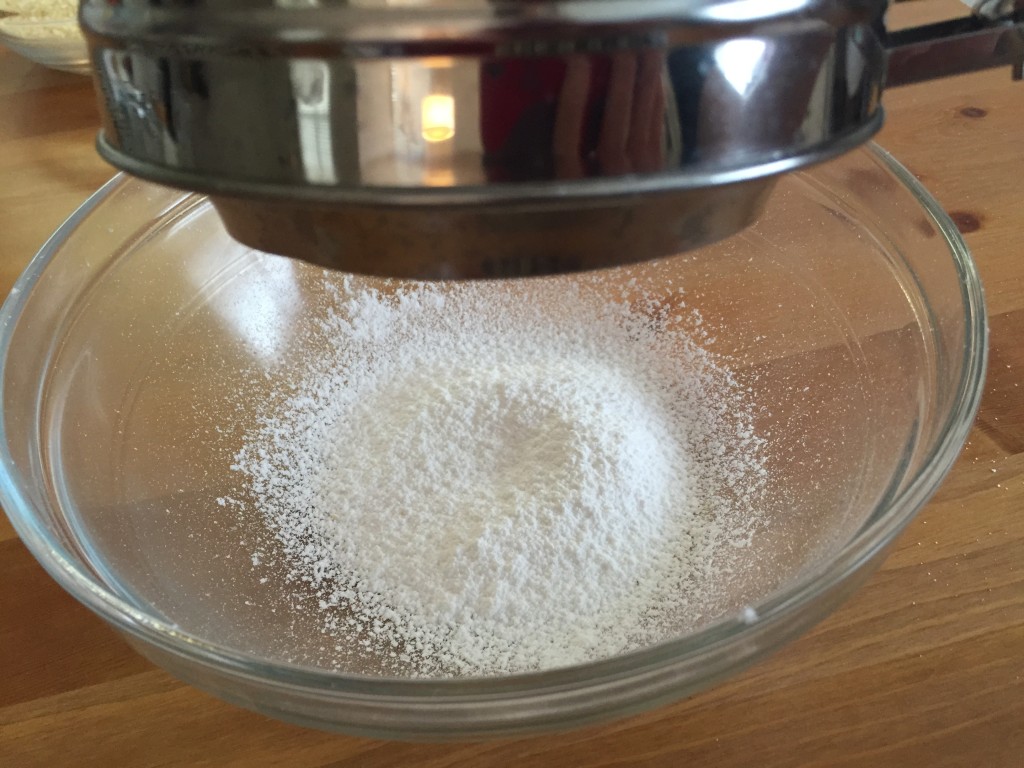
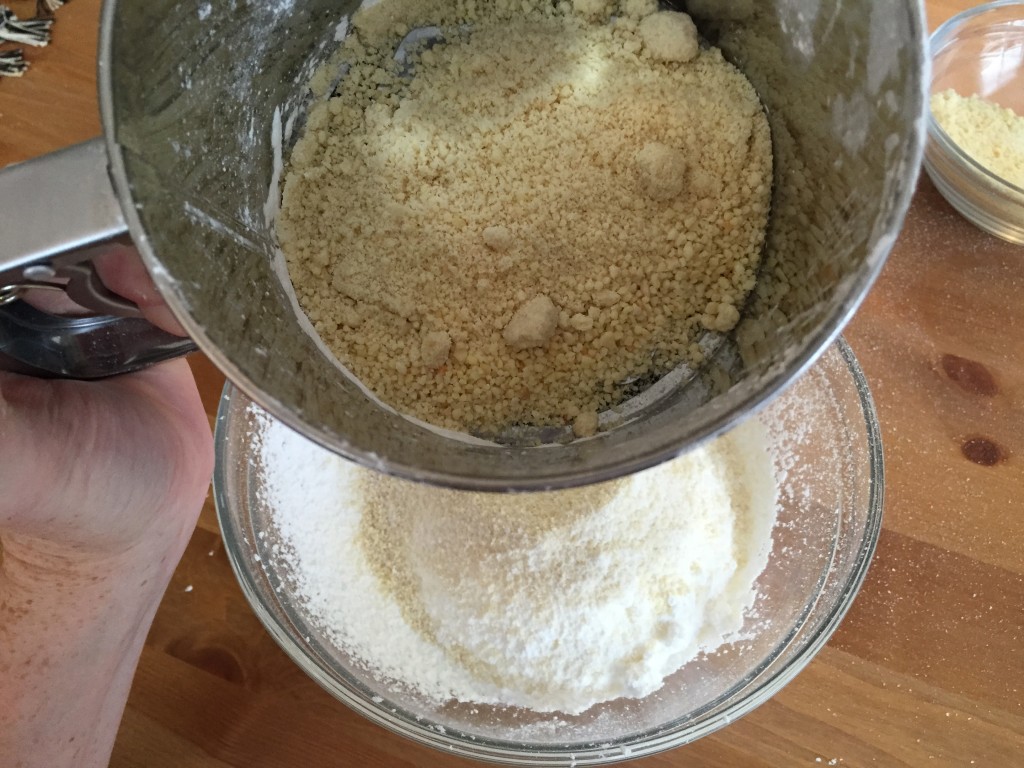
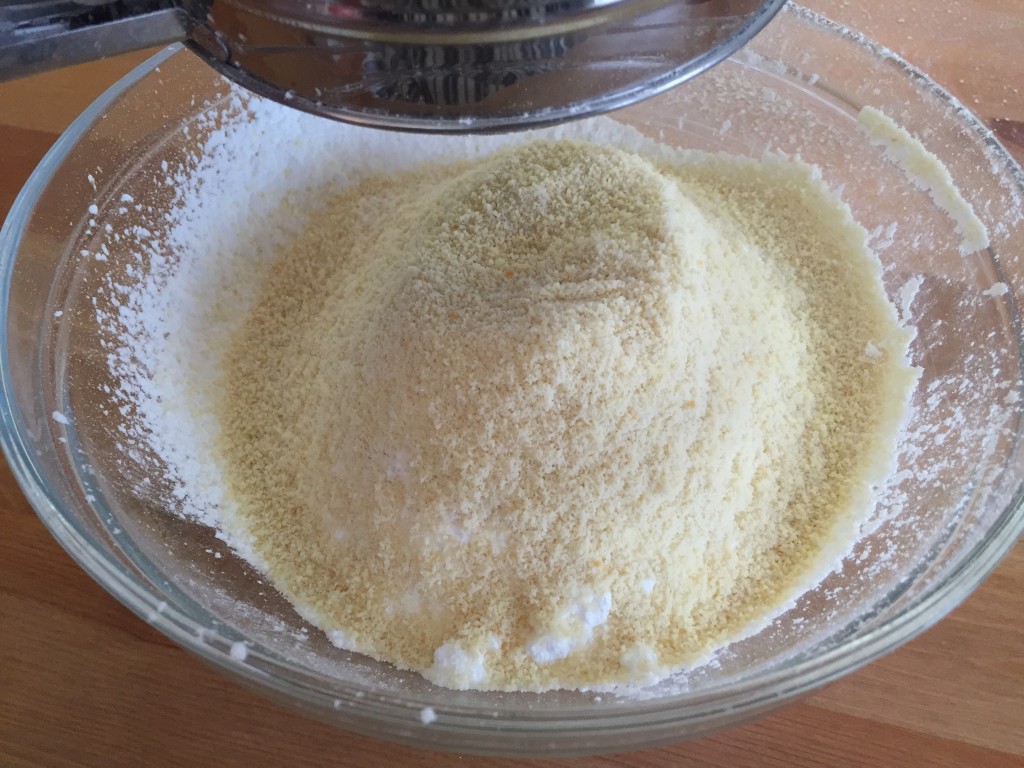
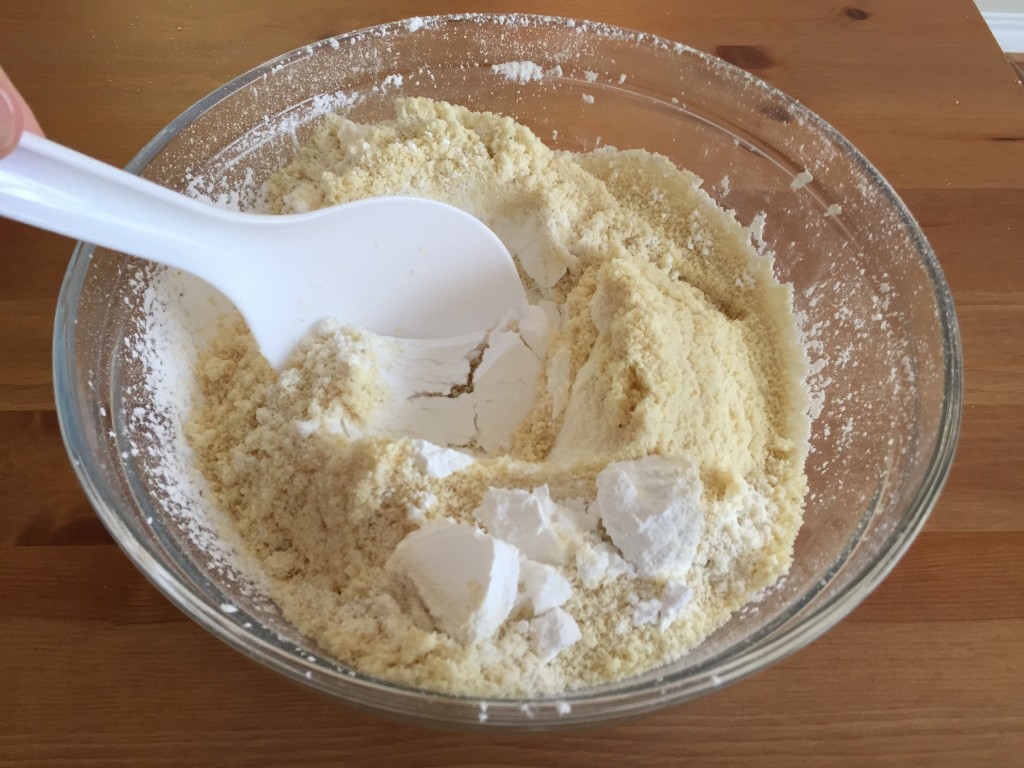
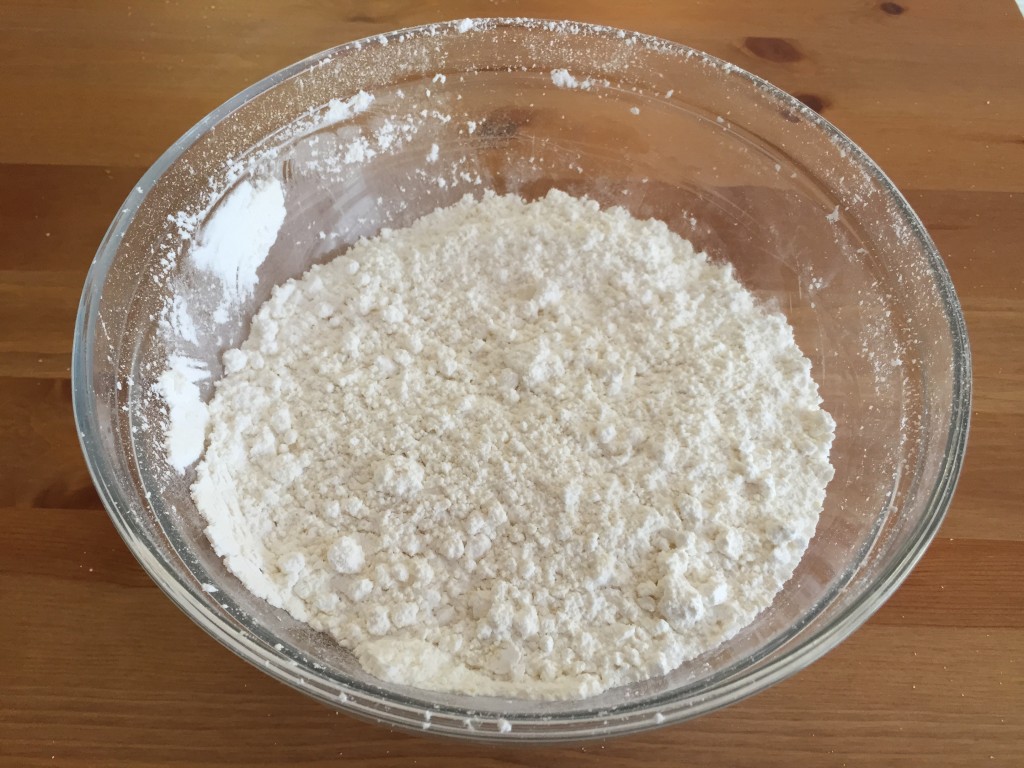
You should have both confectioner’s sugar and almond meal chunks left in your sifter (pictured in the two photos below); discard them.
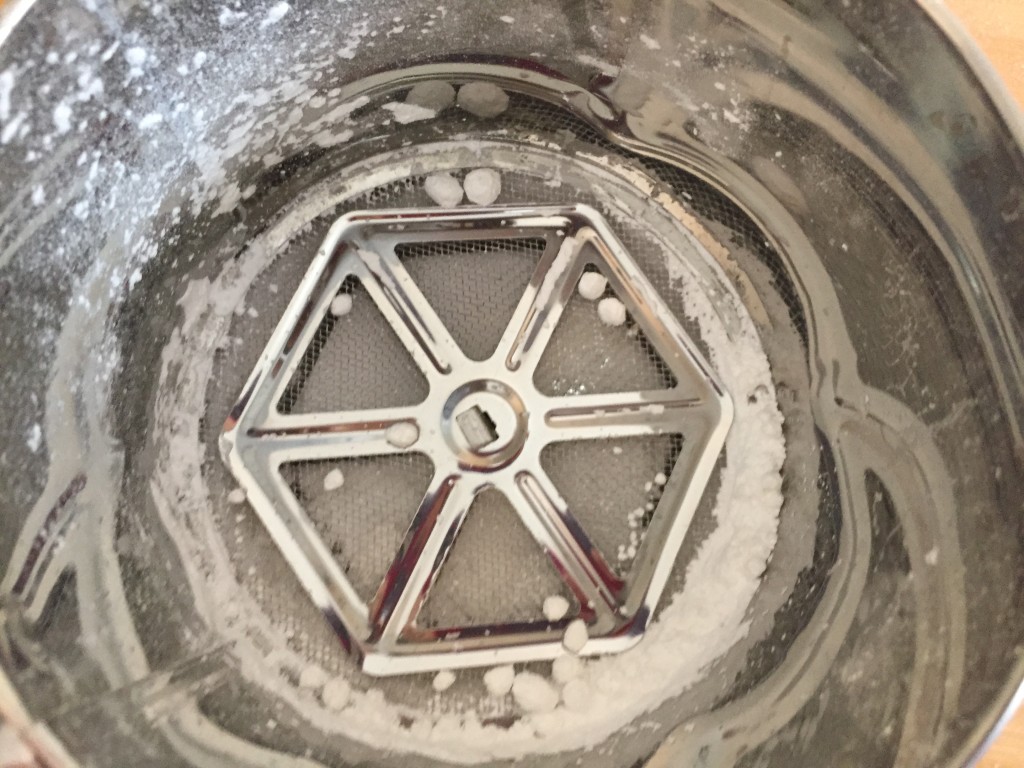
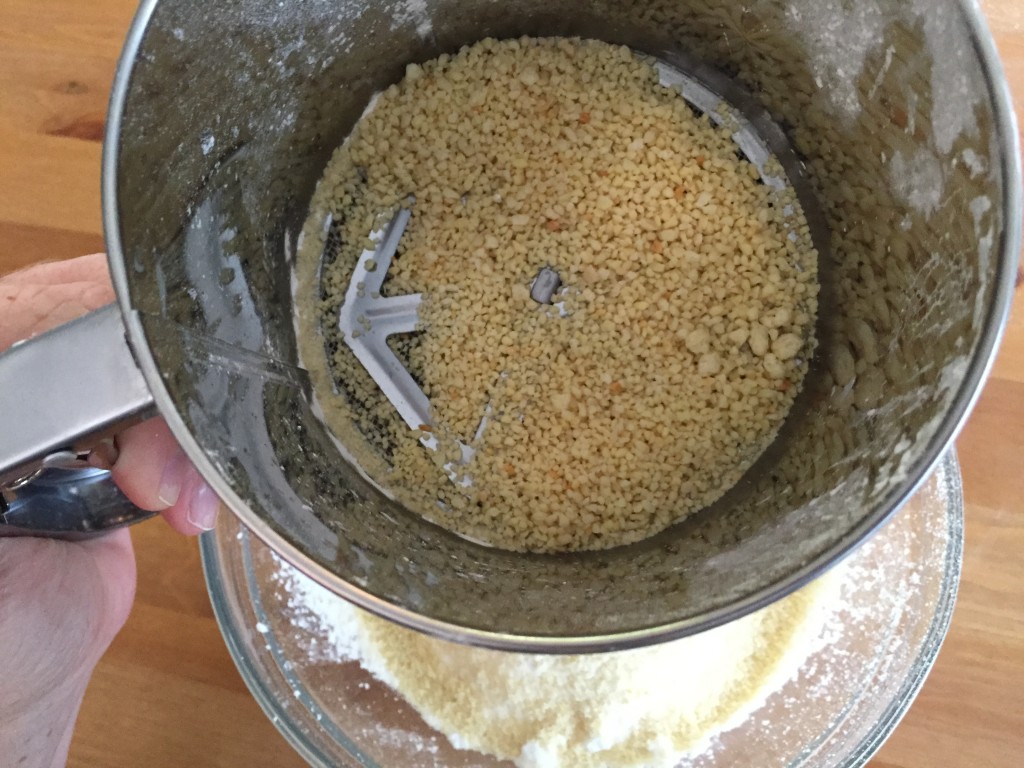
Step 3 | Separate 4 egg whites from yolk into metal bowl. Add caster sugar.
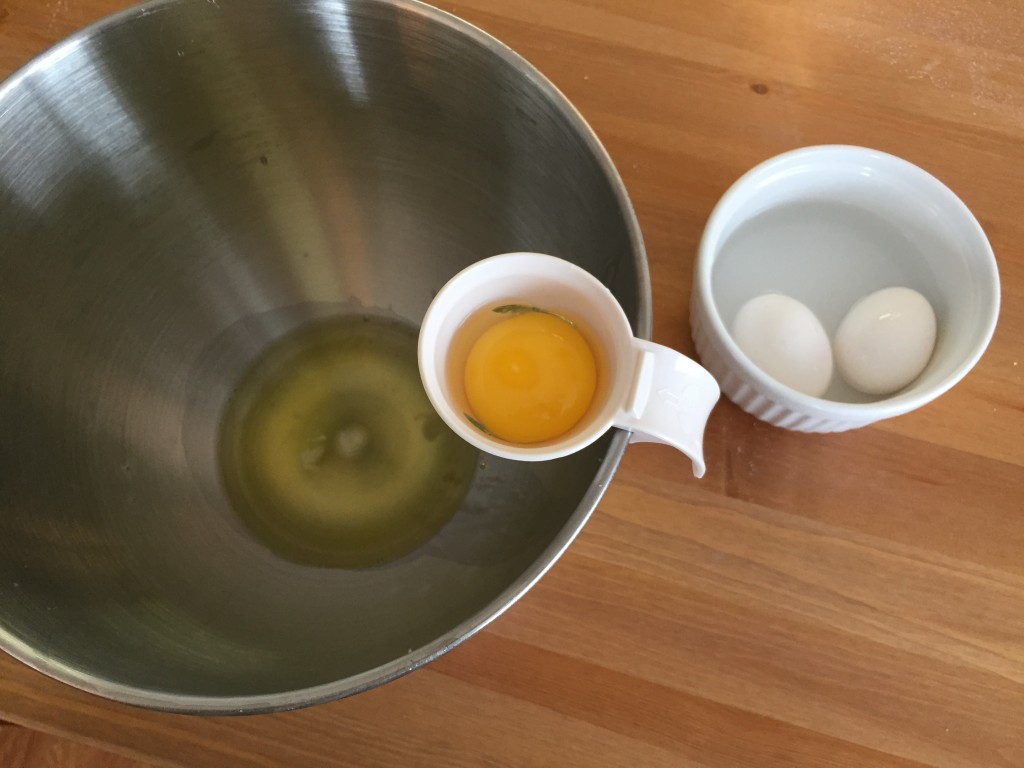
Step 4 | Beat for about 5 minutes on medium speed until the egg whites form stiff peaks and the mixture stays in the bowl when it’s turned upside down. Once it’s gotten to that point, beat mixture for another 1 or 2 minutes.
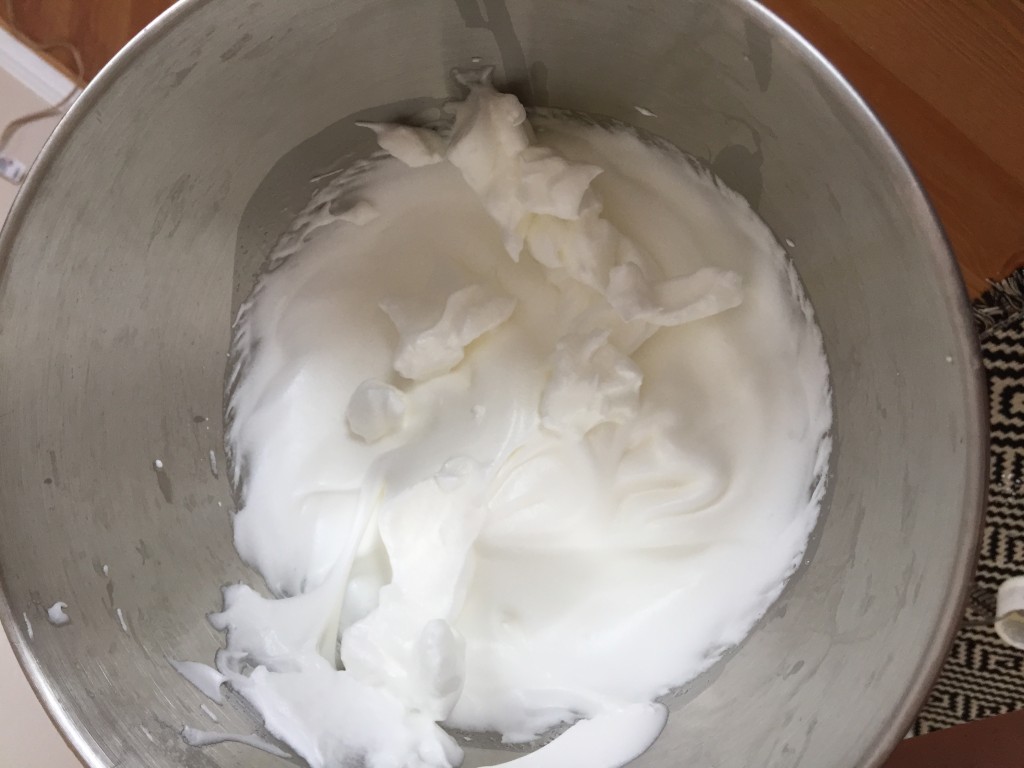
Step 5 (Optional) | Add 5-10 drops of food coloring into the bowl and mix for 20-30 seconds to incorporate it. The color will fade when baked, so add more coloring than you think you’ll need.
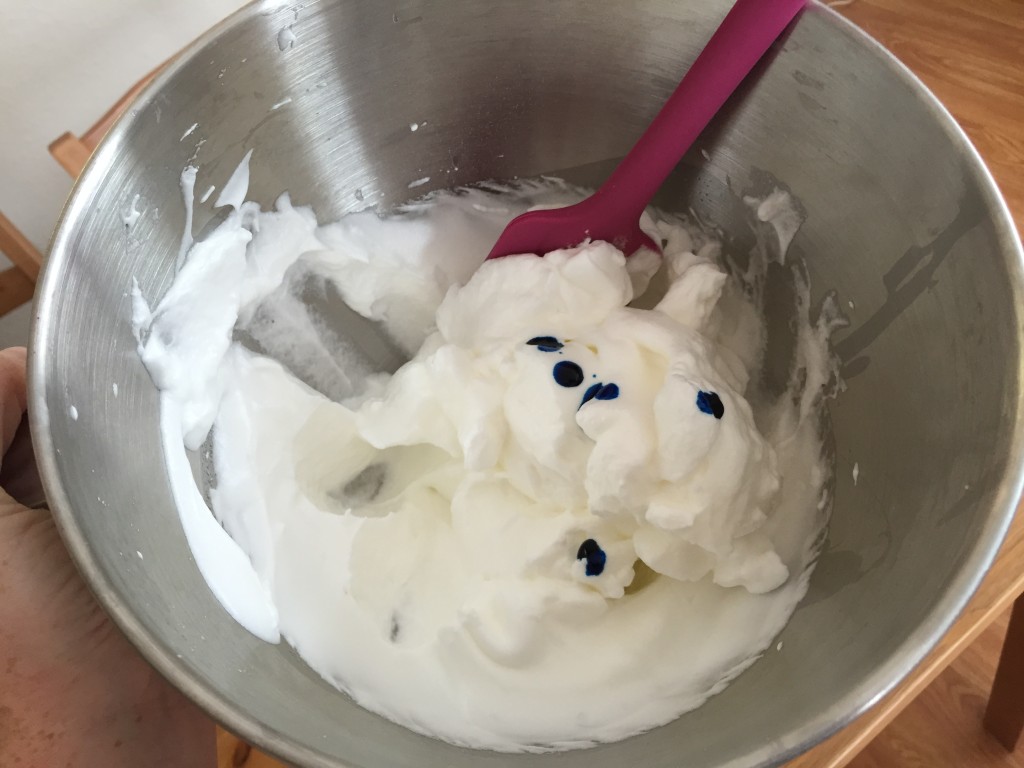
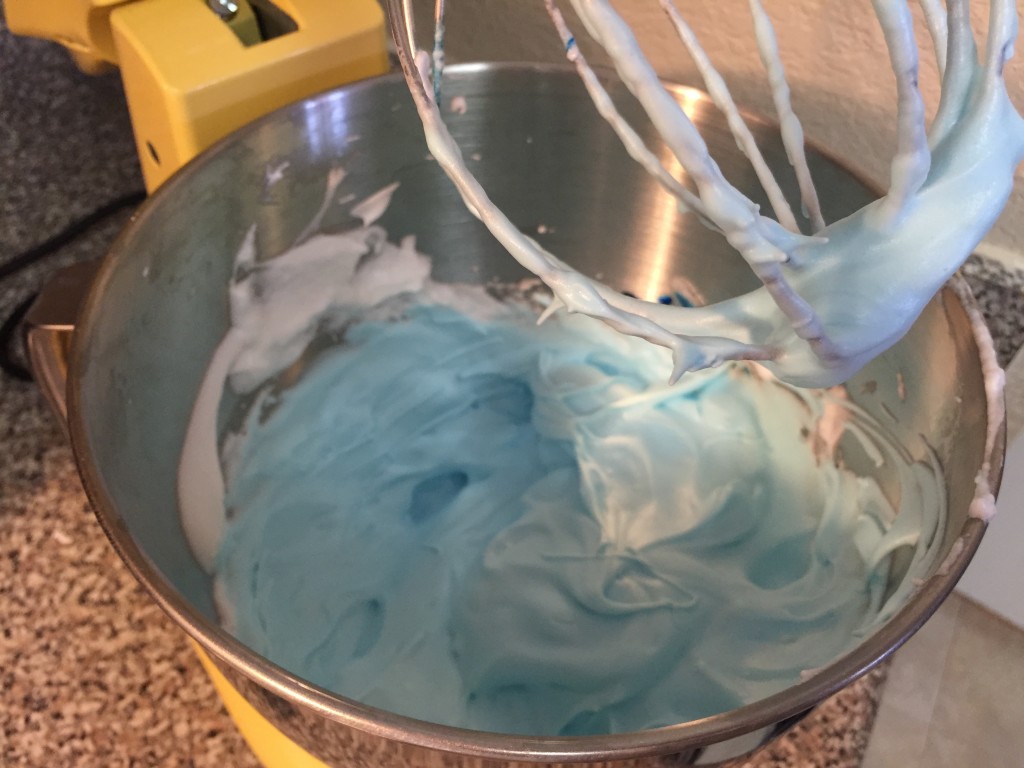
Step 6 | Now, this is the tricky part. You’ll want to incorporate the confectioner’s sugar/almond meal mixture with the egg white mixture…very, very precisely and carefully. If you under-mix, the cookies won’t turn out correctly because there will be too many air bubbles. If you over-mix, the cookies won’t turn out correctly because there won’t be enough air bubbles. I’m telling you, these are the diva cookies.
Here’s what you want to do: pour the confectioner’s sugar/almond meal mixture into the center of the bowl with the egg white mixture. Using a rubber spatula, cut the batter through the center, then turn the spatula in a backwards “J” motion, turning the bowl as you scrape the sides. Repeat gently about 30-50 times, turning the bowl each time you fold. (You’re trying to achieve a down-across-up-and-over motion.) Watch this video if you need help learning how to fold.
You’ll know that your batter is ready when it’s shiny and lava-like, but not runny. You can test its readiness by tilting the bowl to the side, allowing the batter to flow towards the edge and then setting the bowl down. If the batter settles flatly to the middle and is shiny, it’s ready (pictured below).
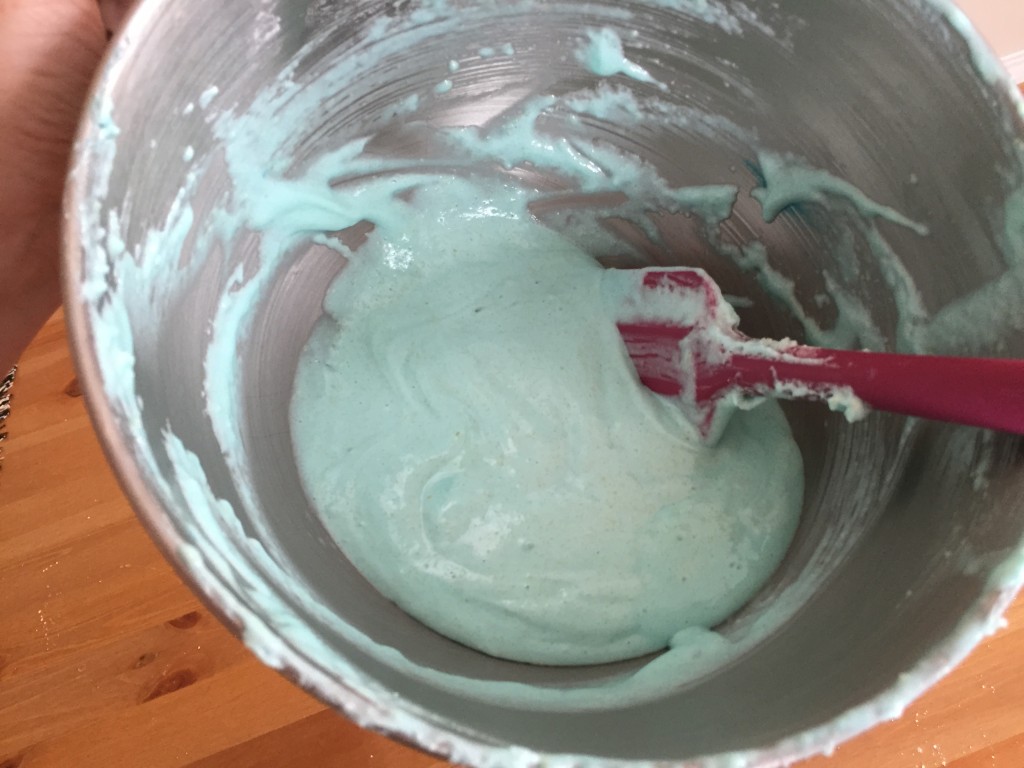
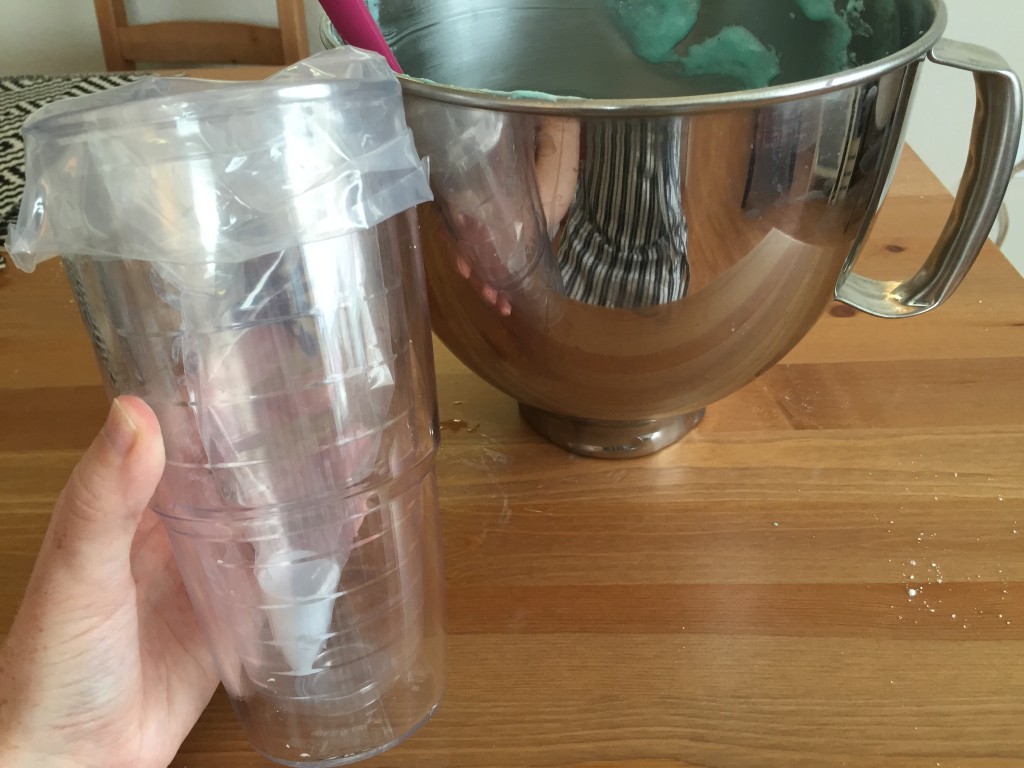
Step 7 | Spoon batter into a pastry bag (or a Zip-Loc bag with the corner snipped). Tip: use a cup to hold your bag as you fill it! (Check out my new apron in the reflection below!)
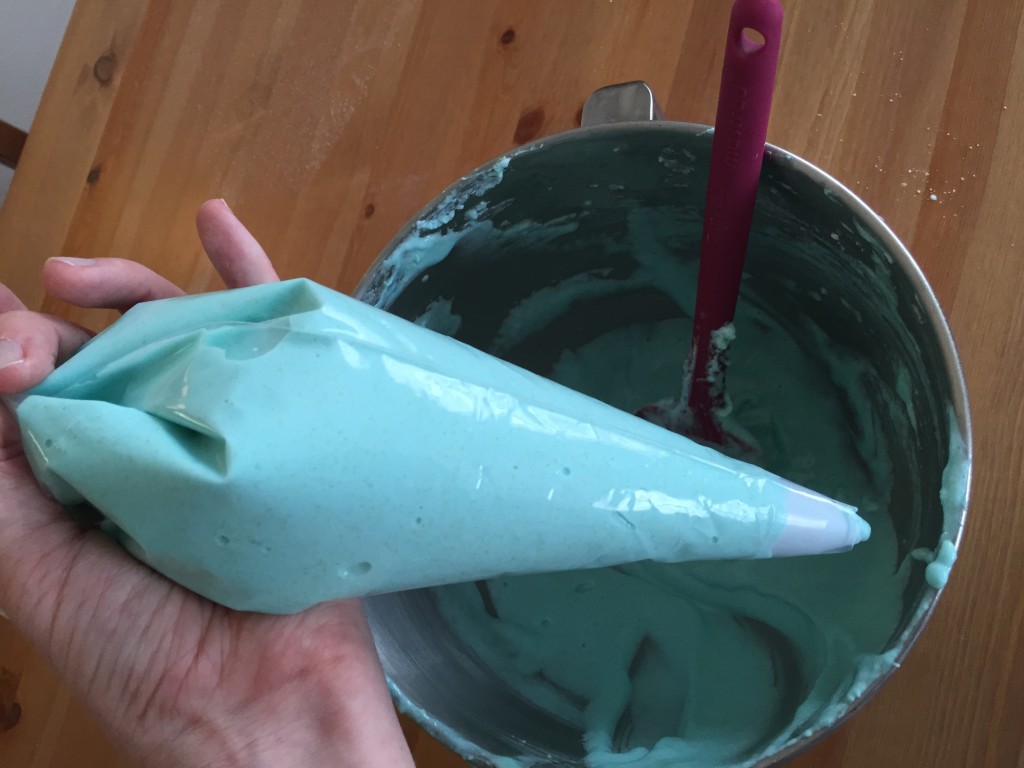
Step 8 | Pipe 1 inch rounds of batter onto baking sheet covered with either parchment paper (again, not wax paper) or a Silpat mat. Do not use a swirling motion; instead, hold the tip of the pastry bag on the sheet, squeeze gently, and then flick the bag upwards to complete the dispensing. They don’t have to be perfect, but the closer in size you can make them, the better, since they’ll be used two-by-two. As they bake they’ll become more perfectly round as well.
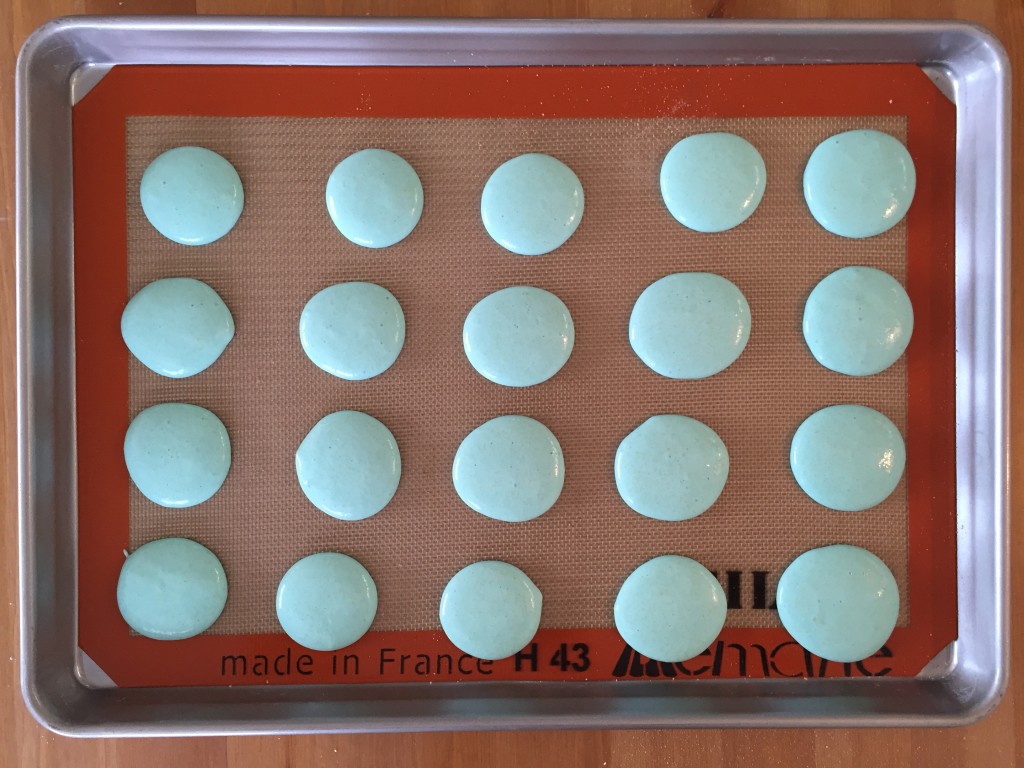
Step 9 | Hold the baking sheet about 3 inches above the counter and drop it, releasing the air bubbles in the rounds. Repeat 3 times. Then, flip the tray and repeat 3 times from the other side. Do not skip this step! Also, do not over-do this–then there won’t be enough air! These cookies are just so particular.
Step 10 | Let batter rounds sit out at room temperature until they’ve formed a skin. (This means that when you touch the rounds, they give a little, but no batter gets on your finger.) This typically takes about 30 minutes to 1 hour.
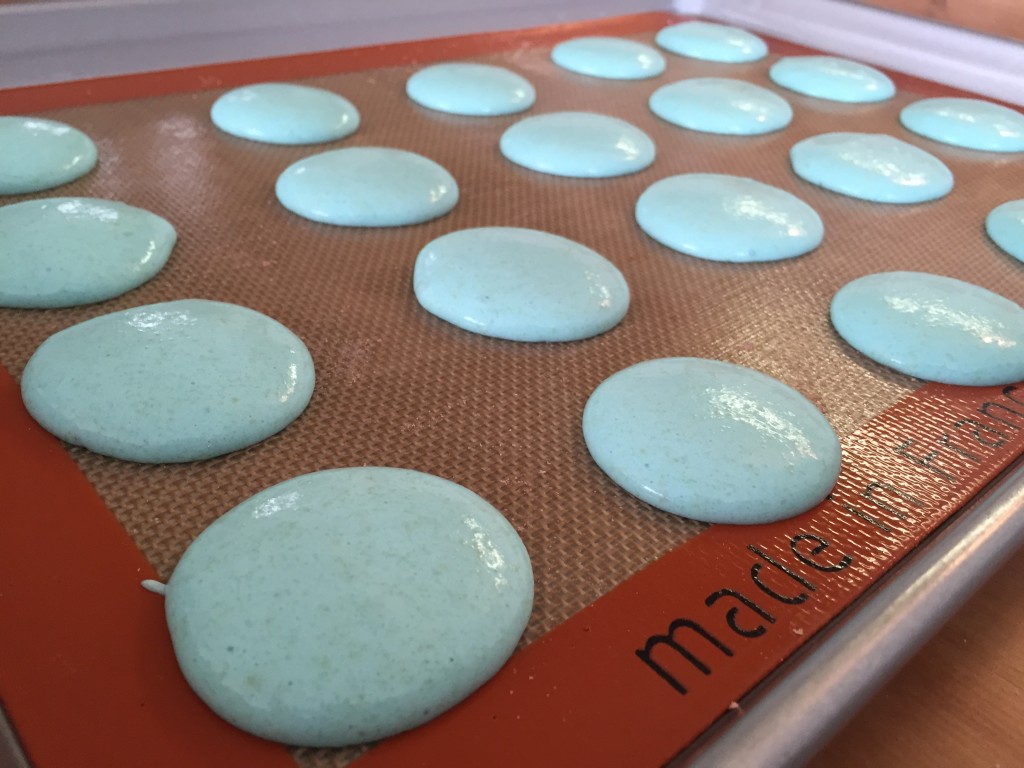
Step 11 | Bake cookies for 15-20 minutes, checking to see that they have a puffed, smooth, rounded top and those quintessential ruffly feet.
Step 12 | Take cookies out of the oven and let them cool completely, which usually takes between 45 minutes and 1 hour. With a metal spatula, carefully loosen each cookie from the tray. Yay! Admire your beautiful work!
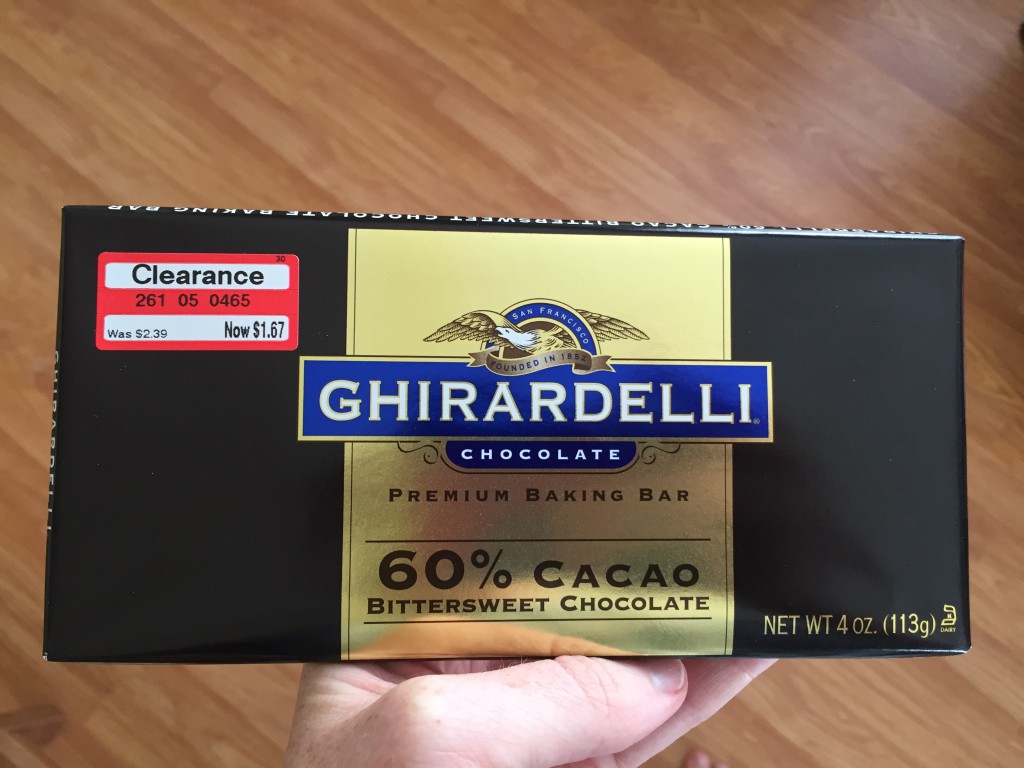
Step 13 | Fill each set of two cookies with your favorite filling using a pastry bag. Try strawberry jam, vanilla buttercream (which you could color to match the cookies!), Biscoff cookie butter, or chocolate ganache. I made chocolate ganache, which is just 2 tbsp cream heated up and poured over a chopped 4oz chocolate bar, then mixed and cooled. Because I used dark, bittersweet chocolate (picture below–on sale at Target!), I added about 2 tbsp of honey as well to sweeten it up and add another layer of flavor.
Step 14 | Enjoy your beautiful, French macarons! Way to go!
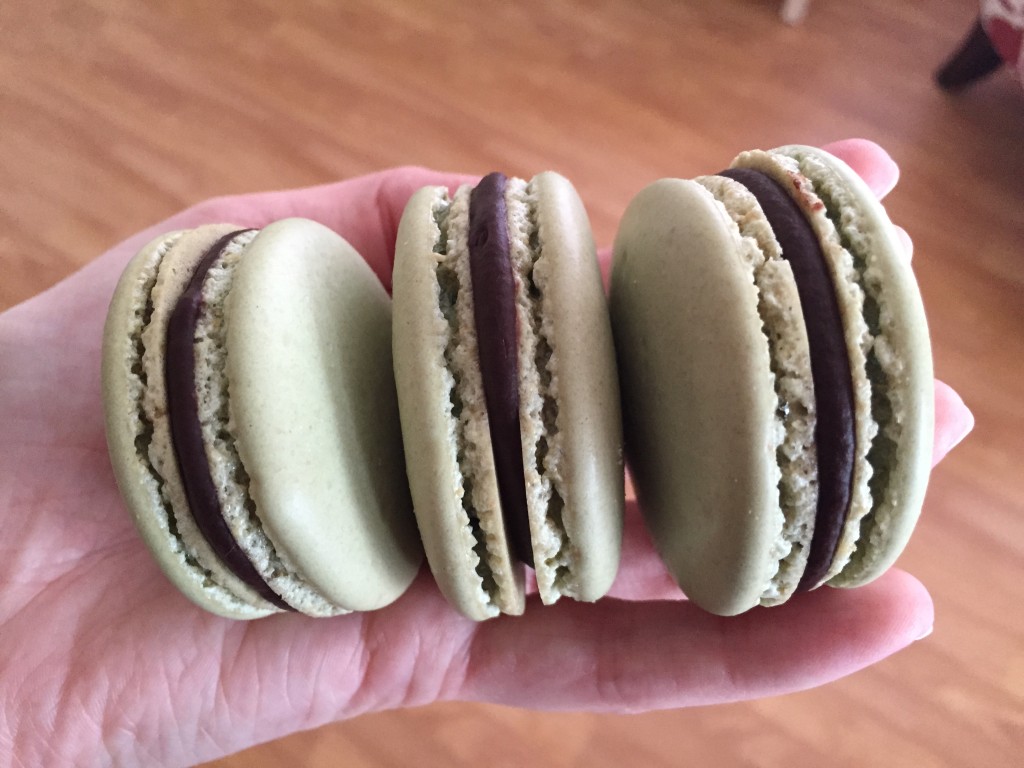
If your macarons don’t turn out correctly, check out this video or this video; both can help you identify what went wrong so that your cookies will turn out beautifully next time!
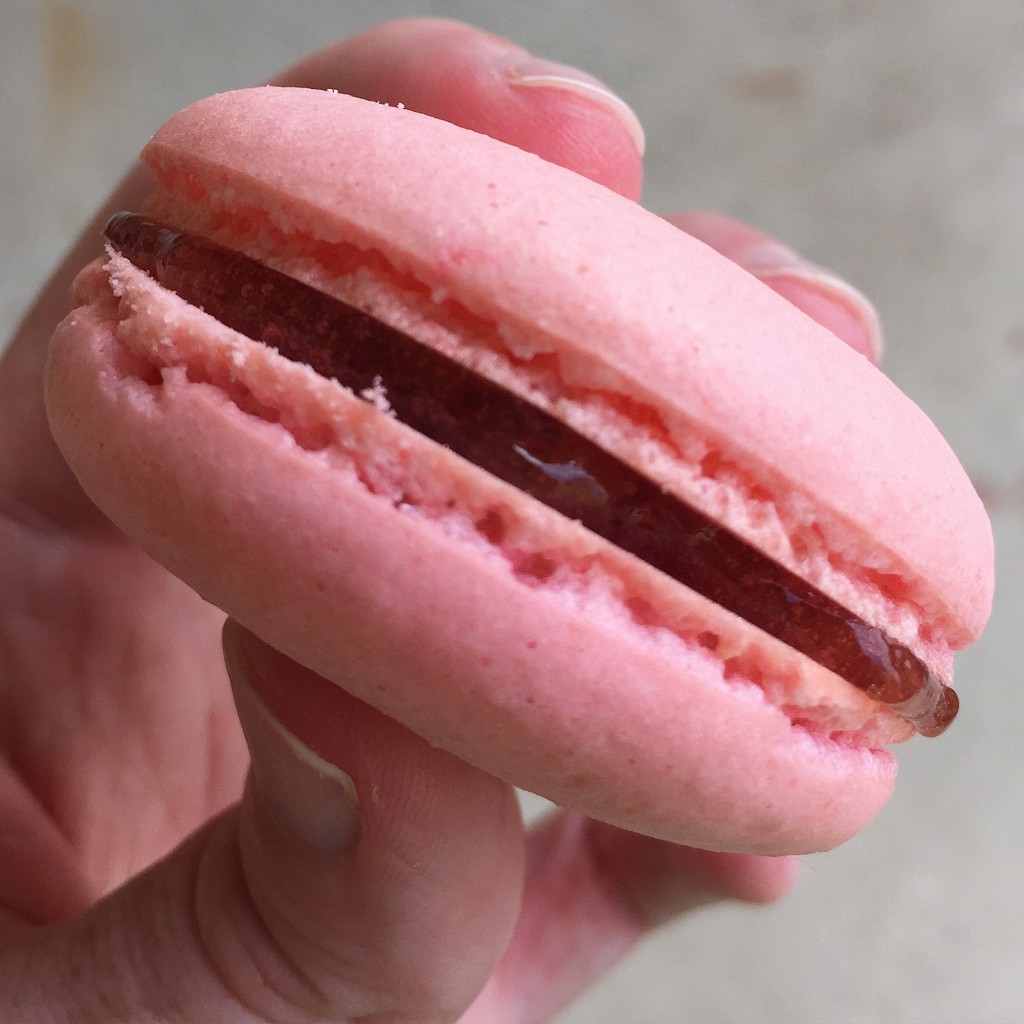
And just for fun, here are the macarons that I made two days ago; pink cookies with strawberry jam!
If you decide to try your hand at these pretty cookies, share your photos with me! Best of luck!
// Have you ever made French macarons?
Thank you for reading! You can find me online on Facebook, Instagram, Pinterest, and Twitter. If you’d like to be alerted whenever I publish a new post, you can follow me on Bloglovin’ or subscribe via email. Check out my fun tees in my Etsy shop and listen to my weekly podcast about simplifying life, Simplify Everything! Are you a blogger too? Check out my Blogger Mentorship Program.
can I make my own almond meal by finely grinding up almonds for this recipe?? also you mention that regular sugar can be used if you don’t have castor sugar will it affect the recipe?? I was reading your instructions it just seems like you have to be very precise with this cookie recipe. I’ve never made them they seems tedious also reading about the spatula mixing part. I’m afraid of messing something up but I guess could give it a try first time for everything. I love to bake & they are such a pretty cookie…thank you
In step 9, when you flip the tray and repeat the 3 drops, which way are you flipping it?
When I hear ‘flip,’ I think upside down so that the bottom becomes the top. I’m not sure how this would work without the rounds hitting the countertop…Or do you mean rotate that the left becomes the right to even out differences from how it is picked up?