If you’d prefer, there is a detailed closet organization video embedded at the end of this post; link to view on Youtube here.
When my husband and I moved into our house in March, we decided to wait a couple of months before investing in our new space so that we could get a feel for how we’d use each room and what kinds of furniture and storage made sense for us. (Something many people suggested and advice we’re glad we took.) And while I’m usually not very patient when it comes to settling in and organizing, I literally didn’t put a single hole in the wall or make any furniture/storage purchases until this past weekend. I was really committed to figuring out what would work for us before jumping the gun and spending time and money on systems that wouldn’t work out in the long run.
About two weeks ago, when we’d been in our house for almost exactly two months, we started to make plans and budget out each room, since we both had a handle on what we wanted to change and how we used the space. One of the first things that came up was our master bedroom closet. It’s a decent size, but its layout and existing storage systems were seriously lacking and made keeping that room tidy difficult. Because it was disorganized and messy, we weren’t using it much, which we both thought was silly and frustrating.
Below are some photos of how our space has looked since we moved in. The “before:”
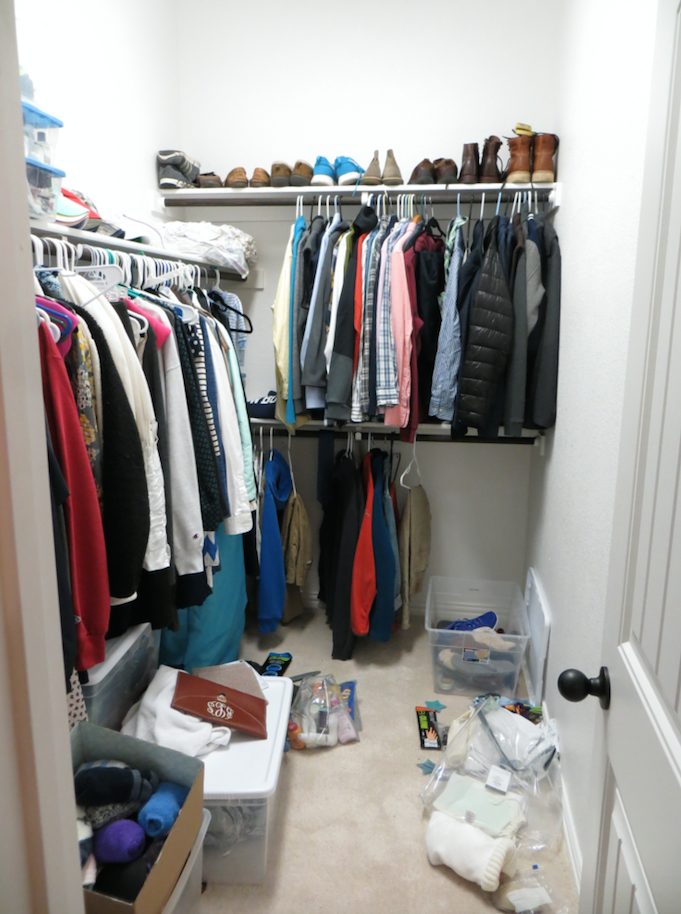
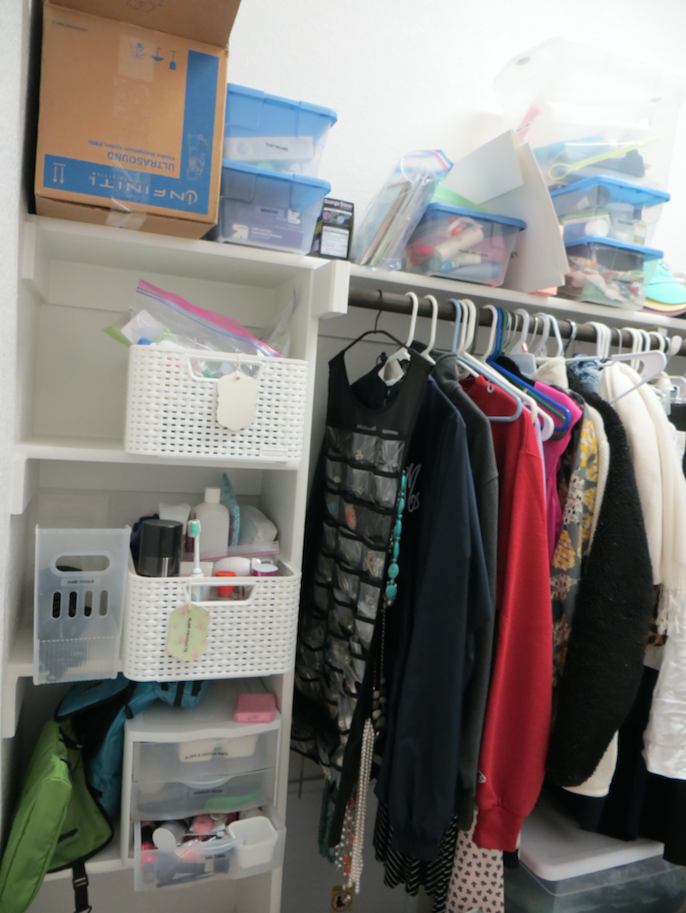
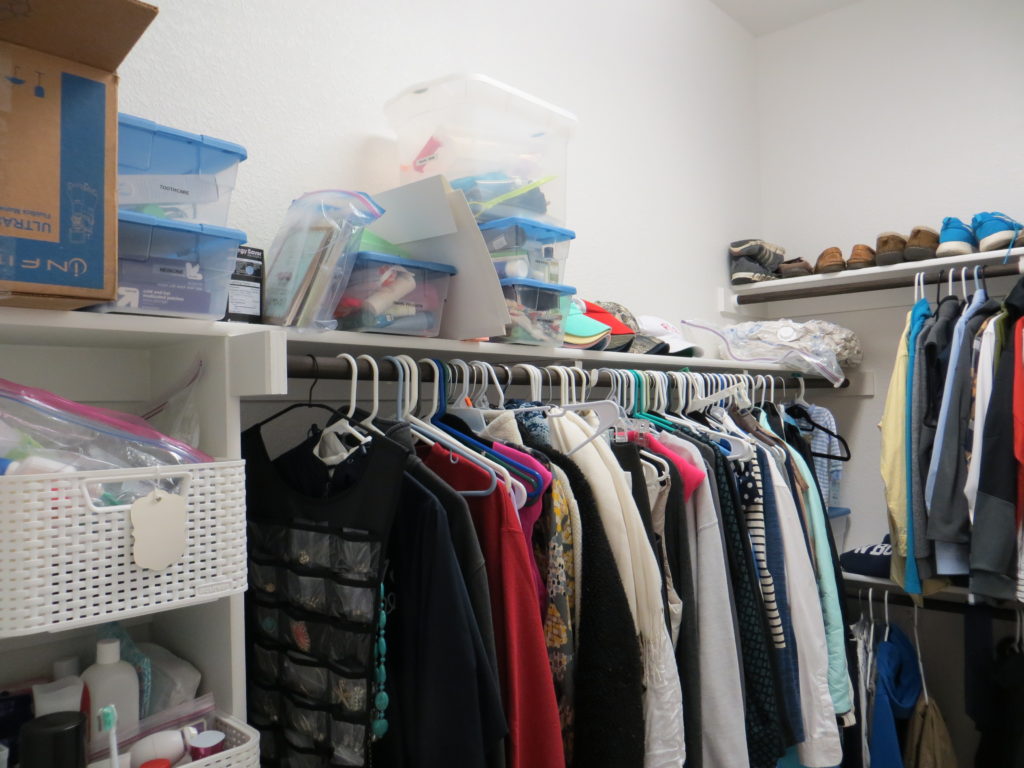
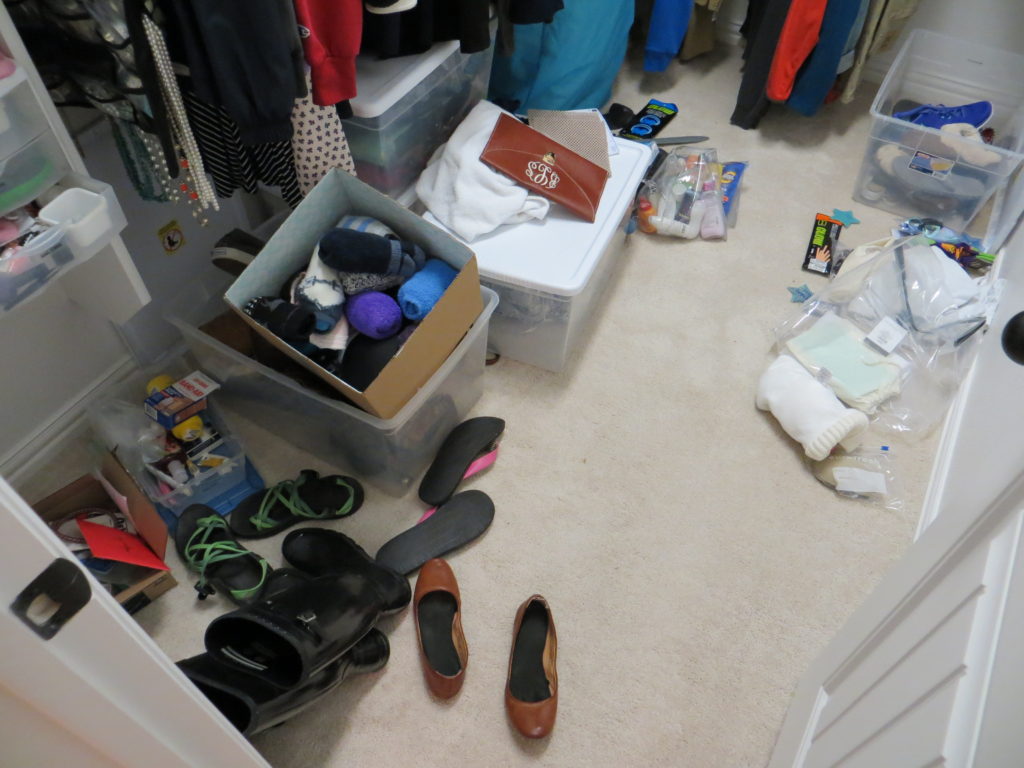
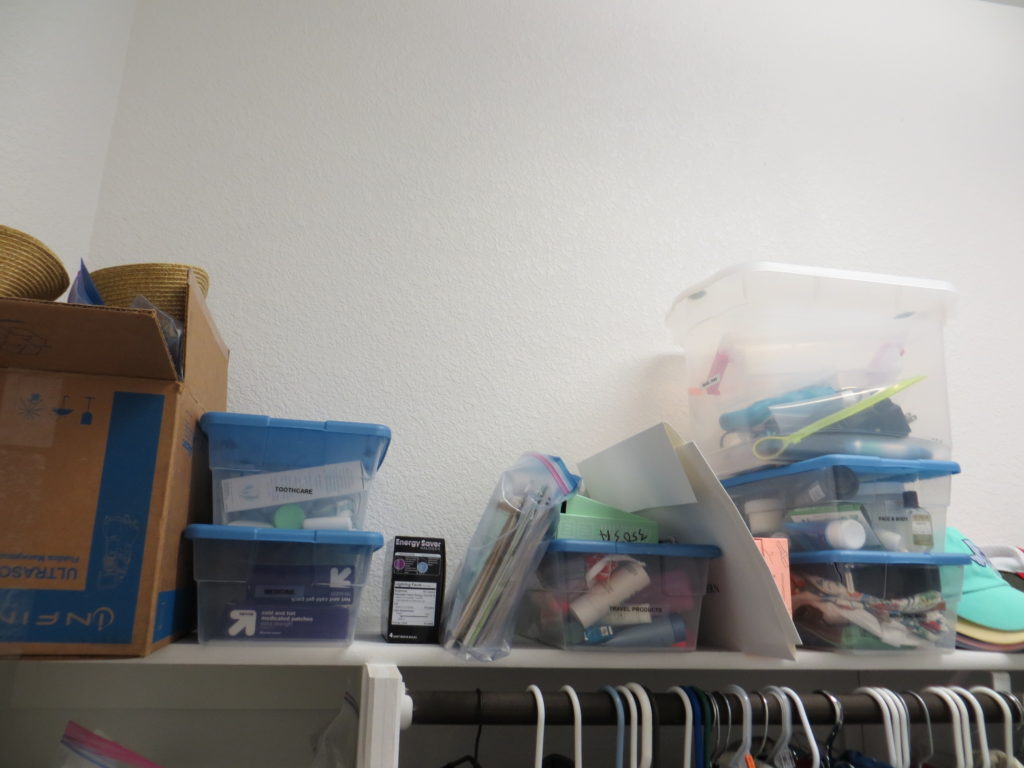
As you can see, it’s not horrific, just not super functional. (Nothing like the “before” of the closet in our apartment! Yikes!) Unlike our apartment closet, we aren’t using this space as a garage/attic/storage unit–we now have the space to store other items and are able to use the closet as an actual closet with a little bathroom storage built in, since it’s attached to our master bath.
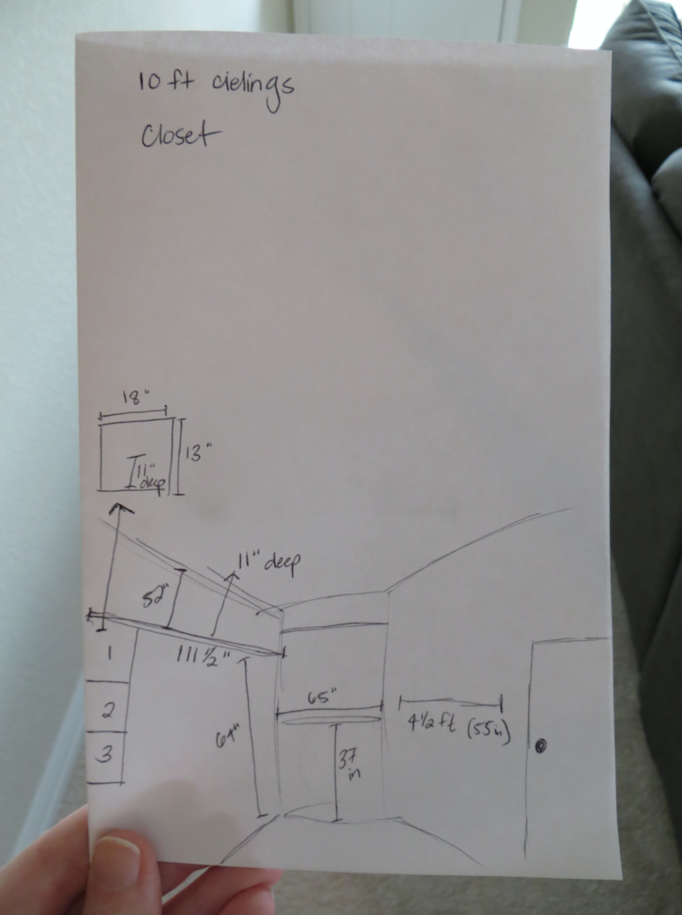
We decided that the main storage problem was that we had no where to line up our shoes except a high shelf or the floor, neither of which were ideal. We took lots of measurements (my diagram below) and then went to Home Depot to look for a solution to the shoe problem. Oh, and I definitely spelled ceiling wrong…clearly I didn’t remember the “i before e except after c” rule! 😉
After over an hour of looking at different systems–everything from freestanding bookcases to shoe racks to shelves–we settled on wall-mouted wire shelves. There is shelf bracket hardware made especially for mounting wire shoe shelves that hangs each shelf upside down (so there’s a lip) at a downward angle. Bingo!
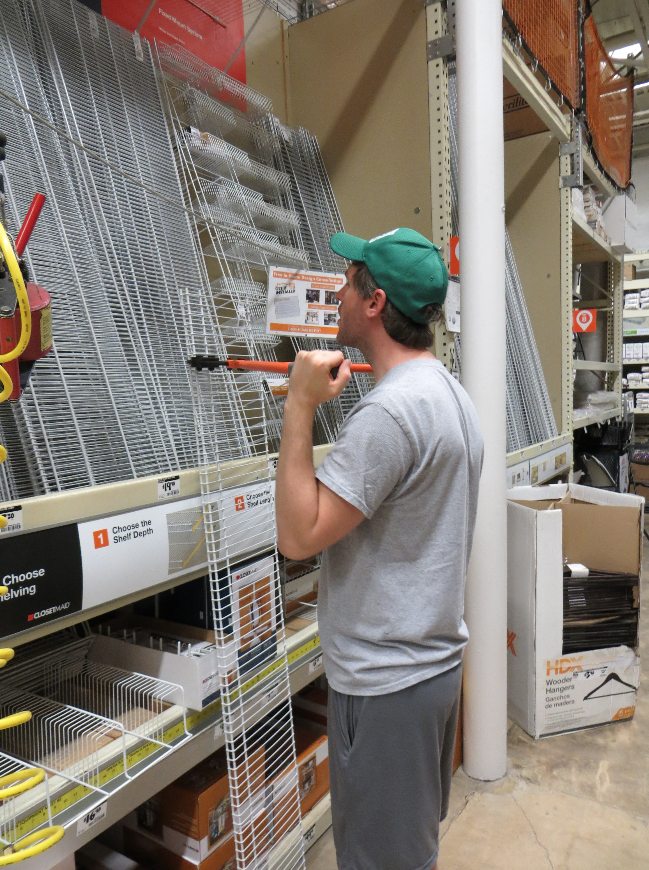
We picked out a couple of wire shelves, trimmed them in-store, and grabbed three sets of shoe shelf brackets (pictured below), three shelf tracks, and a pack of plastic end caps to cover the sharp edges where Riley had cut the shelves. Everything that we bought was manufactured by the ClosetMaid brand (affiliate link).
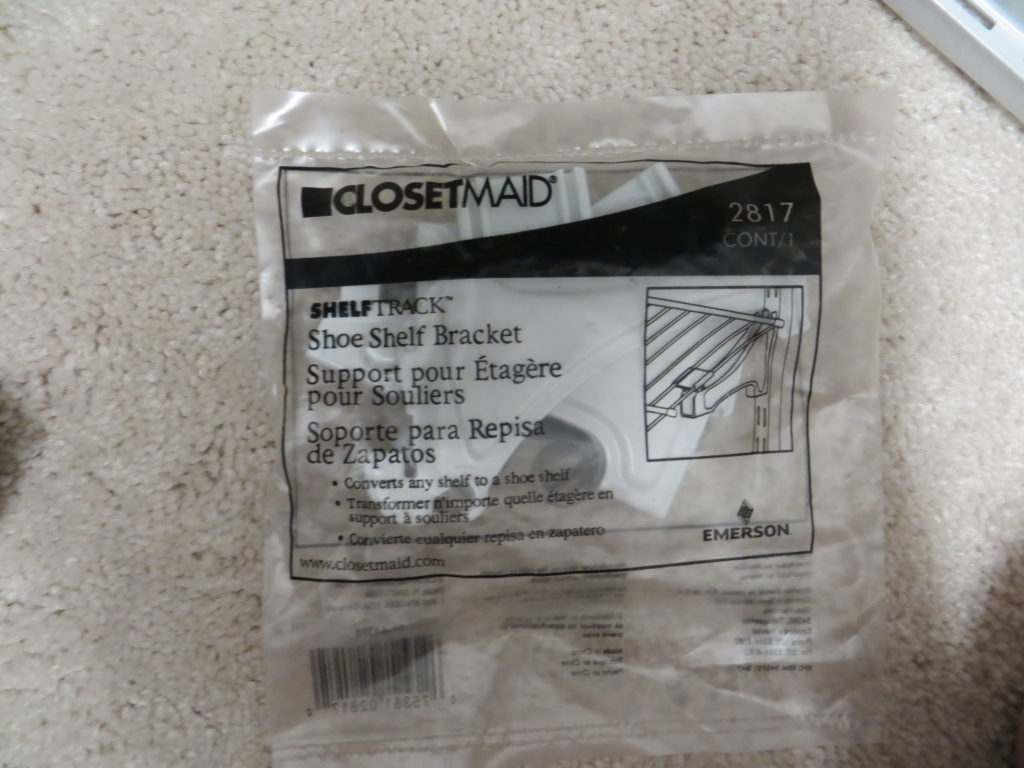
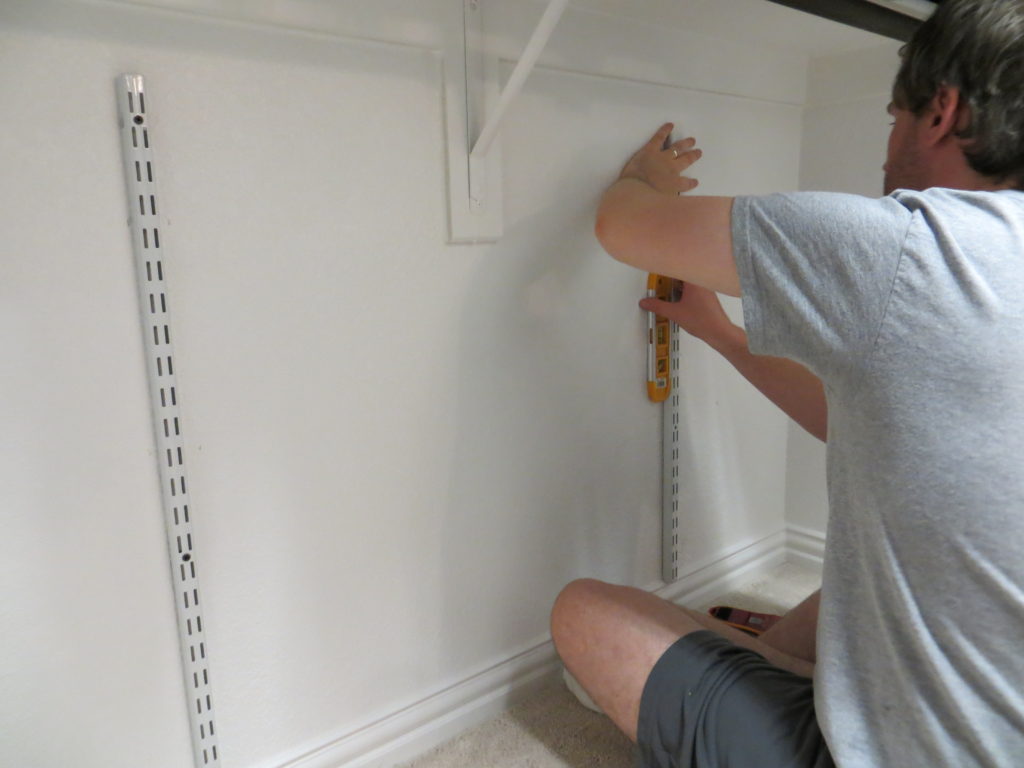
Once we arrived home, Riley used our stud finder to find studs (obviously), and then we secured two of the shelf tracks to them. We had planned on installing a third shelf track in the middle, but the way the existing bottom rod hardware sits made that impossible, so we returned the third track and pack of brackets. (You’ll see what I mean below.)
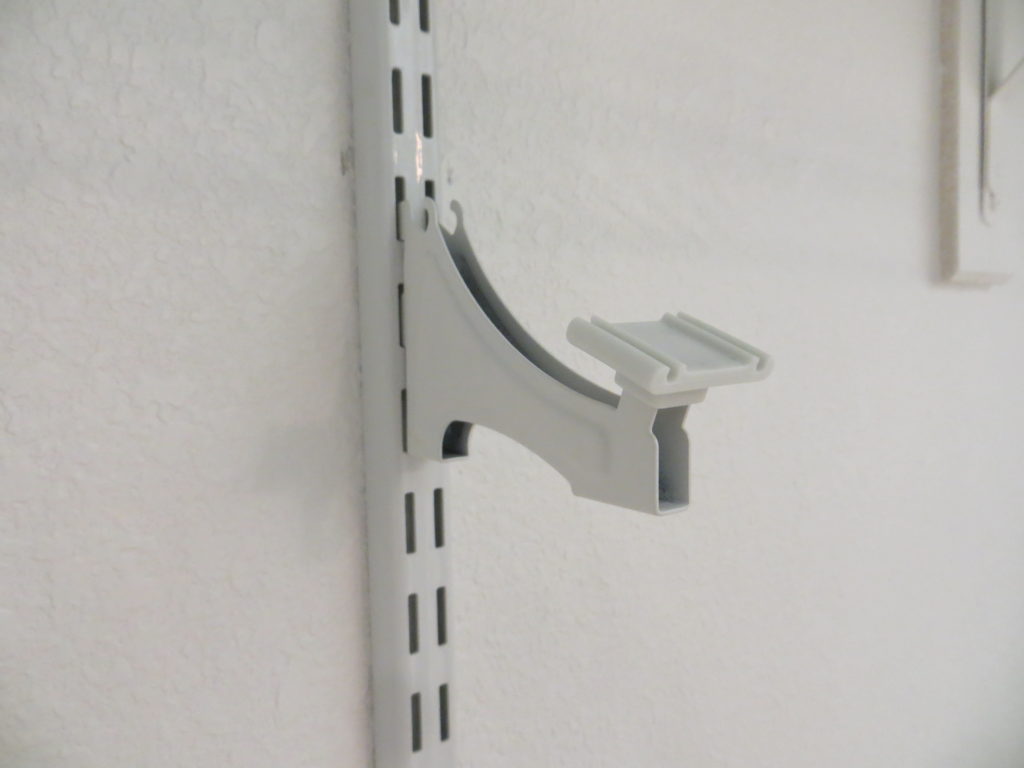
Below is a photo of the shoe shelf brackets we used–they have plastic pieces on the end that snap into the metal shelves, making them angled. We easily snapped the shelves into the brackets upside down (again, so that there’s a lip).
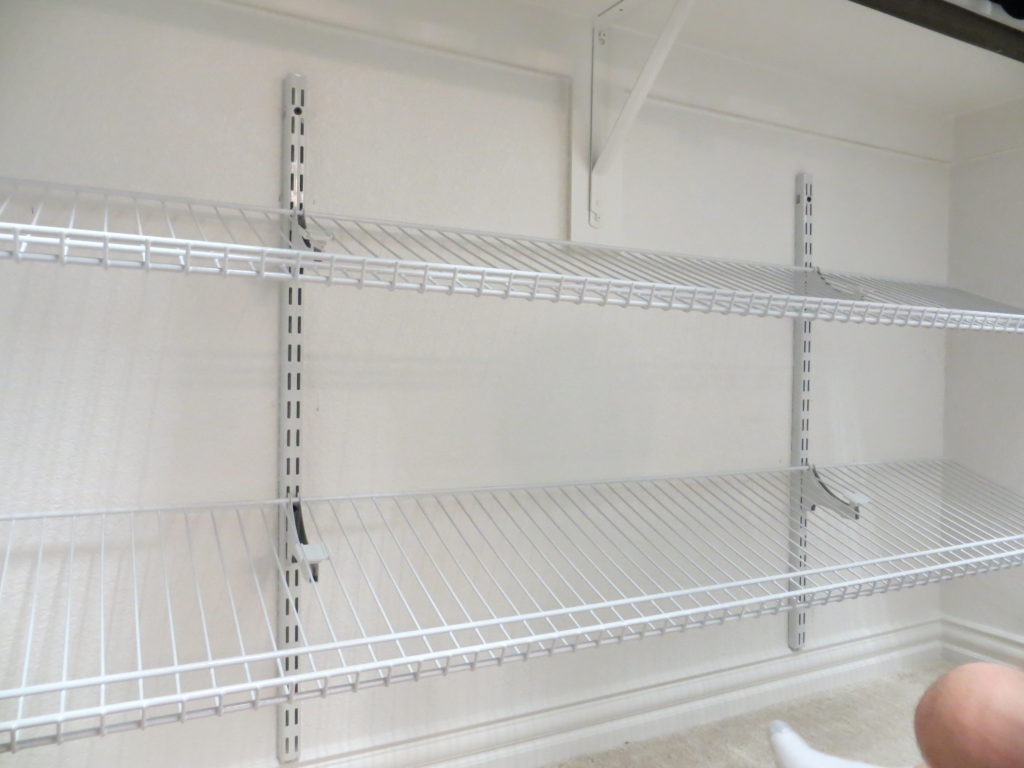
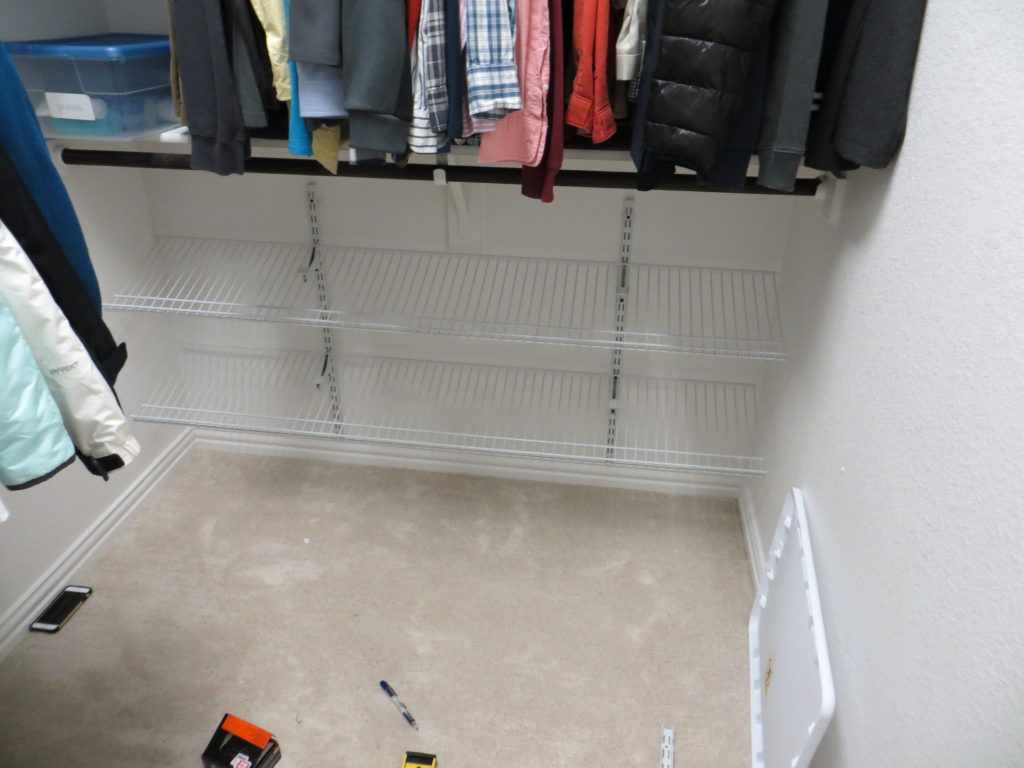
The whole installation only took about 20 minutes and was very painless and simple. We loaded up the shelves with shoes (and used the floor as a third “shelf”), and decided to corral our flip-flops in a basket since there wasn’t enough room to lay them out as well.
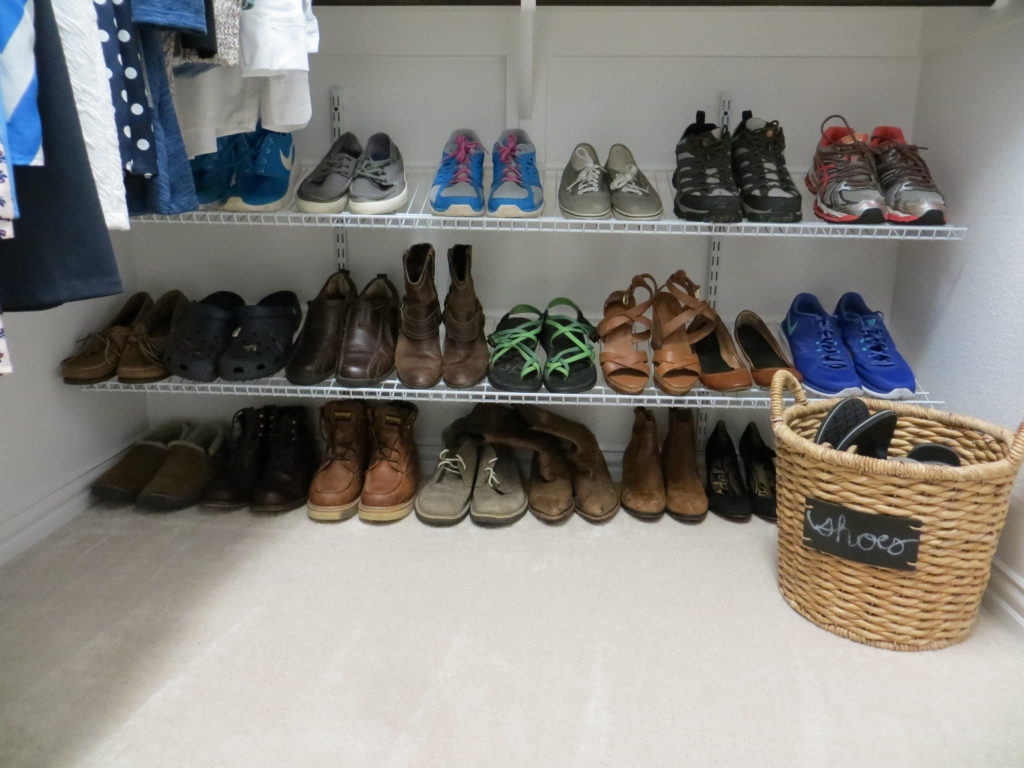
Once our shoes had a proper home, I could tackle organizing the rest of the space. This meant moving our coats and outerwear to the coat closet, sorting through all of the bins and re-organizing them, and hanging our clothes in an orderly fashion. The whole project took me an entire afternoon, but I really enjoy organizing, so I loved it!
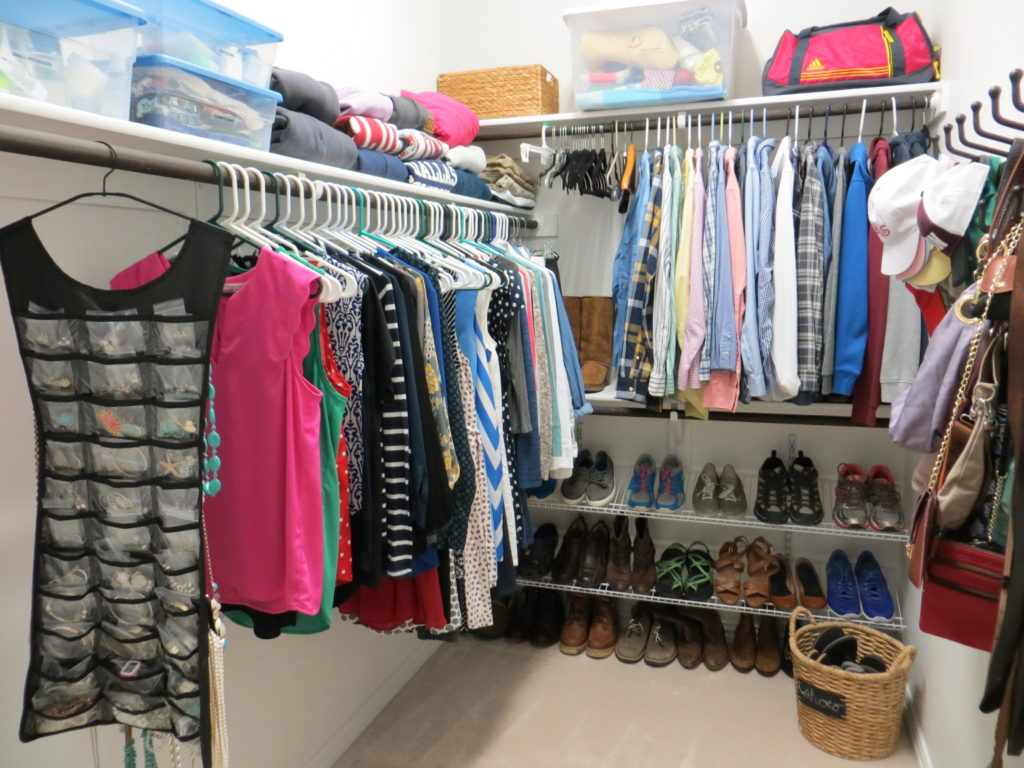
Below is the “after:”

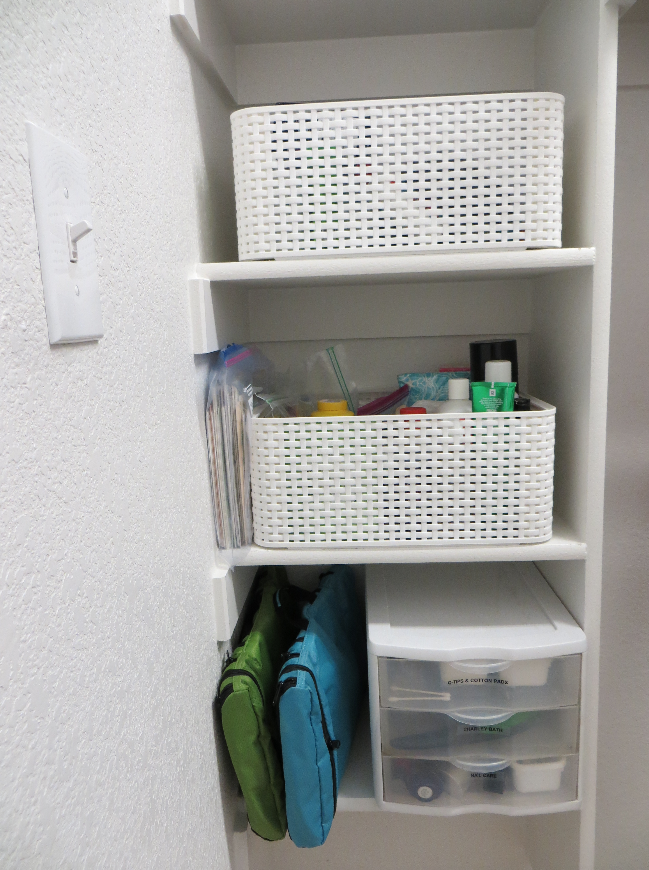
Here’s a picture tour of the space. First, on the left, there are three built-in shelves. The top two I used to house Riley’s and my occasional bathroom toiletries like contact solution, mud masks, nail polish remover, and the like. The bottom shelf holds our travel toiletry cases and a three drawer organizer that holds q-tips and cotton pads, my dog Charley’s bath products and brushes, and nail care items, like polish and clippers.
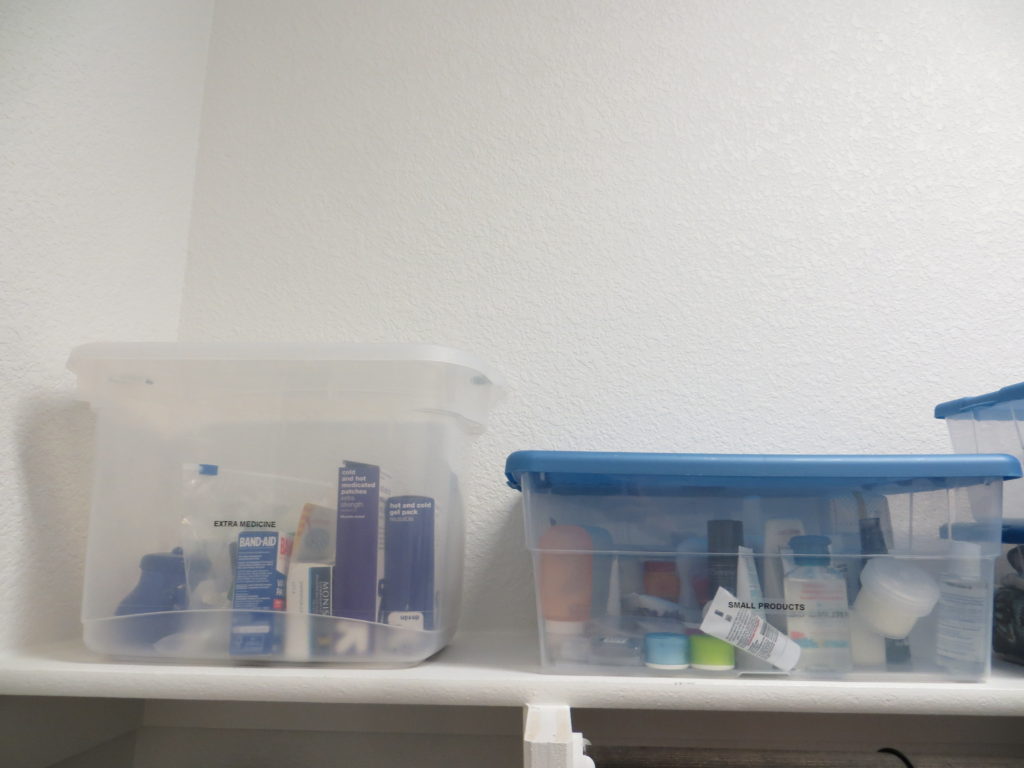
Then, on the shelf above these three cubbies, I have four different bins. The first, is extra medicine/medical supplies like icy hot patches, my Neti pot, and bandages (our drugs and vitamins live in a basket on top of our fridge). The second holds lots of small, travel-sized products. I collect these small products from hotels, free samples, my Birchbox subscription (referral link), etc. and then use them on trips or when we have guests.
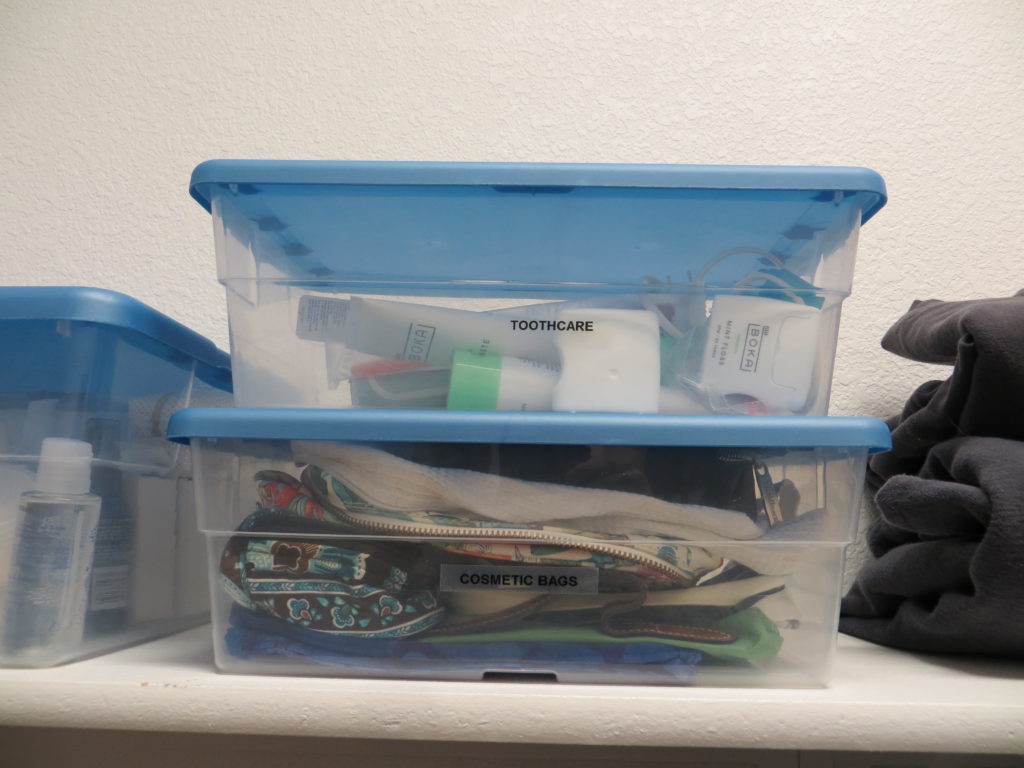
I stacked the final two bins: the top holds all our extra toothcare items, like toothpaste, toothbrushes, and floss; the second holds my cosmetic bags, which I keep for organizing when I pack for trips.
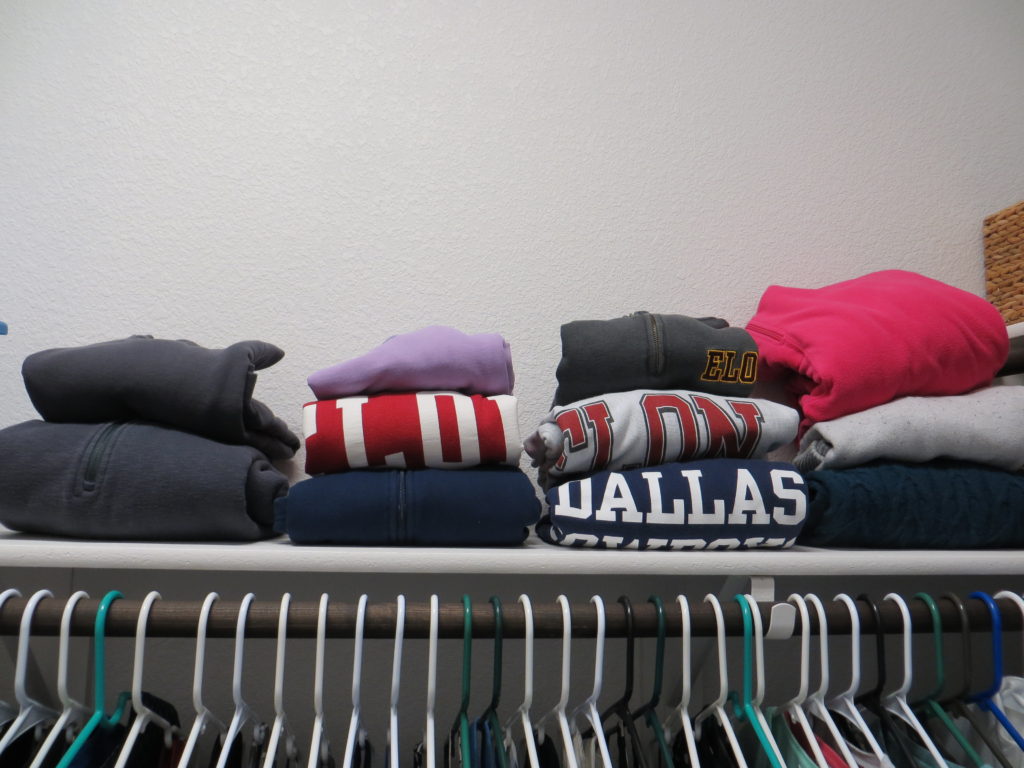
Further down that same shelf are a few piles of bulky sweatshirts and sweaters. We don’t store off-season clothes (they all stay out all year round for simplicity’s sake), so having these items folded and stacked but out of the way was ideal.
Continuing around the room clockwise, there’s a perpendicular shelf that’s set a bit higher than the first one. From left to right, it holds a basket with our swimwear, a large bin with travel accessories like packing bags, a luggage scale, and a mini hair dryer, and finally, my gym bag (which can rightfully sit on the high shelf since it hasn’t been used in…too long). 😉
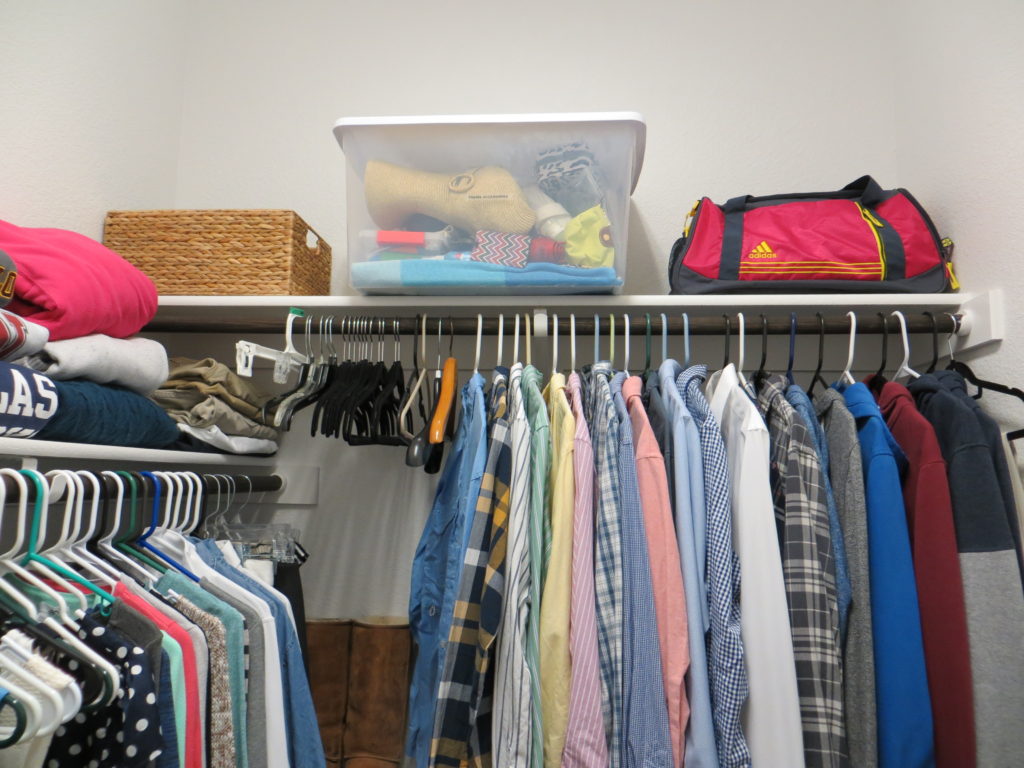
I didn’t get a good photo of it, but you can kind of see in the photo above that I stored my three pairs of tall shoes (rain boots, leather riding booths, and Uggs) in the unusable space where the two shelves overlap in the far left corner of the room.
As far as clothes are concerned, Riley’s are hung on the shorter side of the wall, and mine are hung on the longer. I organized both by type of clothing for easy dressing and easy sorting/hanging up laundry. On my side, I also hung my jewelry holder, which I explained fully in this post.

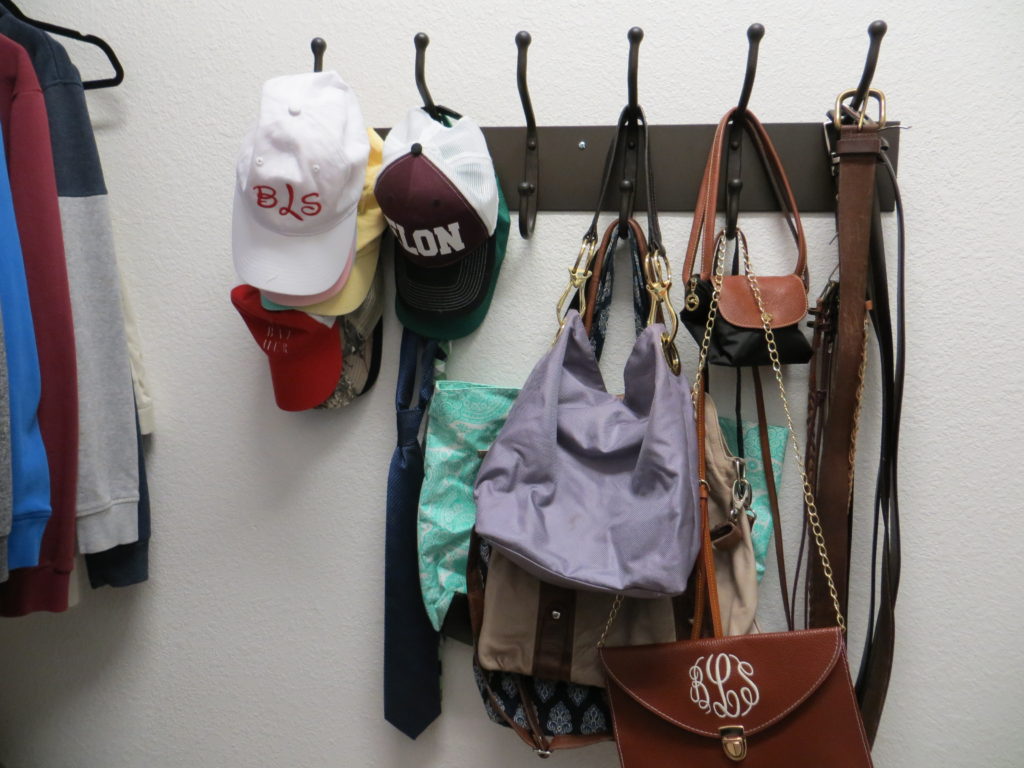
Finally, on the right side of the closet, we hung a big, heavy duty rack that was a gift from Riley’s aunt (it’s from Pottery Barn if you’re interested!). There, we hung all of our hats and belts, and I hung all of my purses and bags. It’s not a picture-perfect storage system, but it’s functional and in a place that only we’ll see, so it works.
Aside from the Home Depot shoe rack supplies, we had everything else on hand, so this project was very inexpensive.
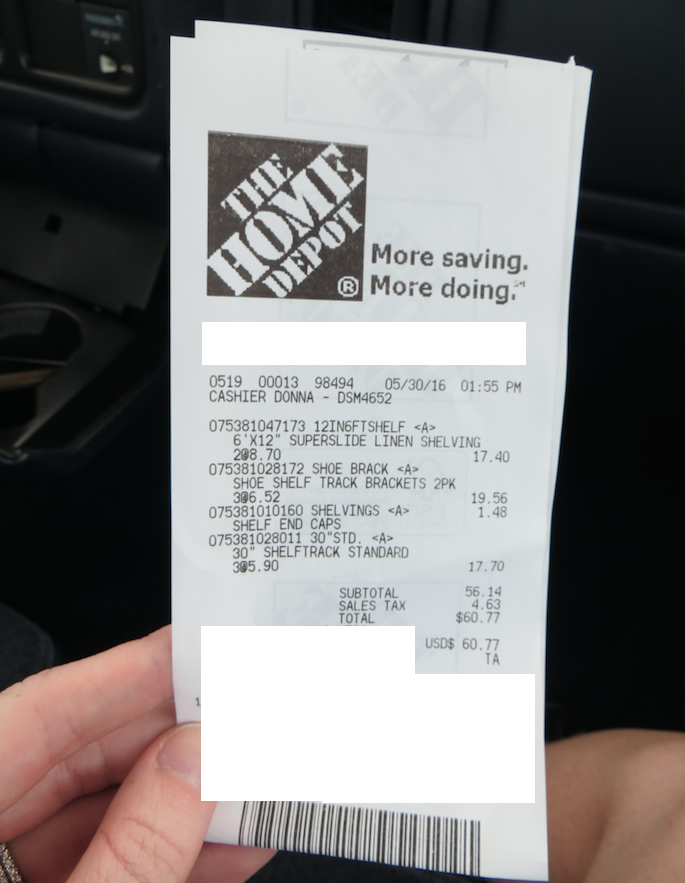
In fact, since we returned one of the shelf tracks and one of the sets of brackets, our total was just $48.35! For a completely organized closet (with quality built-in shoe racks), I think that’s a great price.
Some things I’d like to upgrade in this space in the future: I’d like to switch to all one type of hanger, preferably the velvet-covered no-slip ones or wooden ones. I’d also like to upgrade the plastic storage bins for prettier basket-type bins, like the one housing our swimsuits on the top shelf in the back left corner. Finally, I’d love to paint the space for a happy pop of color! All of these things may happen in time, but if they don’t, we have a functional and organized closet to live out of. In this case, done is definitely better than perfect!
If you want a better idea of the space and a more in-depth explanation of how I organized it, you can watch this video below or here on Youtube.
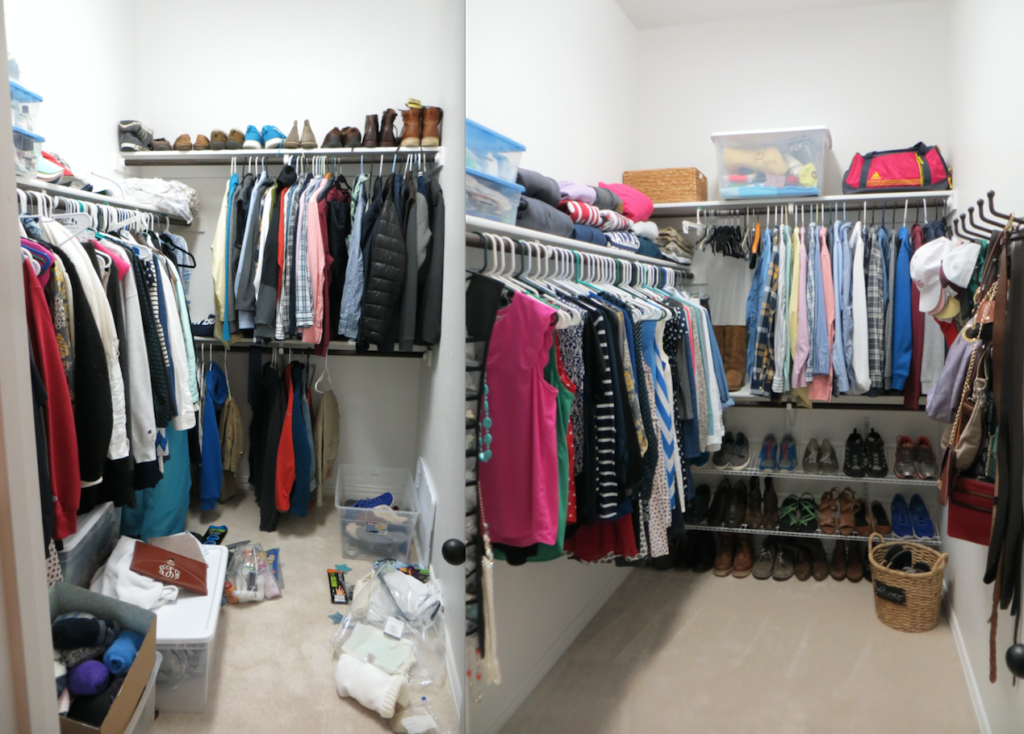
We’re so happy with our tidy and organized master bedroom closet! Finally, here’a little side-by-side before and after shot:
// How do you organize your closet?
Thank you for reading! You can find me online on Facebook, Instagram, Pinterest, and Twitter. If you’d like to be alerted whenever I publish a new post, you can follow me on Bloglovin’ or subscribe via email. Check out my fun tees in my Etsy shop and listen to my weekly podcast about simplifying life, Simplify Everything!
Where do you get those little bags for your jewelry? I definitely could use those. I have such a tangled mess!
Hey Megan! My jewelry was a tangled mess too! All the information on how I organized it and links to buy those little bags are in this post: https://blairblogs.com/2016/02/the-best-jewelry-organizer-ive-found/
How are you going about life without any permanent furniture? Is that where Endust comes in? Is that why you wrote the post on it, are you using their furniture until you have a better idea of what you want? Or did you start with a bed and sort of build your house one piece at a time?
Hey Heather! We do have some permanent furniture (like a bed frame and mattress, but no headboard yet, couches, and a dining room table), but we are slowly filling up our space with items we really love instead of going ham at IKEA and then wishing we’d gotten something else later! 🙂 We have all of our apartment furniture to use, which makes our house functional, but not really decorated or filled out. It’s a process for sure. (Hope that makes sense. It’s late, haha!)
I think you’re thinking of the post where I mentioned CORT furniture rental. We have enough furniture to live comfortably until we’re really able to fill our space (since we previously lived in an apartment), but would certainly consider CORT if that weren’t the case. I think it’s a great idea and an excellent option, especially for military families. (My best friend is married to a man in the Air Force and has to move all the time–schlepping furniture is one of her least favorite things!)
Thanks for reading! I hope this jumbled, long-winded response answered your questions! 😉
The shoe racks make a huge difference! It looks great!
Great job and I am totally going to re do my closet this weekend after reading this post. Thanks for the great tips