This is kind of embarrassing to tell you the truth. I’ve been talking about updating my bedroom since July, in this post. After that post, I wrote a few days later about my plans to buy an Ikea dresser and “hack it” (make it over). Then August came and went. Then September. Then October. Now, in late November, I’m finally providing you with the bedroom update you’ve been losing sleep over. (Is that a pun?)
Last Saturday, I woke up, looked around my still-undecorated room, and decided it was time to get down to business. First, I made a trip to Ikea to pick up the Malm 6-drawer dresser I had decided on. (At only $150, it really is a steal!) Of course, before I loaded it into my cart, I had to walk the entire showroom, sit on basically every couch available, and contemplate roughly seven other dressers. In the end, I stuck with my gut and went with the Malm.
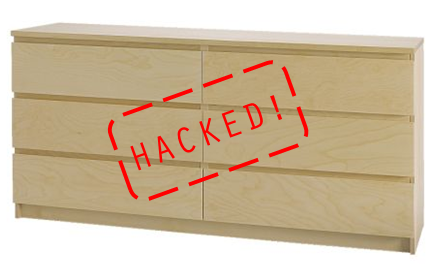
This is the part where you’re allowed to laugh in my face.
I had thought about the difficulty of loading two massive and super heavy boxes into my cart at Ikea prior to arrival, but clearly I had underestimated my guns weak arms. It was a hot mess. Literally, I was sweating bullets. Somehow, I got the two huge boxes into my cart, along with a glass dresser top that I almost shattered 34 times. Then I stood in a super long line, stressing about getting the boxes into my car.
After I checked out, I methodically wheeled my massive cart to the loading curb, left it there (which I’m pretty sure is against the rules), and went to pull my car around. (See, John? This is why I need you on these kind of trips! #graduationcan’tcomesoonenough) I opened my trunk, looked down at my boxes, looked at my trunk, and didn’t move. There was absolutely no way I was going to be able to lift those boxes and then adjust them into my car.
Fear not! Ikea man to the rescue! A very, very small and lean man approached my car in his lime green Ikea shirt (weird color choice considering the blue and yellow logo). No kidding, y’all. He lifted both boxes ALONE and swiftly loaded them into my car. I think I saw an angel. I continuously offered to help, which he readily declined. Allllriiightyyy then. I profusely thanked him and got ready to drive home.
With my car weighing about 5,000 extra pounds (dramatic), I drove back to my apartment. I opened the trunk and FOR THE THIRD TIME that day, I wondered how I was going to get those two heavy boxes and fragile glass mirror into my second-floor apartment.
“Welp,” I thought, “where there’s a will there’s a way.”
So, over the course of about 18 trips, I unloaded the dresser board by board from my car, carrying each hunk of wood upstairs. After making some initial progress on the dresser (I probably got about halfway), I took a three day break and my home became a state of complete and utter chaos.
Once I finally had the frame assembled (the drawers still needed putting-together), I realized how much I liked it white and threw out my plans to paint the entire piece navy. Instead, I decided to head to The Home Depot to grab some navy paint for the O’verlays (the decorative pieces that would go over my dresser drawers). While this part was fun, it was also extremely difficult. Too many choices, too many shades, too many everything.
I finally pulled four paint swatches that I liked.
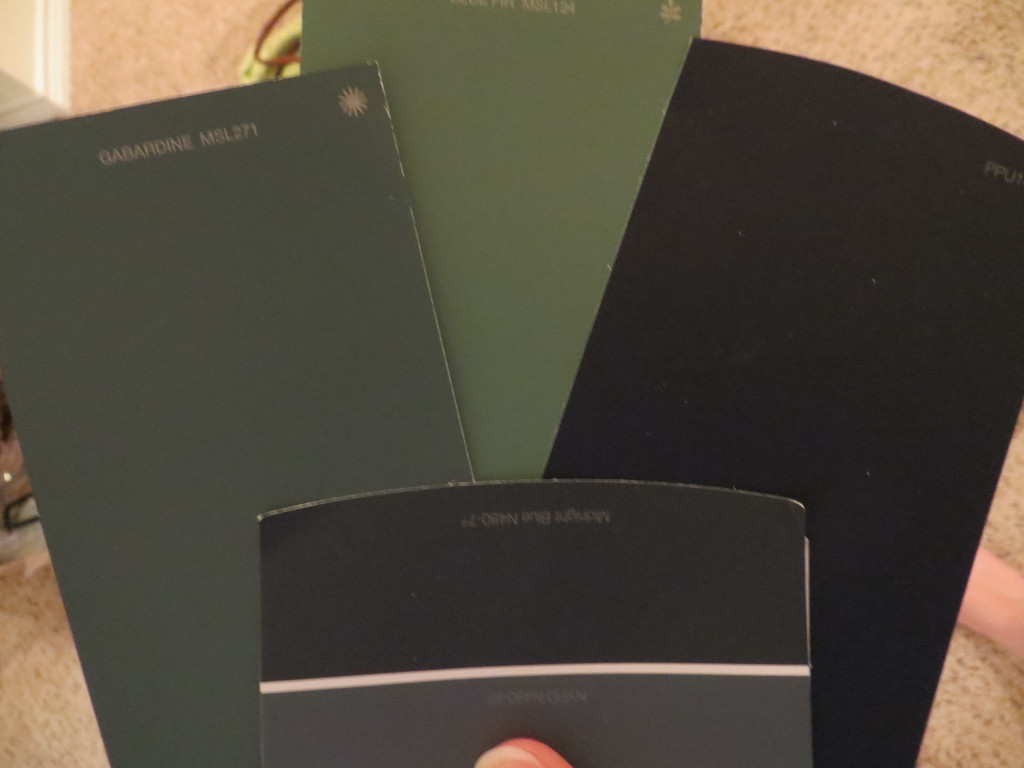
Sorry this photo is terrible. I didn’t realize how blurry it was until now. Still, this lighting best shows the colors I was deciding between. I loved the top left option, but it was a bit too light and a bit too green. The middle top swatch was far too light and far too green. The far right option was too dark–I though it would look black instead of dark blue. So, the middle one (Behr Midnight Blue) was the winner! I think it’s a perfect shade of navy with a pretty touch of grey…exactly the look I was going for.
I painted the O’verlays with the Midnight Blue paint in High Gloss (because I wanted high gloss, I had to purchase a quart. Home Depot doesn’t offer samples of high gloss colors). It’s a pretty color, right?
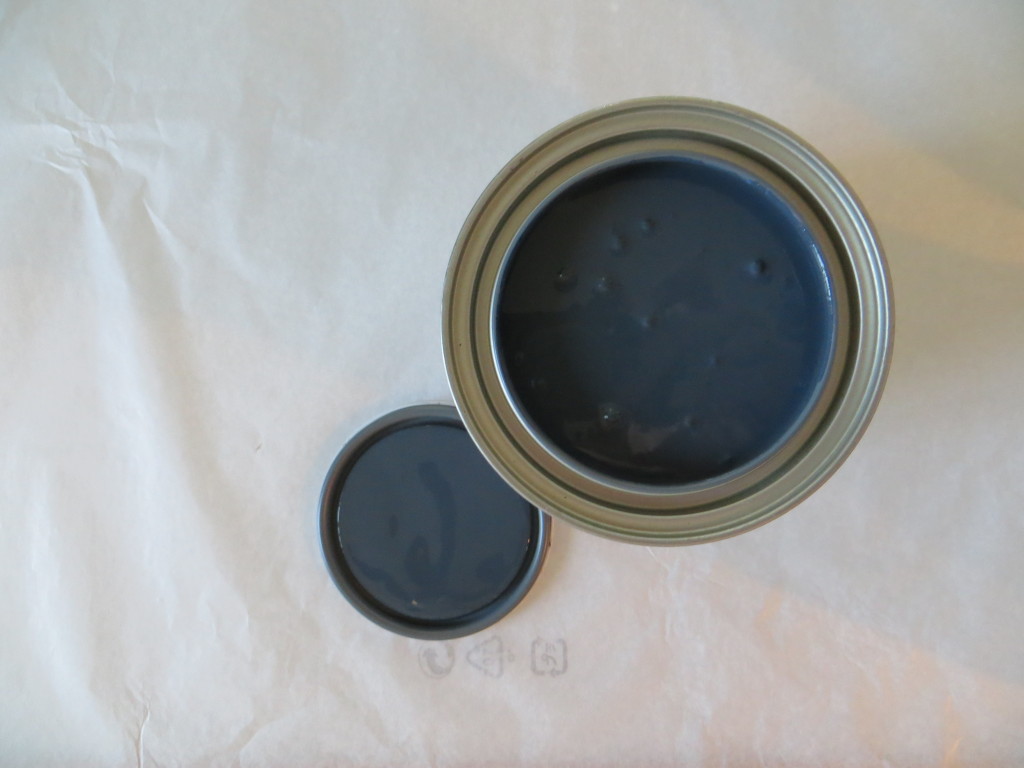
Against my parents’ voices in my head telling me to definitely not paint furniture in the living room, I laid down plastic and cardboard and did it anyway. #rebel
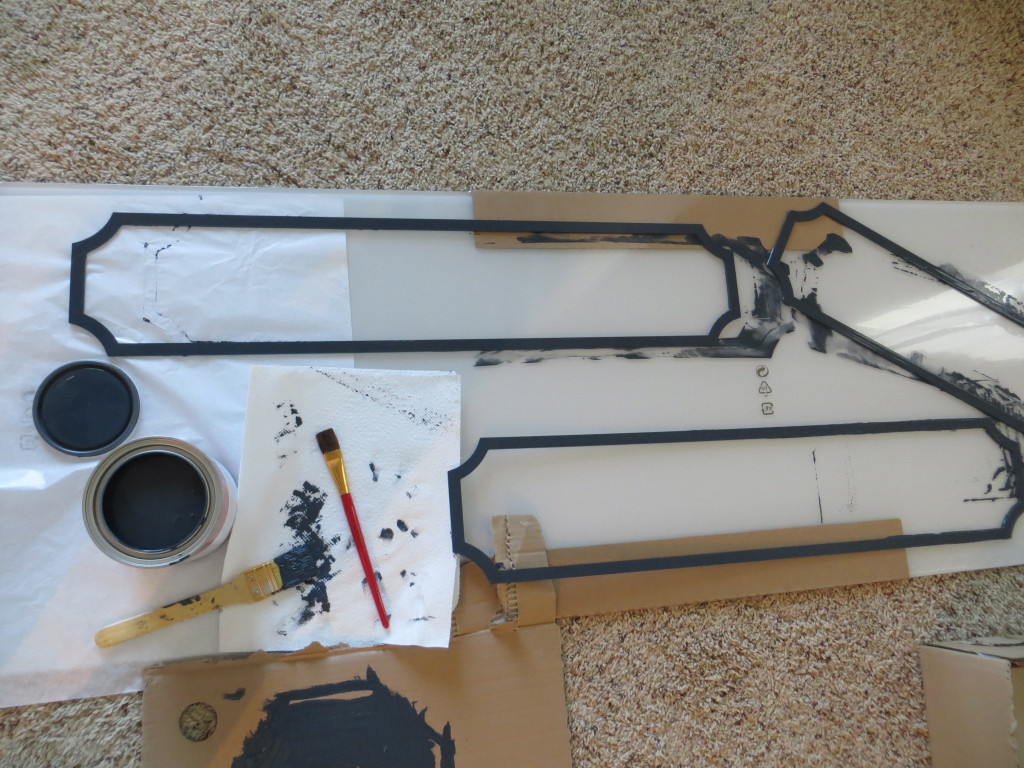
As soon as I started painting the O’verlays, I knew I was going to love the way this piece would turn out. It took me about an hour to get through each of the six O’verlays. I let them dry inside for 12 hours, and then laid them outside for another 12 to cure.
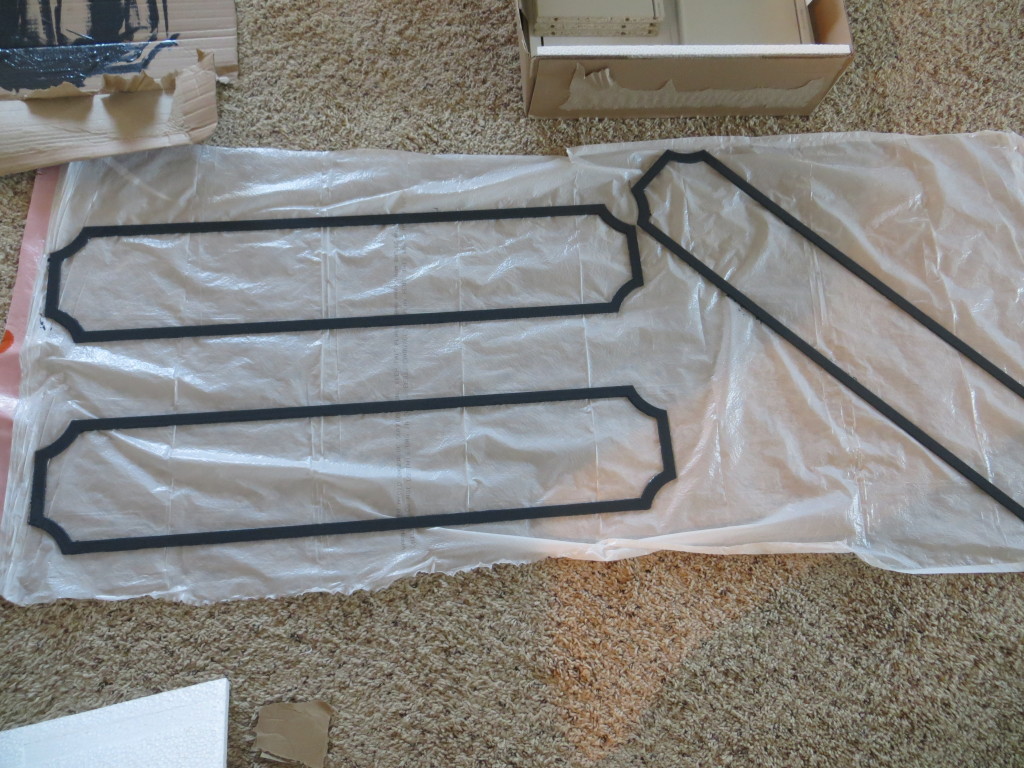
See in the top right-hand corner of that photo how the dresser drawers are still unassembled? Well, the next step (clearly) was to tackle those. Let me tell you–they were a pain. Actually, putting together this entire dresser was a pain. Like most Ikea furniture, the steps are relatively simple and easy to follow, but there are just so. many. steps. I was glad (read: elated) when this dang thing was fully assembled.
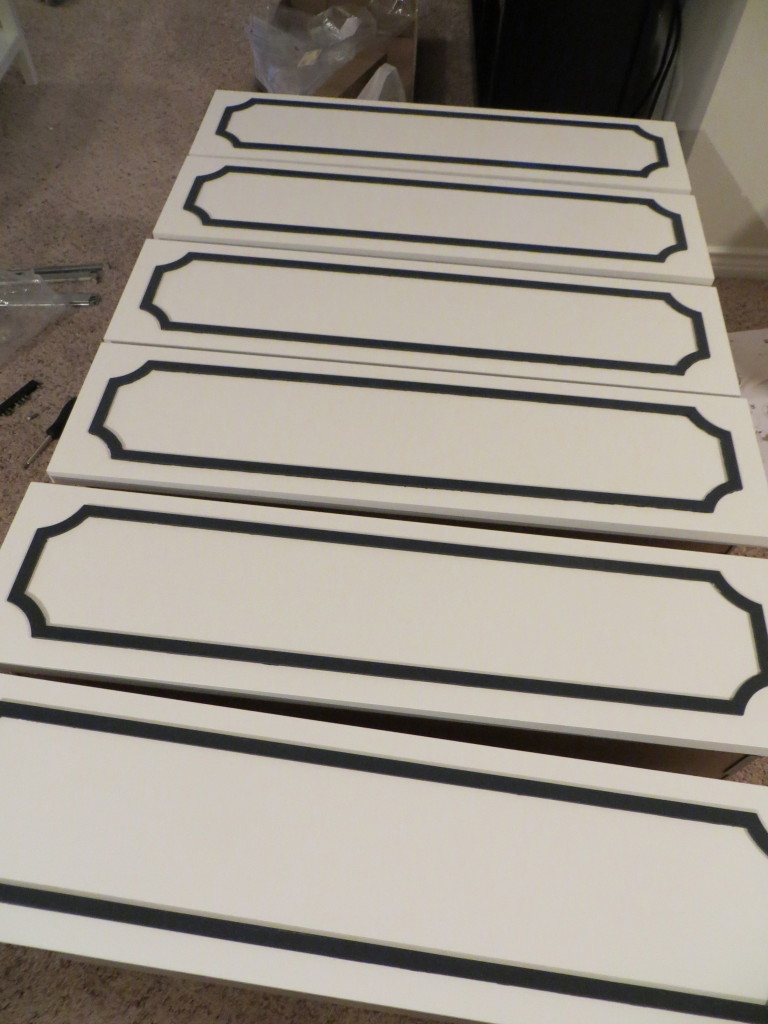
After all of the drawers were in shape, I took the now-dry O’verlays and, well, laid them over each drawer. *Swoon!* The navy/grey and white looked great together! I decided it was time to finish off the project, so I grabbed the tube of Liquid Nails that I had bought (which rocks, by the way) and got to work. I decided to eyeball it instead of measuring for each drawer because A) I didn’t think I could mess it up that badly and B) I really didn’t feel like measuring.
So I eyeballed, and glued, eyeballed and glued. (For those who are wondering, I ran a thin bead of Liquid Nails around the entire back-side perimeter of each O’verlay.) After I placed every piece, I had between five and ten minutes to adjust it before it would set altogether. The only difficulty I had with my imperfect process was making sure the long stretches of the O’verlays didn’t bow. Keeping them straight was a little struggle…but then again, every step of this DIY dresser was a struggle, so no harm no foul.
You’re supposed to wait 12 hours for the Liquid Nails to cure, but I was feeling anxious and decided to wait about 12 minutes. Just so you know, the O’verlays didn’t budge. Take that Liquid Nails instructions.
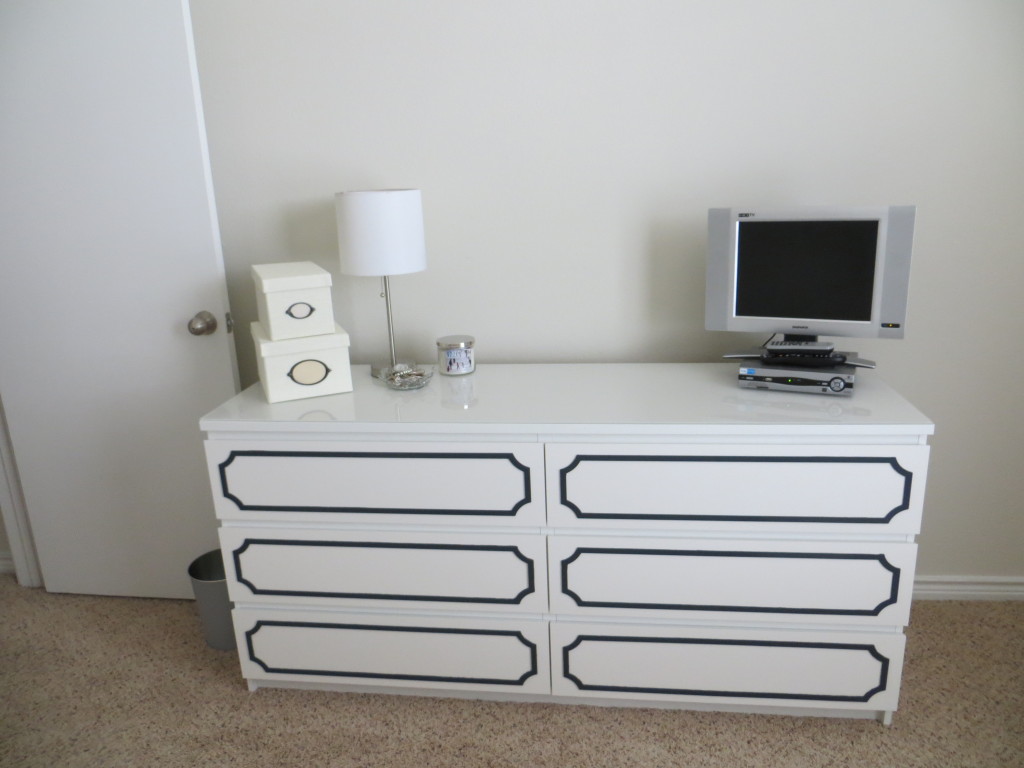
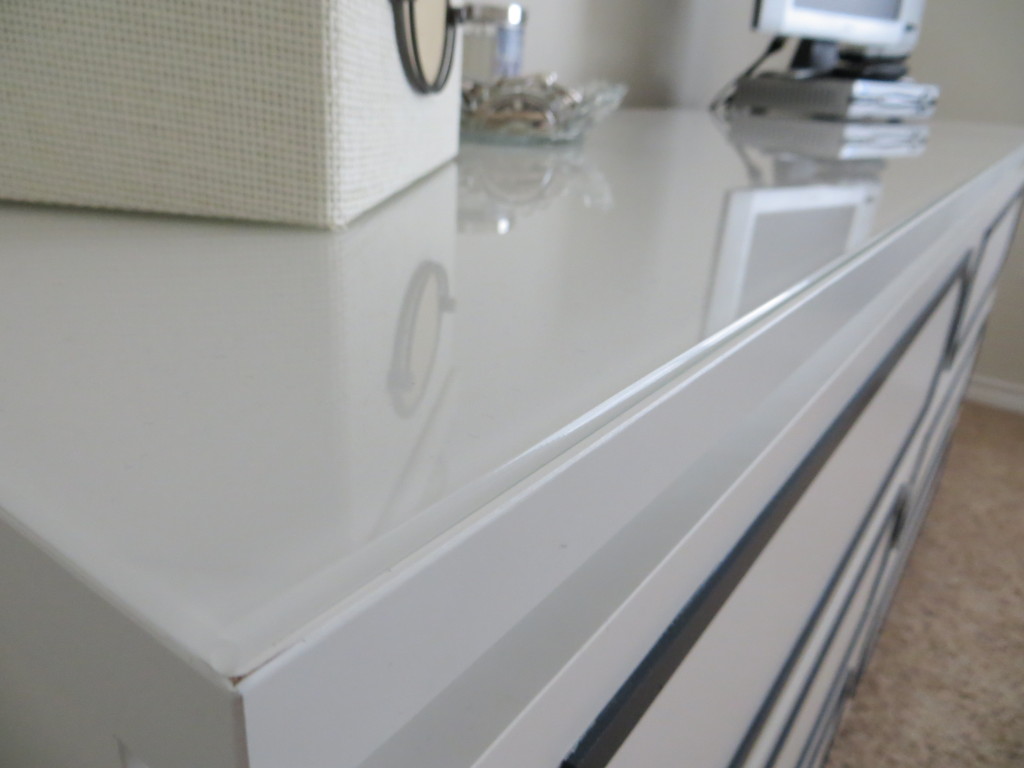
It looks amazing if I do say so myself! Exactly what I had envisioned–well, almost. Like I said in my original post, I’d still like to add some hardware to each drawer. I had initially thought I wanted chunky diamond-like knobs, but now I’m thinking I’d like silver ring pulls (like these). My inspiration for the ring pulls is Kate’s beautiful dresser. Either way, here are some close ups:
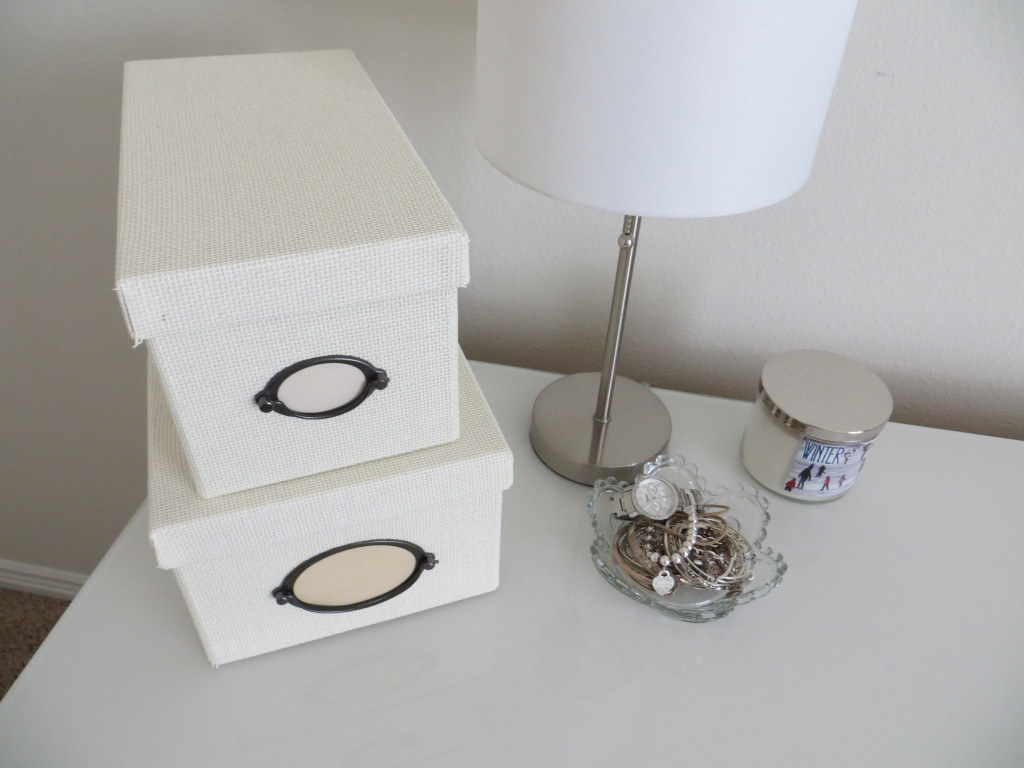
I’m still searching for inspiration as far as decorating the top of my dresser as well as what to hang on the wall above it. I’m leaning towards a mirror, and there is actually one across the bedroom (pictured below) that would look fab! I’ll keep you updated if I move the mirror across the room.
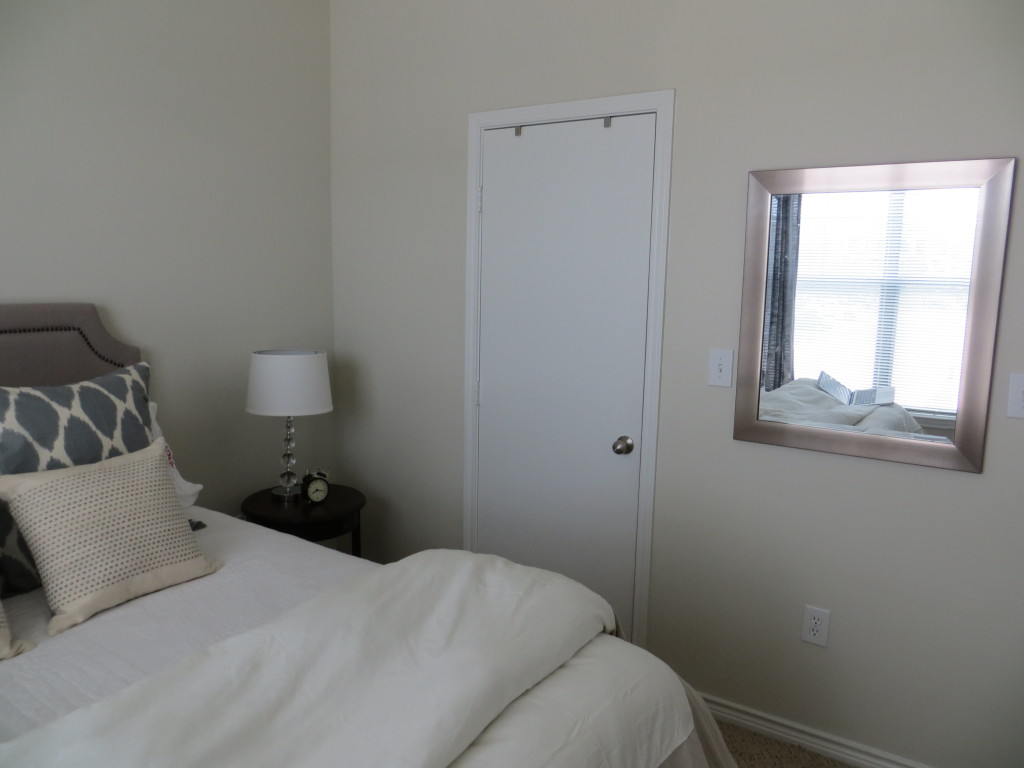
This photo also gives you a sneak peek of some other bedroom updates! 🙂 Stay tuned. Now, let’s look at a good ‘ol before and after, shall we?
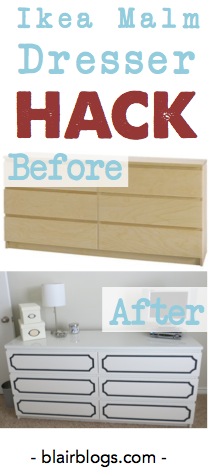
So, what do you think? What’s your vote on the hardware? Any ideas for what to hang above?
It turned out great! I had no idea Ikea sold the glass toppers too!
Thanks, Corie! I love it, too! And yes–it’s only $35 more for the glass top…and it makes the dresser look so much more finished!
xo,
b
Hi Blair,
I just had to write a quick comment to let you know how much I love your blog! We lead very different lives in the fact that I’m older for one…lol….and a SAHM to 4 kids, but I find your blog and writing so relaxing to sit and read in my little chaotic part of the world 🙂 It’s my piece of serenity when I need to get away……you have a life long reader here. Keep up the great work! Have a wonderful day!
Wow, Beckie, thank you! Your kind words of support and encouragement mean so much! Thank you for taking the time to comment. Oh, and you go girl! Being a SAHM to 4 is a real feat!!
xo,
b
I love your dresser hack! My husband and I have bought so many things from IKEA for our apartment, and I have always wanted to hack our dresser like this. It turned out beautiful.
Also- I just happened to stumble across your blog on Pinterest, and I love it. I’m a 21 year old married student, and I love seeing someone my own age blogging about things that I’m going through too. You had mentioned Austin in another post- I guess you live there? My husband and I are planning to move from KY to TX in May, so let me know if you have any tips!
Hey Catherine!
Thanks for reading and commenting!! I’m so glad you found my blog. I love living in Texas…where are you planning on moving?
xo,
b
To Austin, probably on the south side or maybe up by Mueller if we can afford it 🙂
Awesome! I’m in Austin. You’ll love it here. Perhaps we can grab a cup of coffee when you move?
Sure! I’d love that! We move in May, so I’ll let you know when it’s official.
looks great – -but one question.. why did you start with the birch if you wanted it white? why didn’t you buy white?
I did buy it white!
xo,
b