…when I used to look at the sad state of my drawers, that is. The lining was old (like way old, probably 50 years old), but I hadn’t changed it because it was always under my clothes, where I didn’t have to look at it.
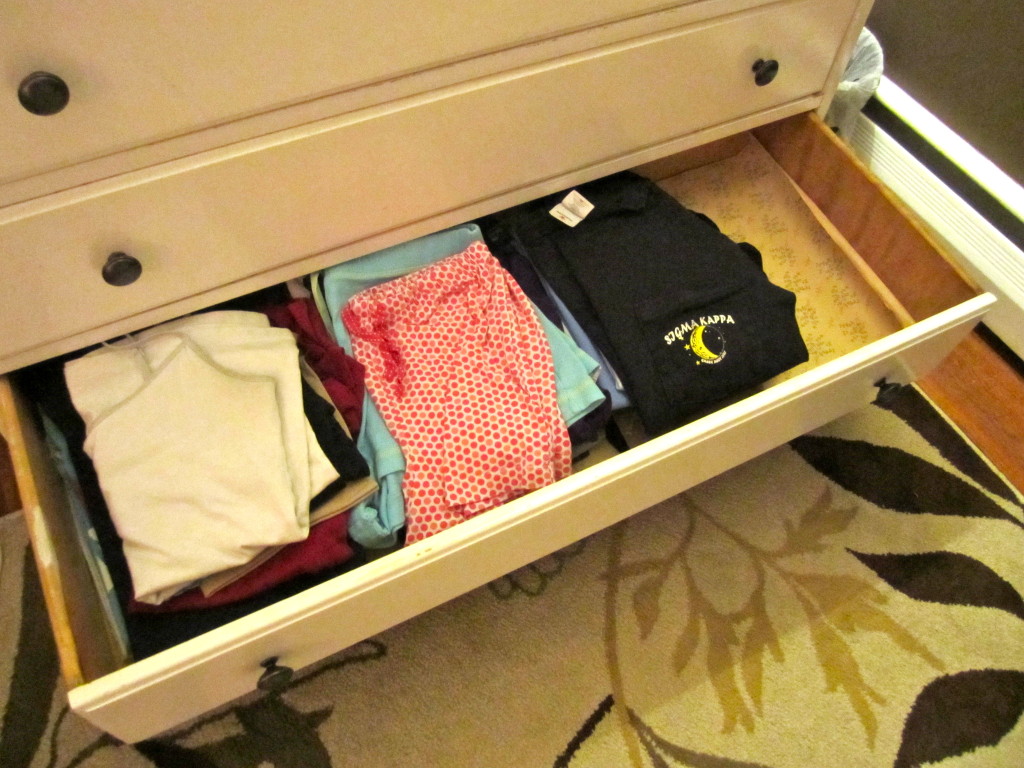
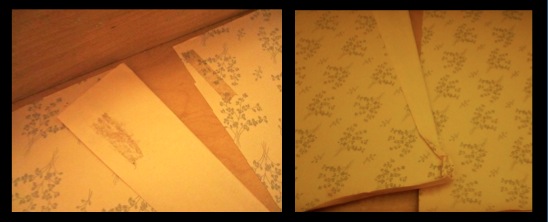
See? It’s not that bad. Until you take the clothes out, when you realize how utterly awful the drawer lining is!
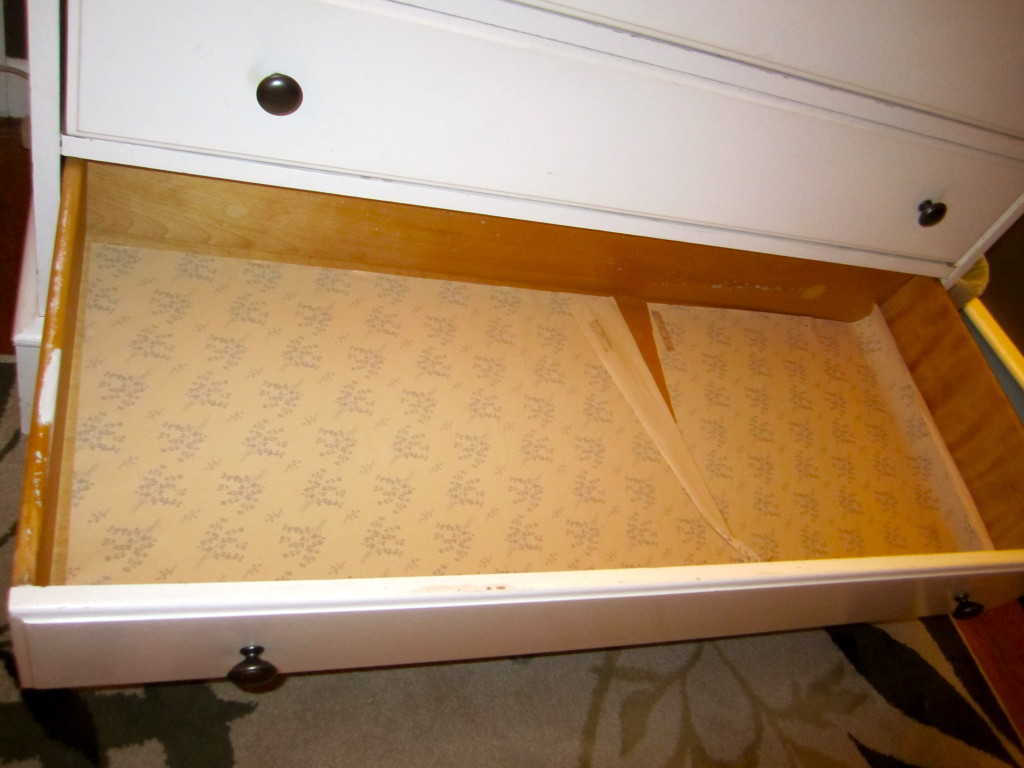
Take a closer look if you dare…
Nas. Tay. Gross! And my clothes were sitting on that?
But don’t you fret! I took care of those suckers in a few simple steps.
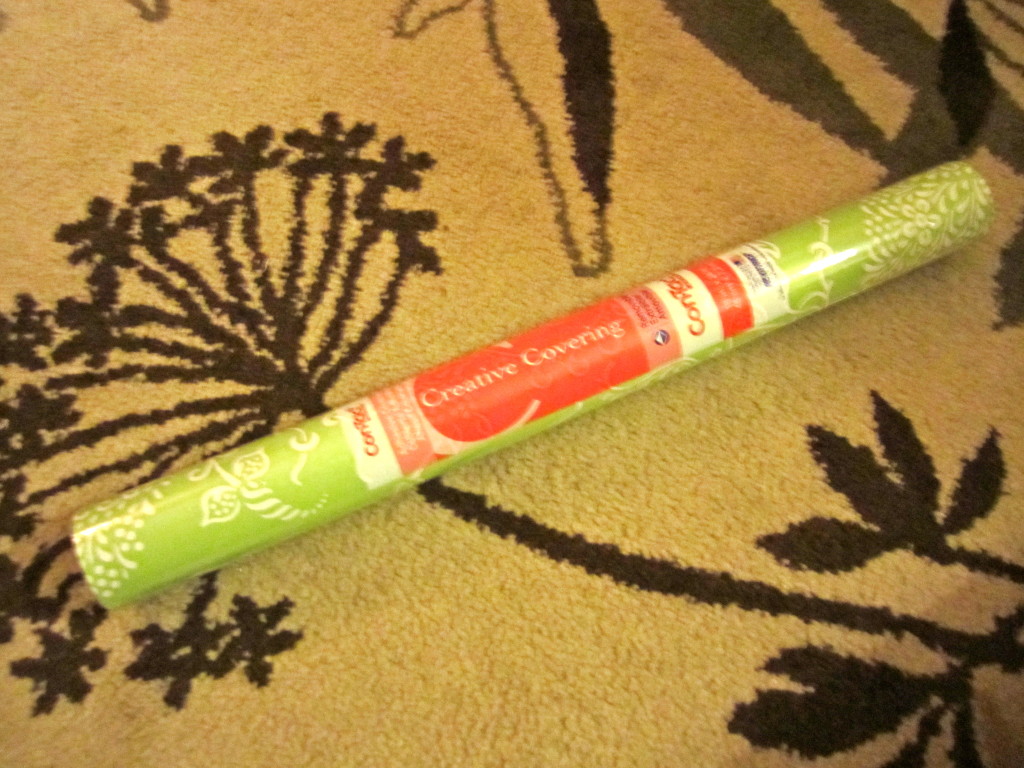
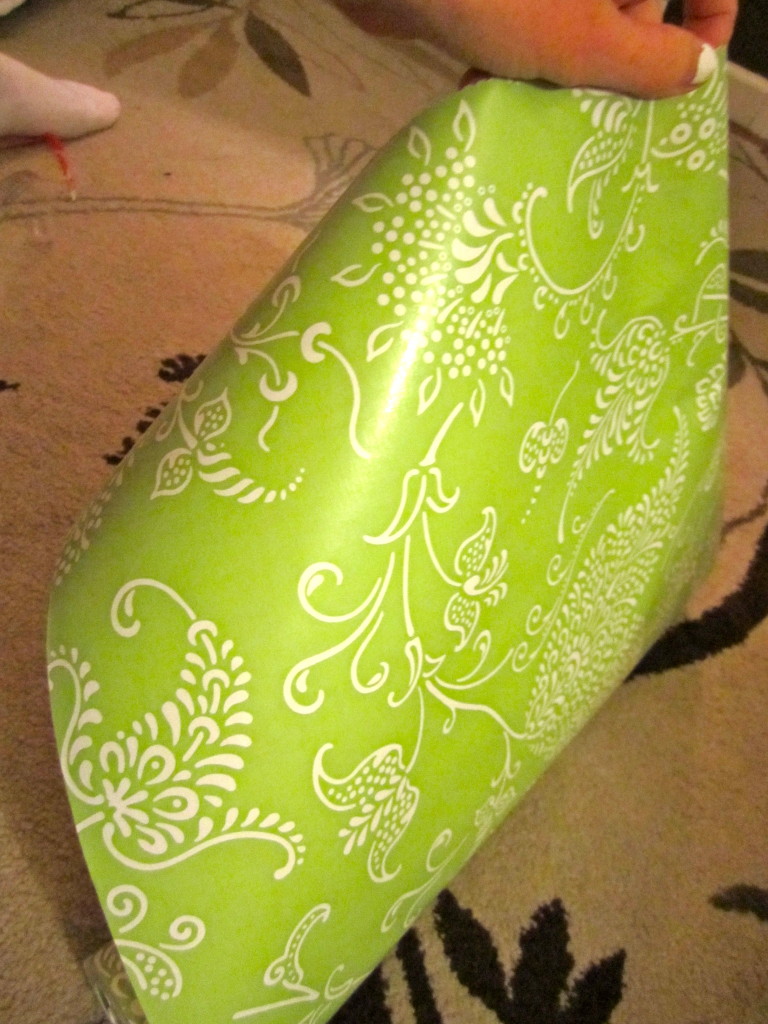
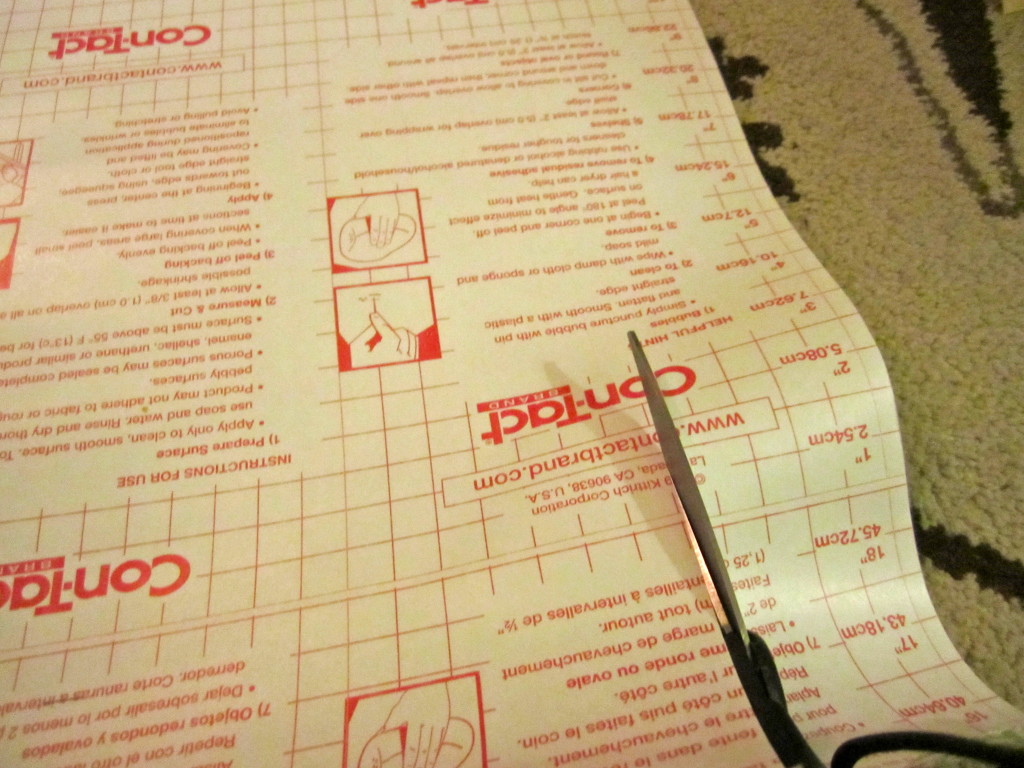
First I bought some lime green contact paper at Target for a few dollars. Here’s a quick look at the pattern (you can ignore my socked foot in the corner…something you should know–I’m always wearing socks):
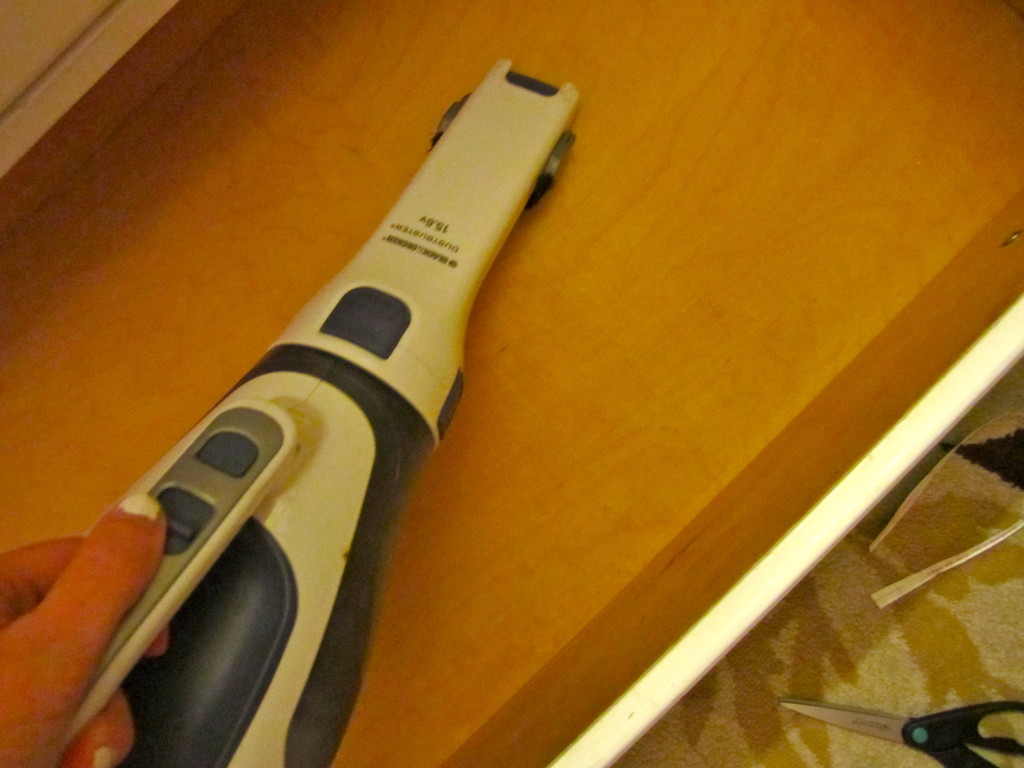
Pretty, right? Only the best for my dresser. So I got rid of that old nasty paper (except for one sheet–read on for why), dust-bustered the heck outta my drawers, and started trimming the contact paper to size.
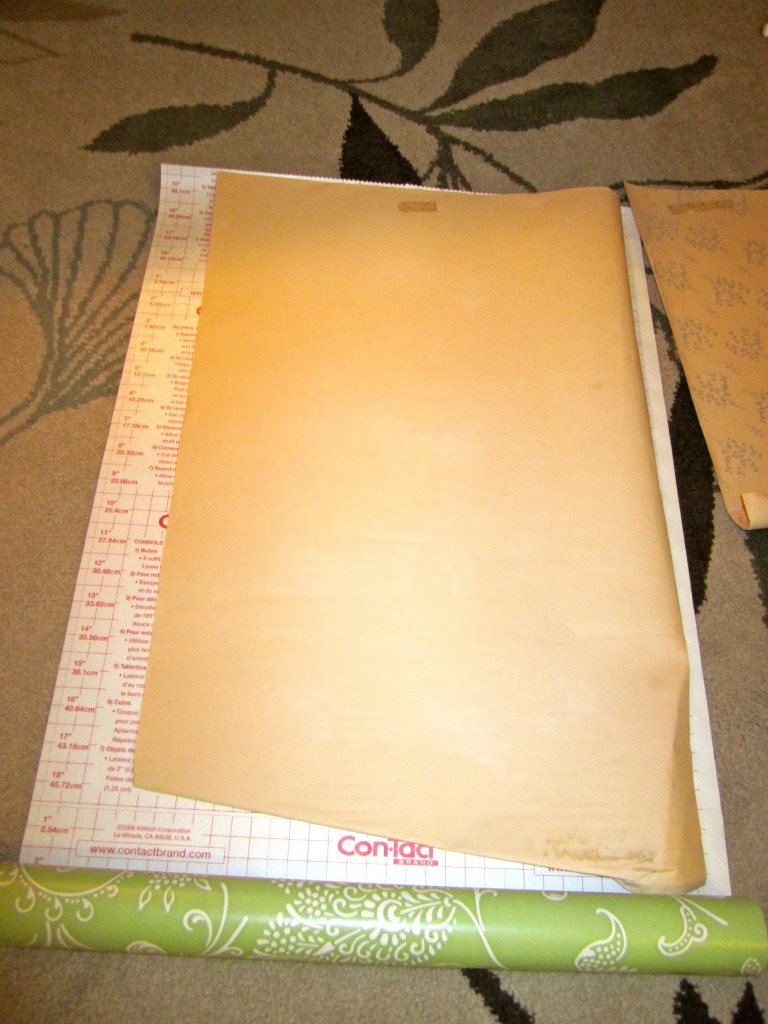
For the first drawer, I used the heinous paper to measure. After that, it was full-on contact (no pun intended ;)), and I used the first piece of contact paper to measure the other three.
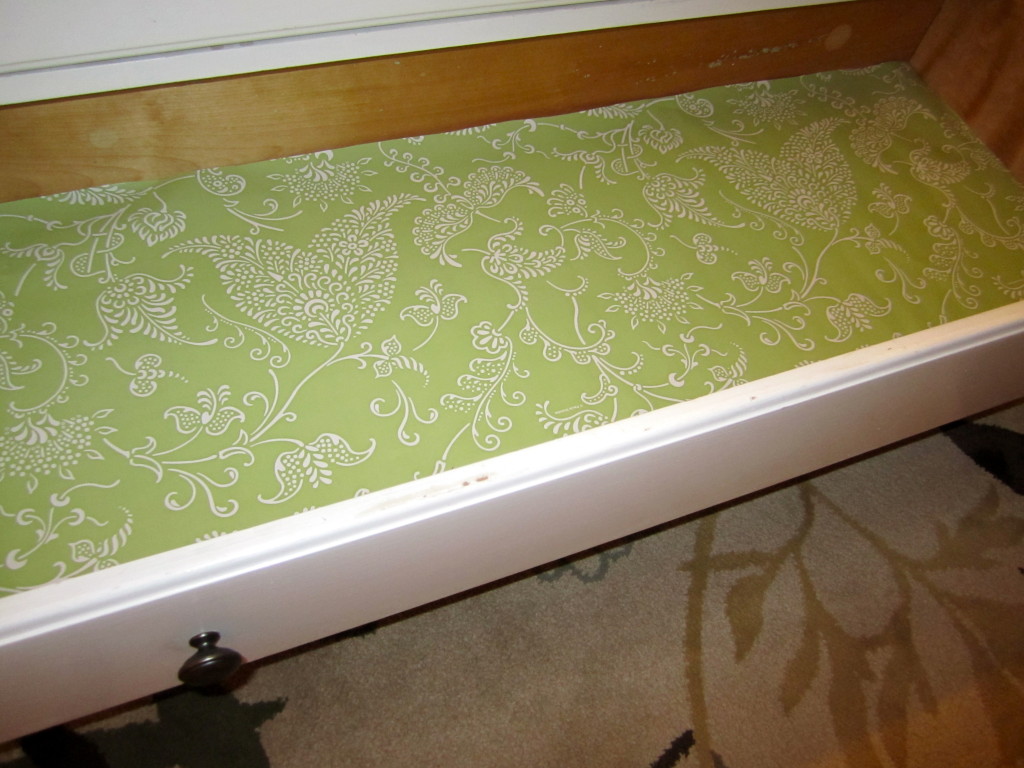
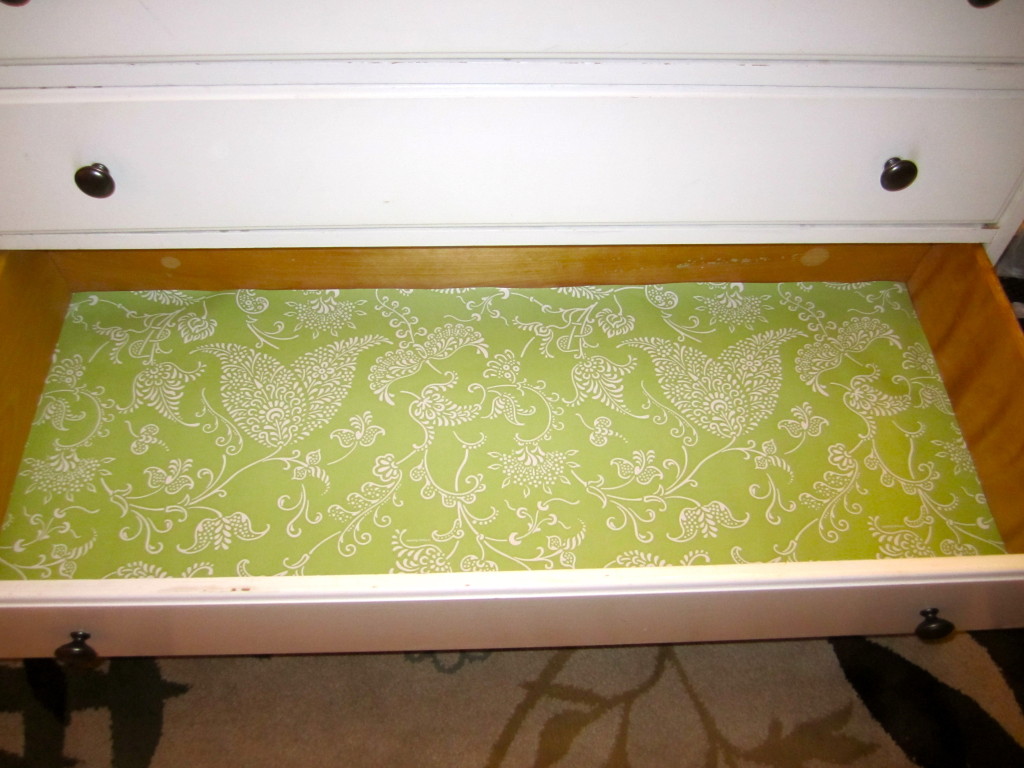
It was trickier than I thought it would be to cut the paper to size. The good news? After I cut the first piece to the right size, the others were easy! Even trickier than cutting the paper was installing it. Since it’s super sticky contact paper, getting the entire sheet in without it attaching too early was muy difícil. But, I plunged onward and got the job done! (What would you do if I said, “It ended up being too difficult, so I gave up.”) 🙂 Hehe… Ready for the reveal? They look downright fab!
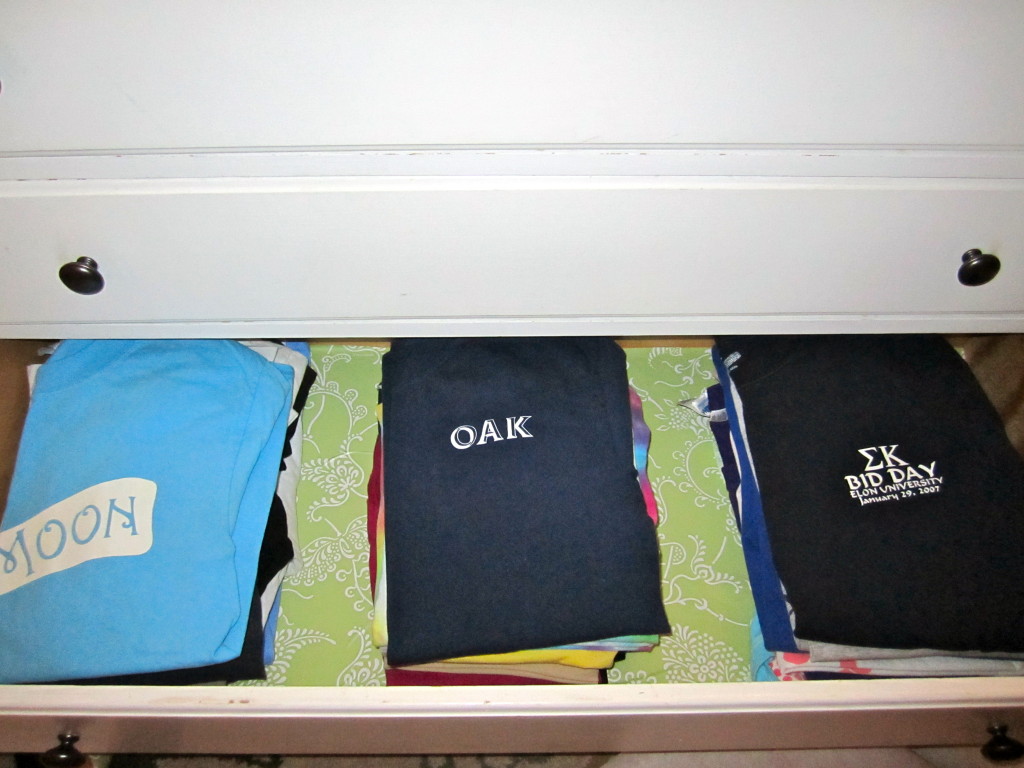
So much happier, don’t you agree? Considering this project cost me just under $5, I’d say it was well worth the hour it took me to complete. Ready for a before and after? Try to keep your socks on!
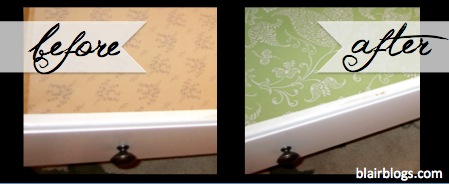 Have you all done anything lately to turn an old piece of furniture from drab to fab? Fill me in! 🙂
Recent Comments