When I was single, there was about a year time span where I got my nails done at the salon every two weeks like clockwork. I was living on my own in Austin with a very modest salary, so I didn’t have a lot of disposable income. Getting my nails done was an affordable indulgence that was both relaxing and pampering. Eventually, I got bored with getting my nails done and decided to spend my disposable income in other ways.
But! My love of having clean, polished nails didn’t go away. I always feel more pulled together and polished (no pun intended) when my nails are painted, so I’ve been doing them at home almost all the time since then. In the past year, I’ve been to a nail salon twice–once two days before my wedding, and once before Disney! Every other week, I paint my nails myself.
I’ve realized the importance of using great products because I’ve found that great products = great results. Sometimes, at-home nails look sloppy because the person doing them isn’t steady-handed, but I’d be willing to bet that most of the time it’s because of cheap and ineffective products.
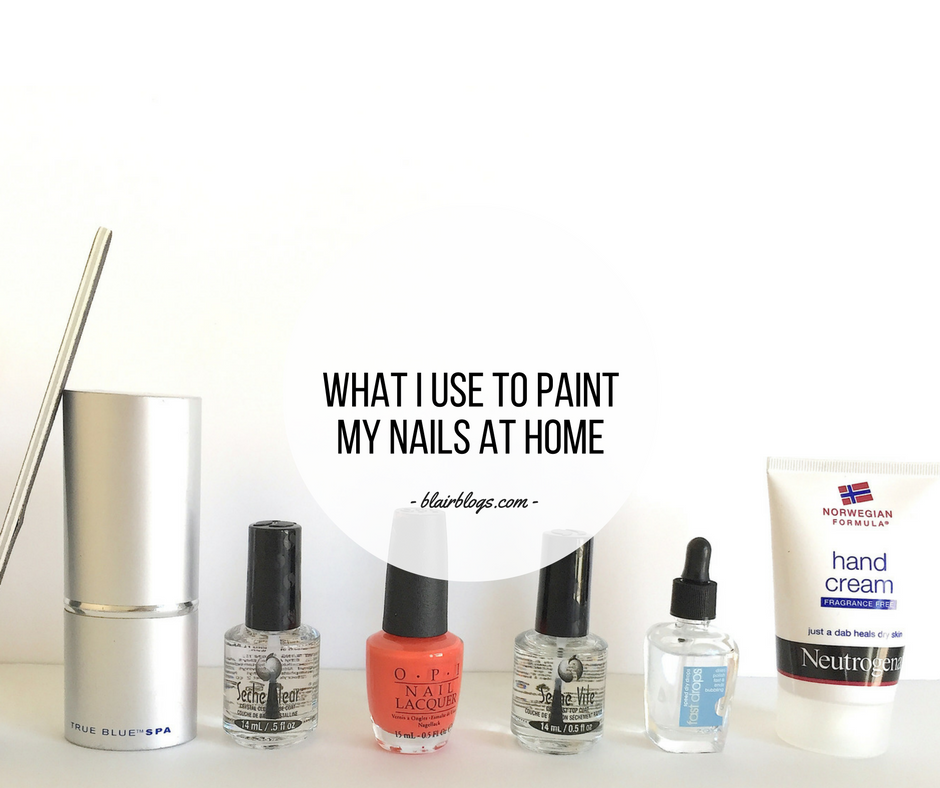
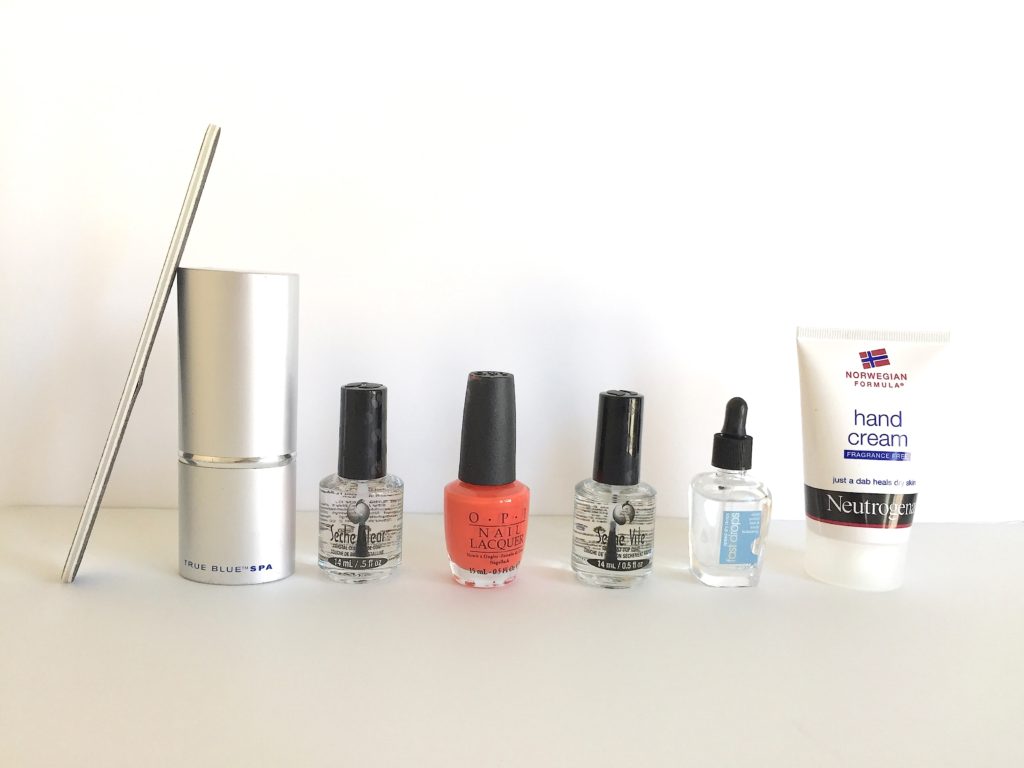
So, without further adieu, here’s what I use: (all links are affiliate links)
- Thick emory board (similar)
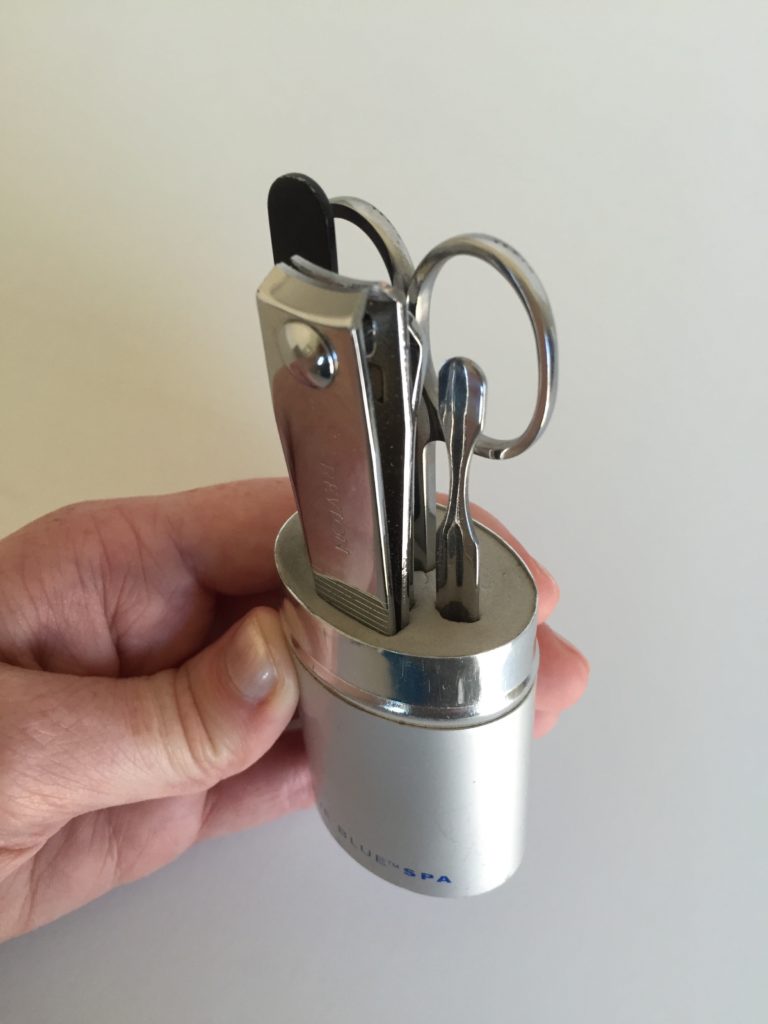
- Nail care kit (similar)
- Seche Vite Base Coat
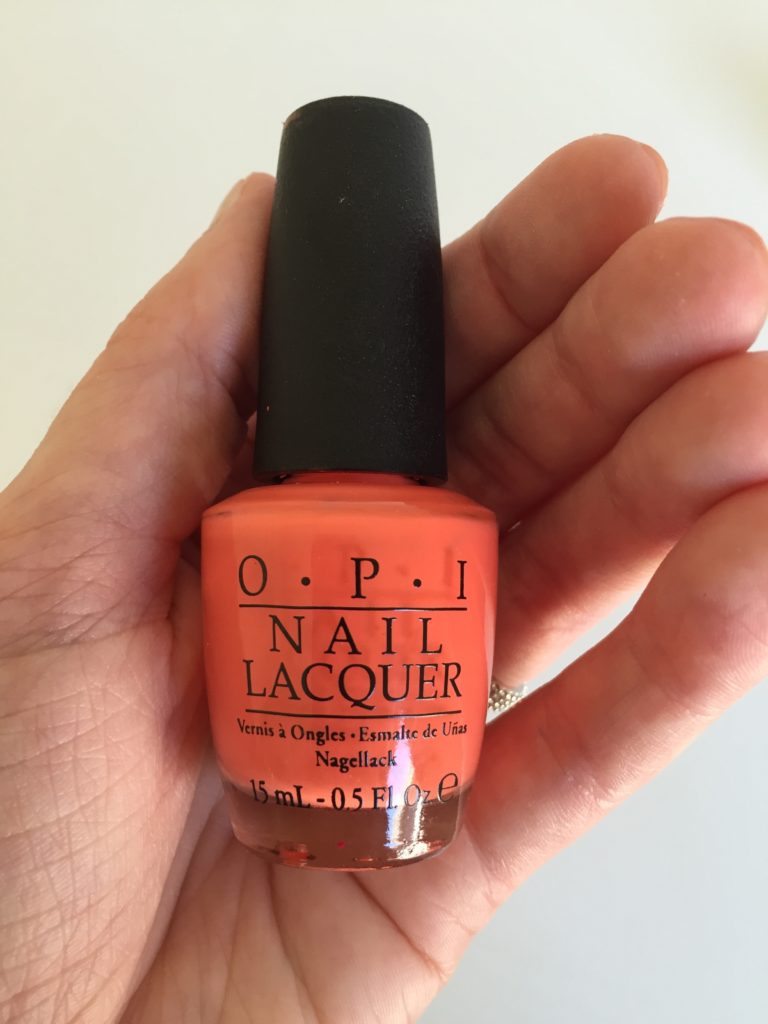
- High quality nail polish (usually OPI or Essie)
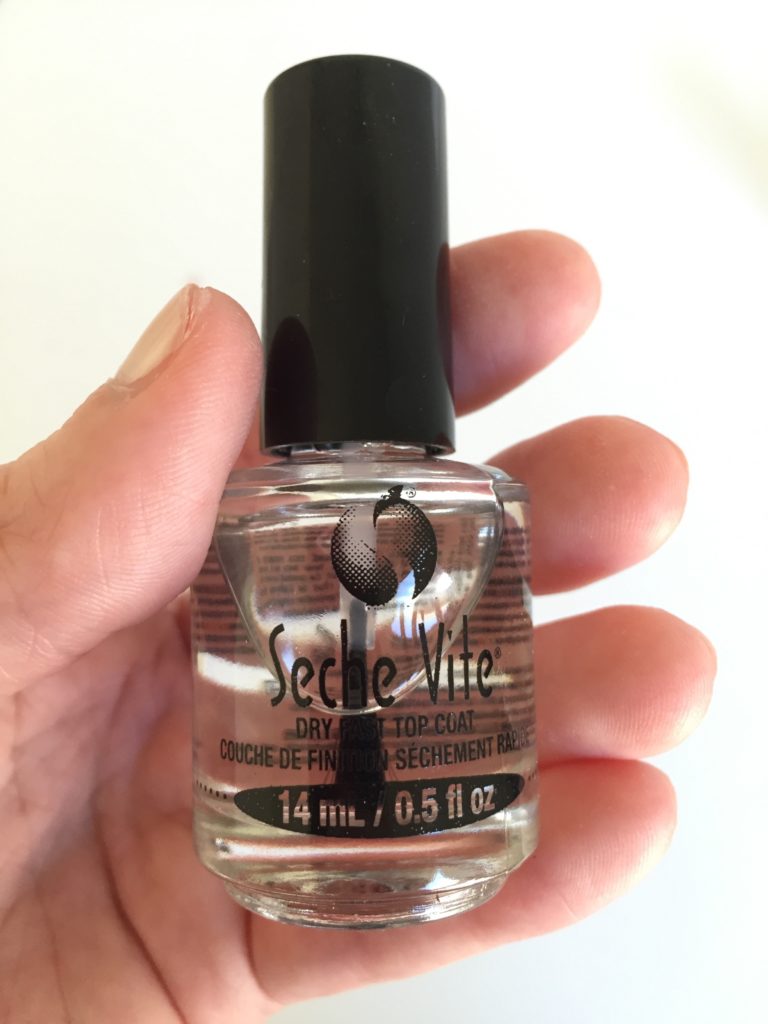
- Seche Vite Top Coat (this stuff is like glass, I swear by it!)
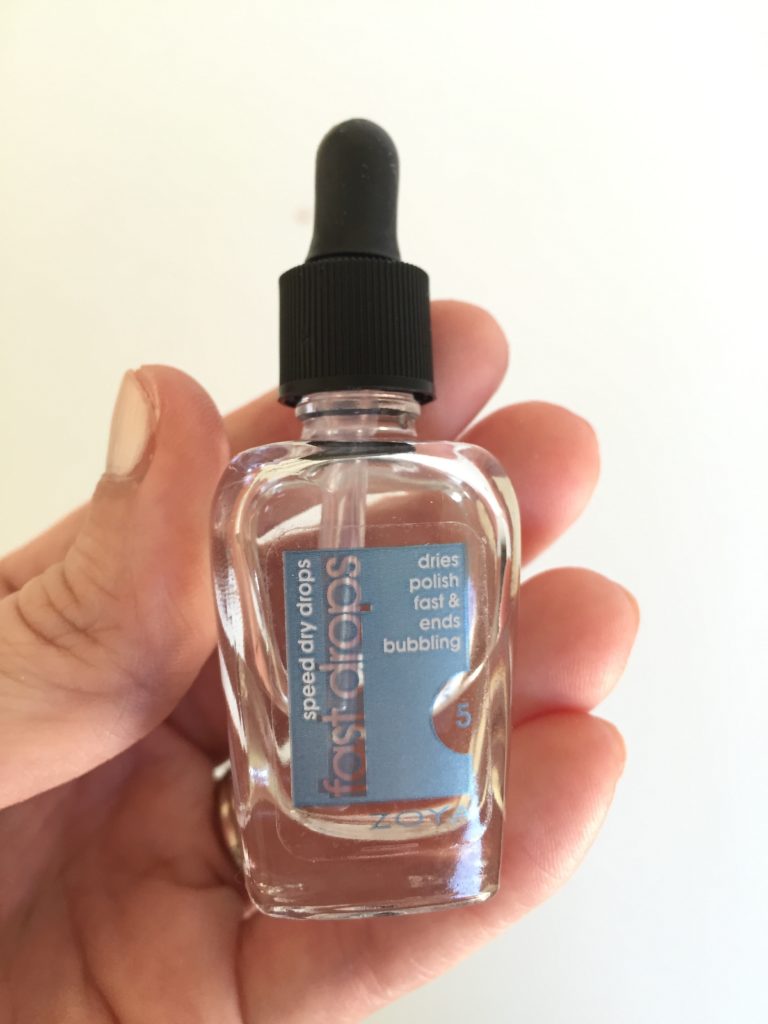
- Zoya Fast Drops Speed Dry Drops
- Neutrogena Hand Cream
And though I’m not super particular about them, I use cotton pads like these and nail polish remover like this.
And here’s what I do:
1 | Remove nail polish, clip my nails, file the edges.
2 | Apply Seche Vite Base Coat to each nail. I’ve found that this helps with preventing staining and with nourishing my nails.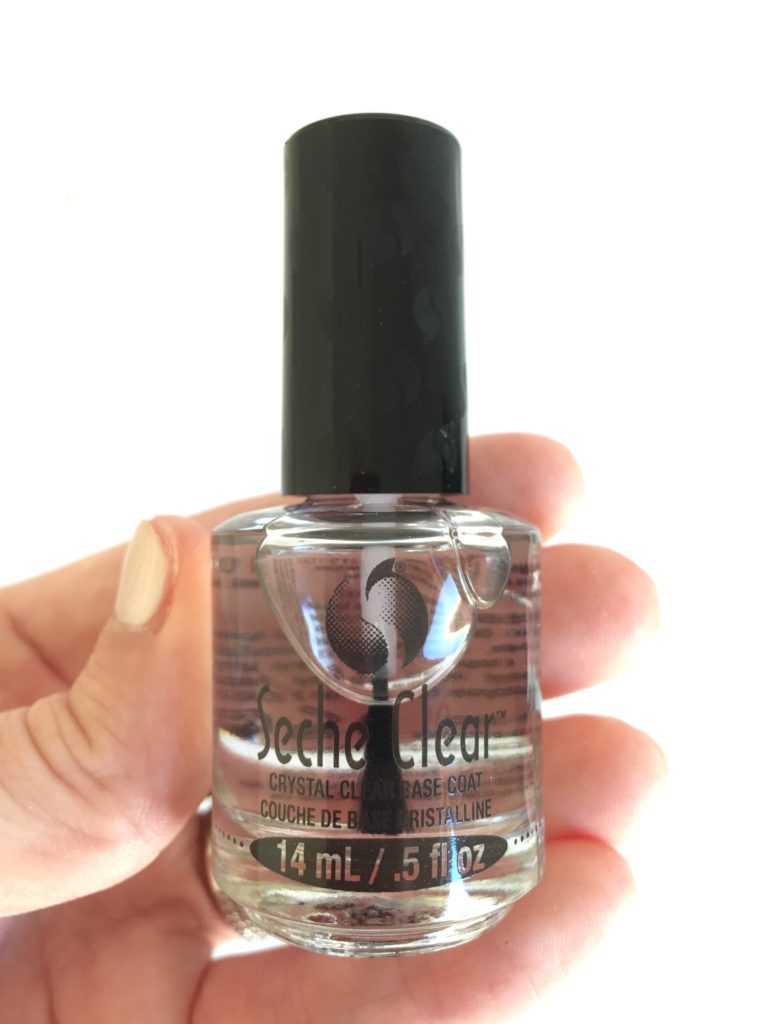
3 | Apply 2-3 thin coats of high quality nail polish.
4 | Apply Seche Vite Top Coat to each nail. Like I said, I swear by this. It makes my nails chip-resistant and shiny and after it’s dried, it looks like glass!
5 | Apply 2-3 Zoya Fast Drops to each nail. Another must have. Like a must, must have. I’m the worst about smearing my wet nails, but these drops somehow harden my nail polish instantly. They’re magical. Get them! Plus, the formula doubles as a cuticle oil. Obsessed!
6 | Use a Q-tip dipped in nail polish remover to clean up my nails.
7 | Wash my hands with very cold water to continue to harden the polish and remove the residual acetone and oil.
8 | Apply Neutrogena Hand Cream all over my hands, focusing on my cuticles and nail beds.
8 | Be extra careful for about one hour–I usually work on the computer because it keeps me busy and my nails can dry without smudging!
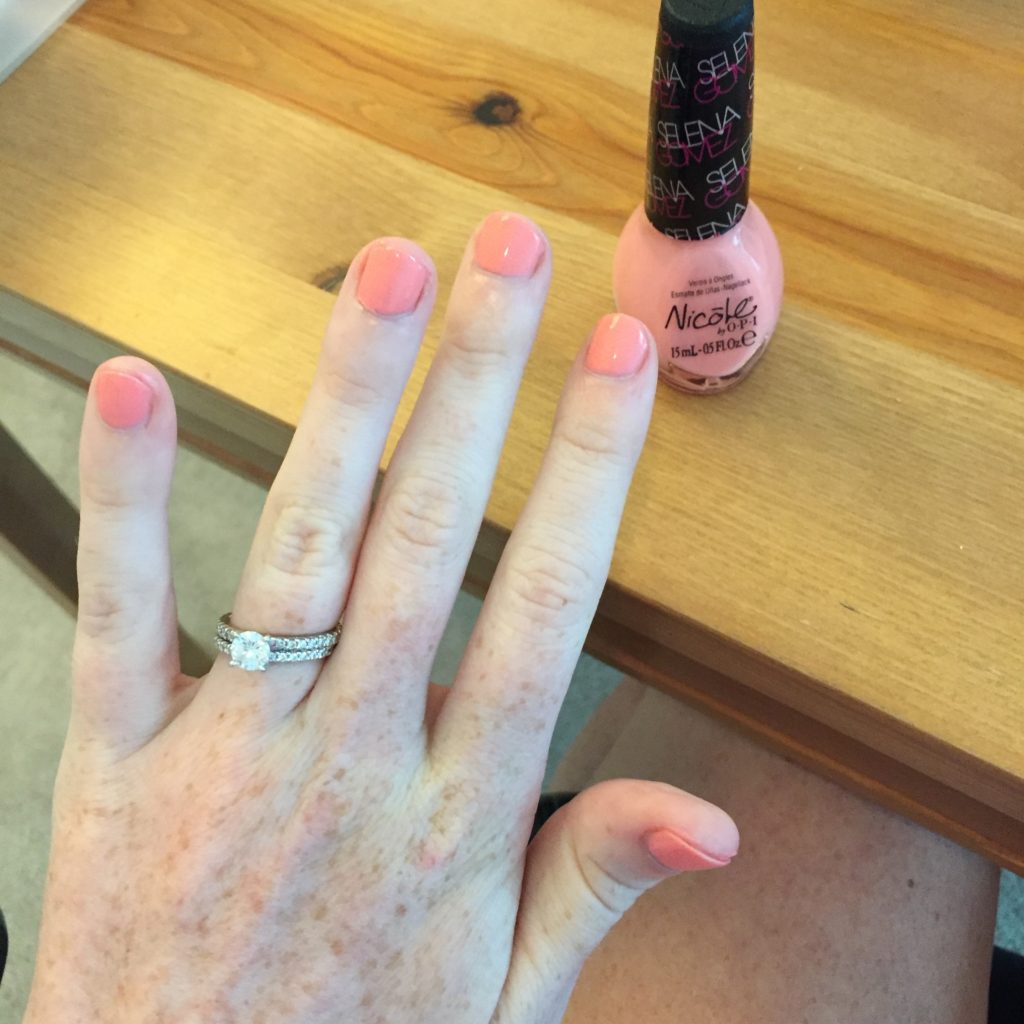
Ta da! Here’s a photo straight after painting! Obviously this isn’t the same polish as the color in the bottle above. The darker color photographed better! 😉
// How do you paint your nails? Are there any products you love?
Thank you for reading! You can find me online on Facebook, Instagram, Pinterest, and Twitter. If you’d like to be alerted whenever I publish a new post, you can follow me on Bloglovin’ or subscribe via email. Check out my fun tees in my Etsy shop and listen to my weekly podcast about simplifying life, Simplify Everything! Are you a blogger too? Check out my Blogger Mentorship Program.
Recent Comments