My sister-in-law’s birthday was last Thursday, and I hosted a party for her to celebrate. She’s one of my very best friends, and this was the first party/event we’ve hosted in our new house, so I was very excited for it! There were nine guests total–six adults and three children, and everyone was family.
Today, I’m going to share my process a AND a multi-day vlog (video blog) from last week, where I share all of my preparations for Cabie’s party with you.
10 Step Planning Process
Here is my 10 step planning process for hosting parties. It’s intentionally spread out over time for simplicity’s sake. I thoroughly enjoyed every stage of planning Cabie’s party and never felt stressed or overwhelmed because I did a little at a time. I highly recommend this method–waiting until the day of the event to make decisions creates needless stress!
1 | Decide on date, time, and guests
Obviously, the first step in the party planning process is to decide what you’re planning and when, and to decide who will be invited. For adult birthday parties, dinner is a great option as it lends itself well to a low-key, intimate meal, but a brunch or late night dessert party would work well too!
2 | Invite guests
Once you’ve decided on your date and time, invite your guests. If it’s a more formal event, you can send out invitations by snail mail, but you can also use email invitations, Facebook, or text messages. For Cabie’s party, since it was family in attendance, I simply texted the guests.
3 | Plan seating and menu
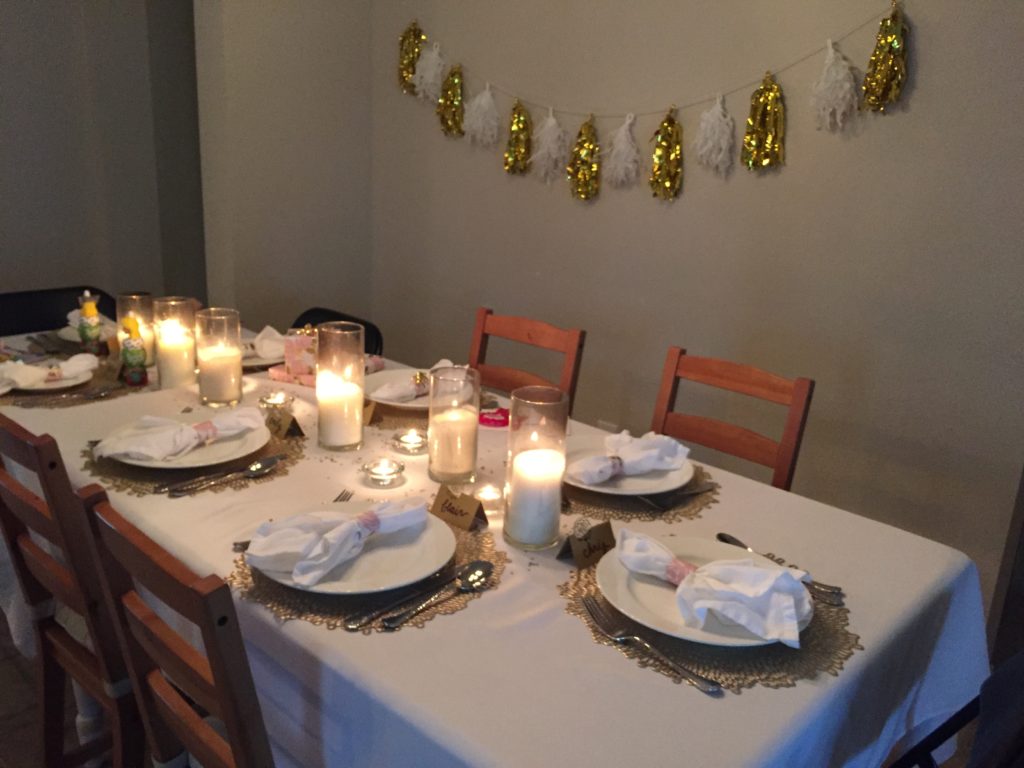
After you’ve gotten your RSVPs and know who’ll be at your party, you’ll want to think through your seating (especially for a seated dinner) and your menu. Our existing table only seated a maximum of six people, and since we were going to have eight (the baby is too young to eat solids), we purchased this super affordable card table from Amazon. I also ordered this white tablecloth for our dining room table and this one for the card table–both were super cheap and worked great!
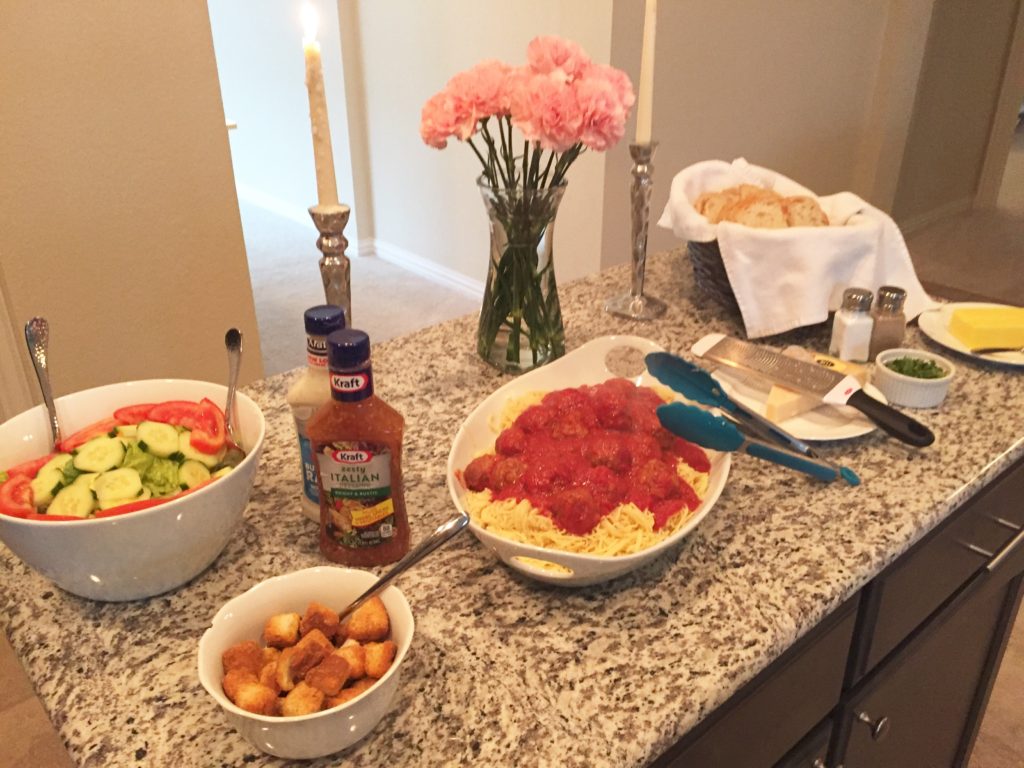
Once I knew where I would seat everyone, I came up with a menu. One of Cabie’s favorite meals is spaghetti and meatballs, and that meal works really well for a dinner party because it can be made ahead of time, so that’s what I made.
Here’s my full menu:
- Salad with carrots, cucumbers, tomatoes, and croutons
- Spaghetti with homemade meatballs (recipe) and homemade sauce (recipe)
- Homemade rosemary bread with sea salt (I made this in my bread maker)
- Kerrygold butter for bread #TheBest
- Fresh wedge of parmesan to grate on food
- Almond cupcakes with fresh cherry frosting (my sister-in-law Emily made these–they were delicious–recipe)
- Cookies from grocery store bakery
- Dove dark chocolate and mini Reeses cups
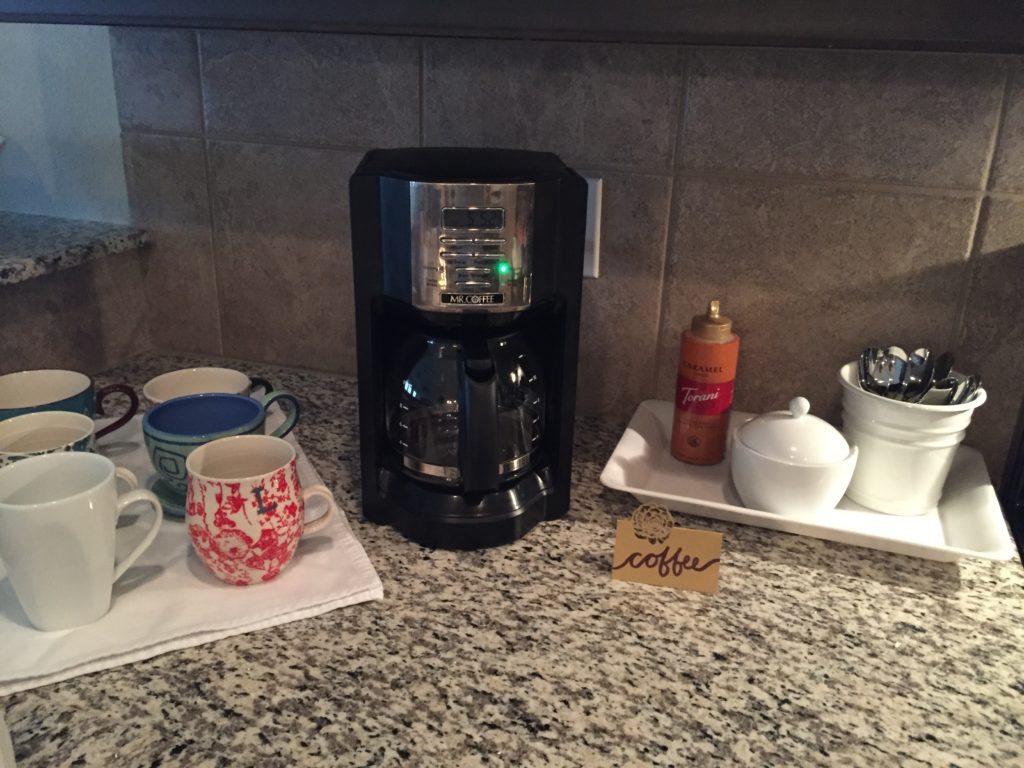
- Decaf coffee
- Red wine
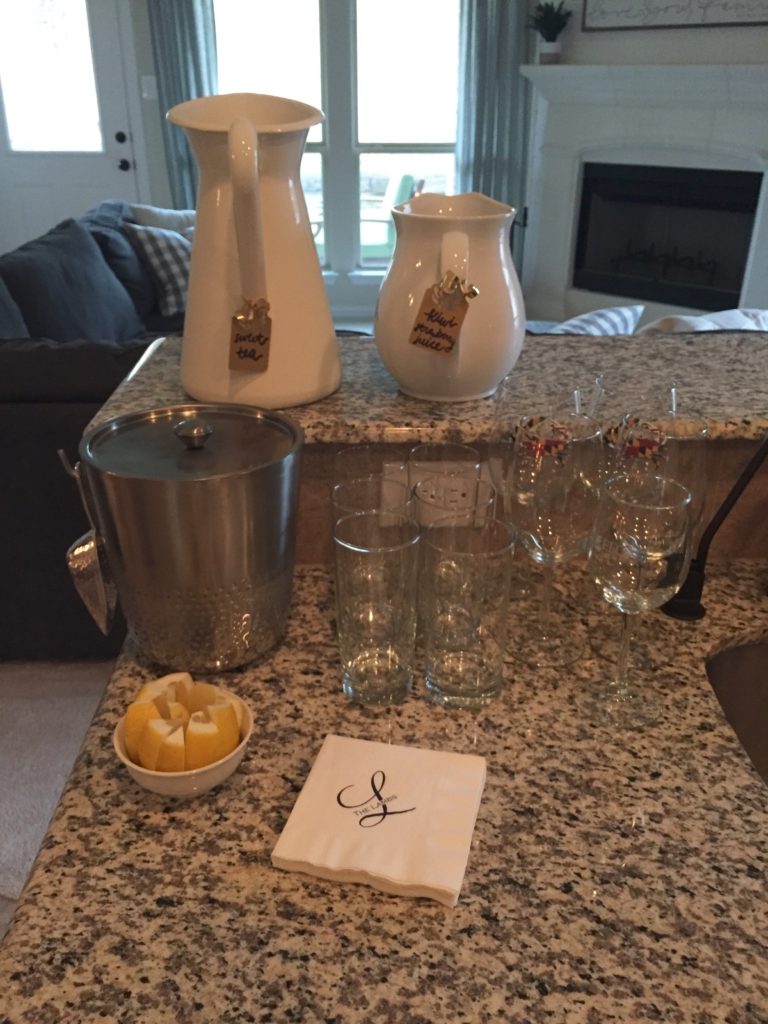
- Sweet tea
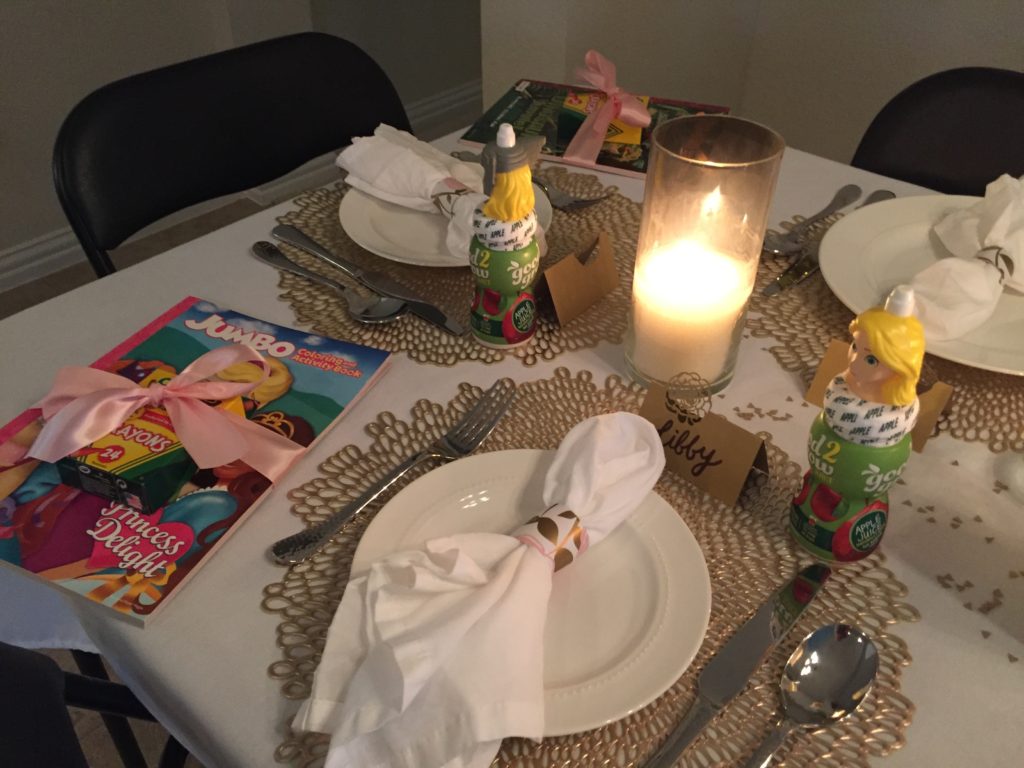
- Kiwi-strawberry juice (for the kids)
4 | Delegate to other guests (optional)
Once I’d decided on my menu, I asked my mother-in-law to bring a couple of bottles of wine and my sister-in-law to bring the cupcakes. Both had offered to bring something when I invited them, and I was thankful to be able to delegate so that I could focus on the meal!
If guests offer to help/bring something, take them up on it! There is a lot that goes into hosting a party, so anything that will reduce your to-do list and stress is worth it.
5 | Decide theme/color scheme/vibe
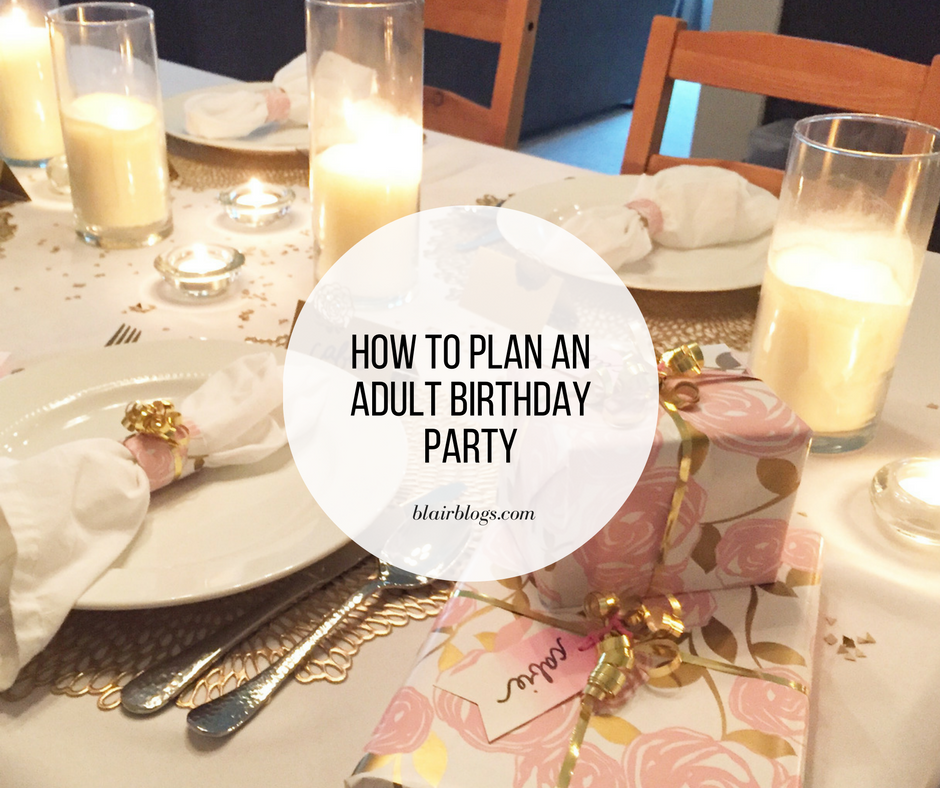
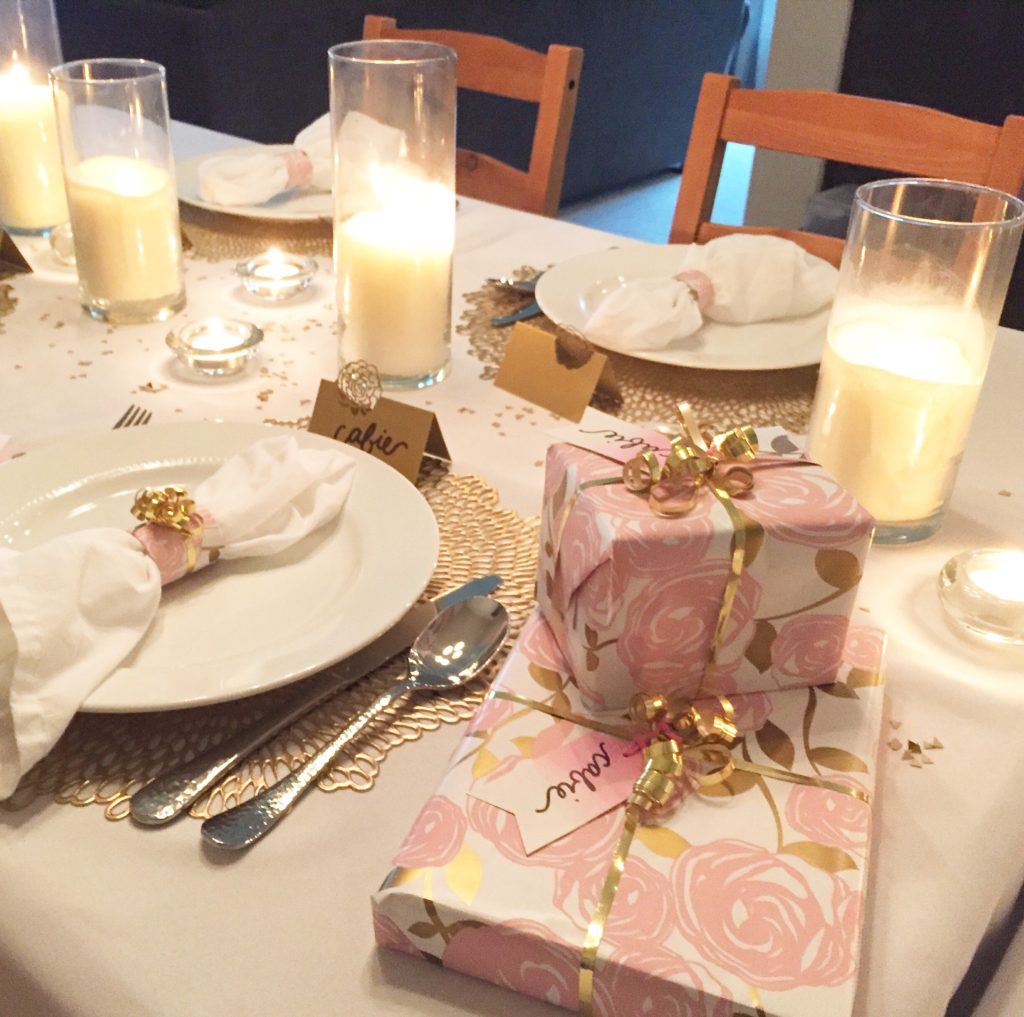
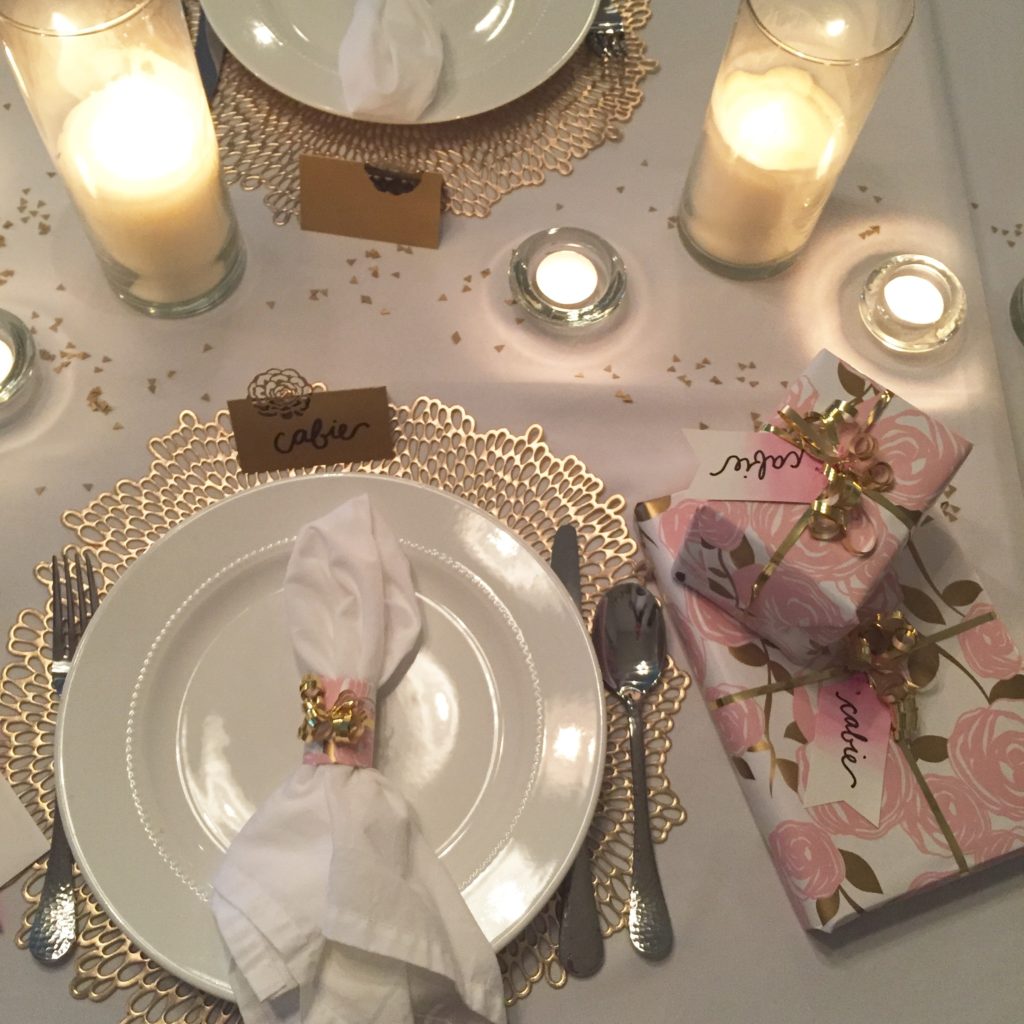
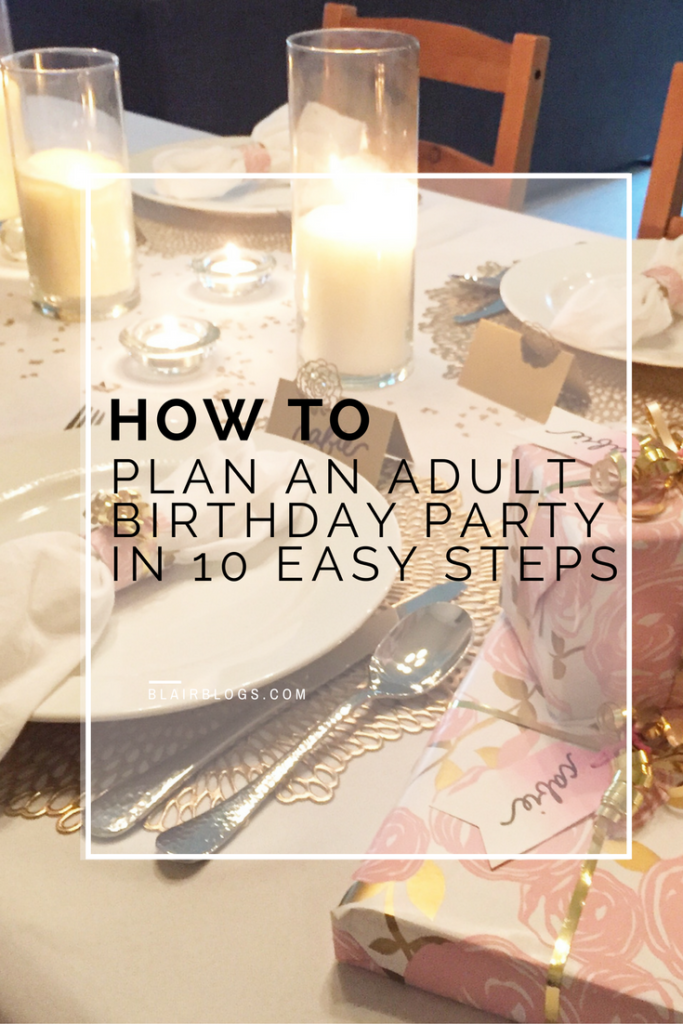
For this party, I knew that I wanted a girly, romantic, intimate feel with gold and pink. When I spotted a roll of gorgeous wrapping paper with gold and pink flowers on it, I decided to make it my inspiration. I ended up using it to wrap Cabie’s gifts, make napkin rings, and choose all other décor.
Some ideas for finding inspiration? Browse Pinterest. Walk through the party section at a local store. Ask the guest of honor (if there is one) what his/her favorite color, flower, sports team, etc. is. Decorating is so much easier when you have concrete inspiration!
6 | Make shopping list for décor and food
Once I knew what my theme/color scheme and menu were, I made shopping lists. First, I pulled up my menu and recipes and wrote down everything I would need for them. Then, I looked in my fridge and pantry and crossed off what I already had. (I’m glad I did this extra step as there were a few things I thought I had, but didn’t!)
Then, I made a decorations shopping list. I added things like candles, candle holders, placemats, and flowers.
When you’re at home, it sometimes feels like you can memorize your shopping list. Don’t trust those feelings! Write everything down! When you’re out shopping, it’s so, so easy to forget something. Use a list and check it twice.
7 | Shop for décor
This is self-explanatory…go shopping for décor. For this party, I went to Target, Walmart, Amazon.com, IKEA, and Dollar Tree. I recommend all five–they were great for what I needed and very affordable! Do this step as far in advance as you can. If you wait until the last minute, you can’t order anything online and you may end up running all over town as you try to track down what you need.
8 | Shop for food
Again, self-explanatory. I recommend shopping for food 2-5 days ahead of time, depending on the kind of space you have to store food in your refrigerator. Definitely don’t wait until the day of your party to shop! If your grocery store is out of something you need, or if you can’t find exactly what you’re looking for, you’ll be in a scrambled panic. When you shop ahead of time, you can address any issues that arise easily and calmly.
9 | Prep food/décor the day before
Do as much as you can the day before. This is my best, best, best advice. If you watch my vlog below, you’ll see that I had my home fully decorated, 75% cleaned, and all of my food prepped to be cooked the day before the party. This allowed the actual day of the party to be enjoyable and leisurely. In fact, for the hour before my guests arrived, I was sipping sweet tea and watching Food Network on the couch! Everything was done because I had prepped ahead of time!
10 | Finish cooking/finalize décor
On the day of the party, wake up early so that you can finish cooking and finalize your décor. Wipe down the guest bathroom, hang up the last few things, and cook whatever you couldn’t cook ahead of time. If you haven’t already, run the vacuum and fluff your throw pillows.
About 30-60 minutes before guests are meant to arrive, light your candles, set out your ice and drinks, and do any last minute cooking/prepping that’s necessary. Then, when your guests arrive–enjoy them! Have all of your desserts and after-dinner drinks set out so that you don’t have to work while you’re entertaining.
Related: How to Simplify Celebrations (Simplify Everything Podcast Episode #21)
And that’s my process! If you want to see this process in action, as well as exactly what Cabie’s party looked like, watch my vlog below or on YouTube here.
// Have you ever hosted an adult birthday party? What was that process like for you?
Thank you for reading! You can find me online on Facebook, Instagram, Pinterest, and Twitter. If you’d like to be alerted whenever I publish a new post, you can follow me on Bloglovin’ or subscribe via email. Check out my fun tees in my Etsy shop and listen to my weekly podcast about simplifying life, Simplify Everything! Are you a blogger too? Check out my Blogger Mentorship Program.
Very beautiful, Blair! Love the decorations. I love your taste!! You’ve always had great taste, and a warm personality ;).
Sounds like your party was exciting and sounds like Cabie had a wonderful time!!
Thank you, Negin! 🙂
Love this! Everything looks delicious! You have the gift of Hospitality. 🙂
Thank you, Erin! I appreciate your kind words. Thanks for reading/watching! 🙂
Could you share the bread recipe? We just got a bread maker and I’ve been looking for good recipes! So far we’ve just made whole wheat sandwich bread.
It’s just the white bread recipe that came with my breadmaker + a heaping tablespoon of rosemary in the mix and brushed butter and sea salt on top! Super easy and yummy! (You could probably make it whole wheat, too!)
Great tips Blair. I am planning a Bridal Brunch for my friend. T-11 days! I will definitely be using some of your tips about setting things out the night before. I’ll take some pictures and tag you so you can see the finished product.
I can’t WAIT to see the final product! I know it will be so gorgeous. You’re a sweet friend for hosting! Good luck, Samantha! Thanks for reading and commenting!